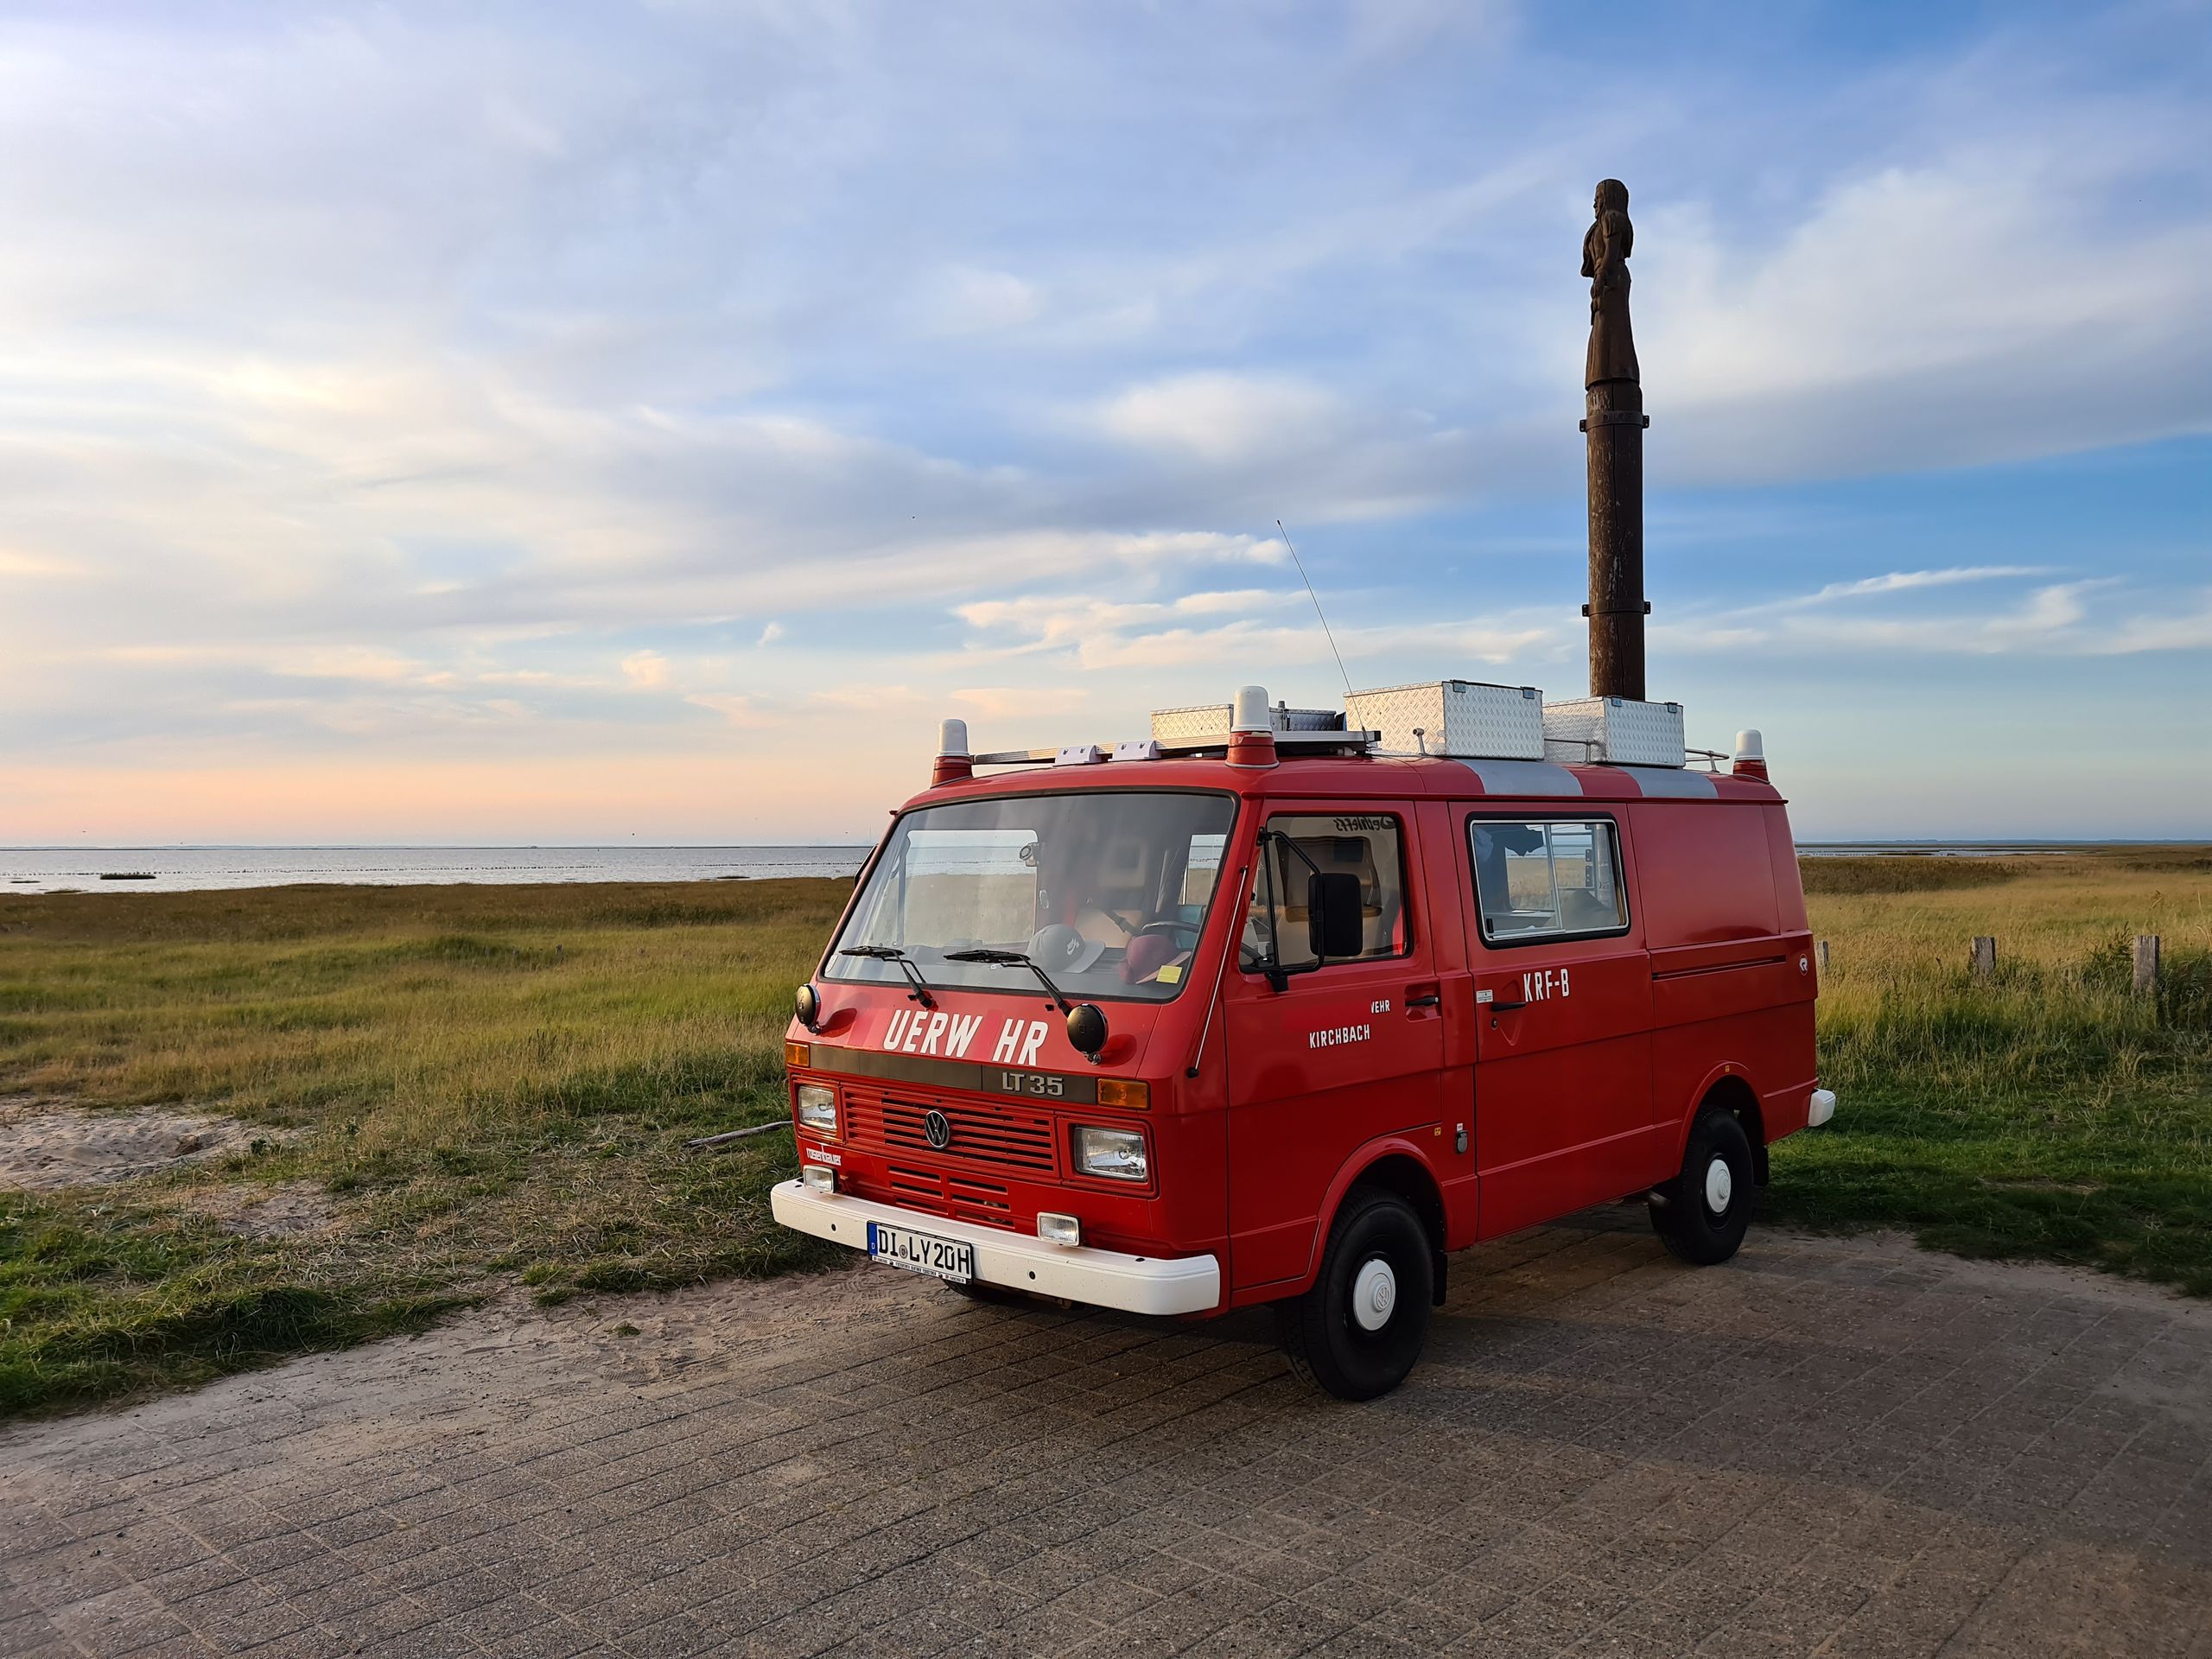
frischauf-und-hinfort
vakantio.de/frischauf-und-hinfort
Part 3 of the conversion: The Electrical System
Pubblicato: 20.09.2020


Iscriviti alla Newsletter
In this post, I want to tell you exclusively about the electrical system in and around our bus. This is a somewhat larger topic and understanding and installing it took me a bit more time than expected. But since I'm a complete novice in this field, that's no wonder. I think every 7th grade physics student understands it better. :D
I want to thank my buddy Schuches here, who had to deal with all the basic questions and helped me with the installation.
But let's start from the beginning. Yasemin and I planned to travel as autonomously as possible. Typical for this is a solar module on the roof. The sun provides the energy to charge the secondary battery and voila, you live autonomously.
But it's not that easy. Since you are quite dependent on the weather with the sun and also produce little electricity in winter, it's best to keep a second or third way to charge the on-board battery open.
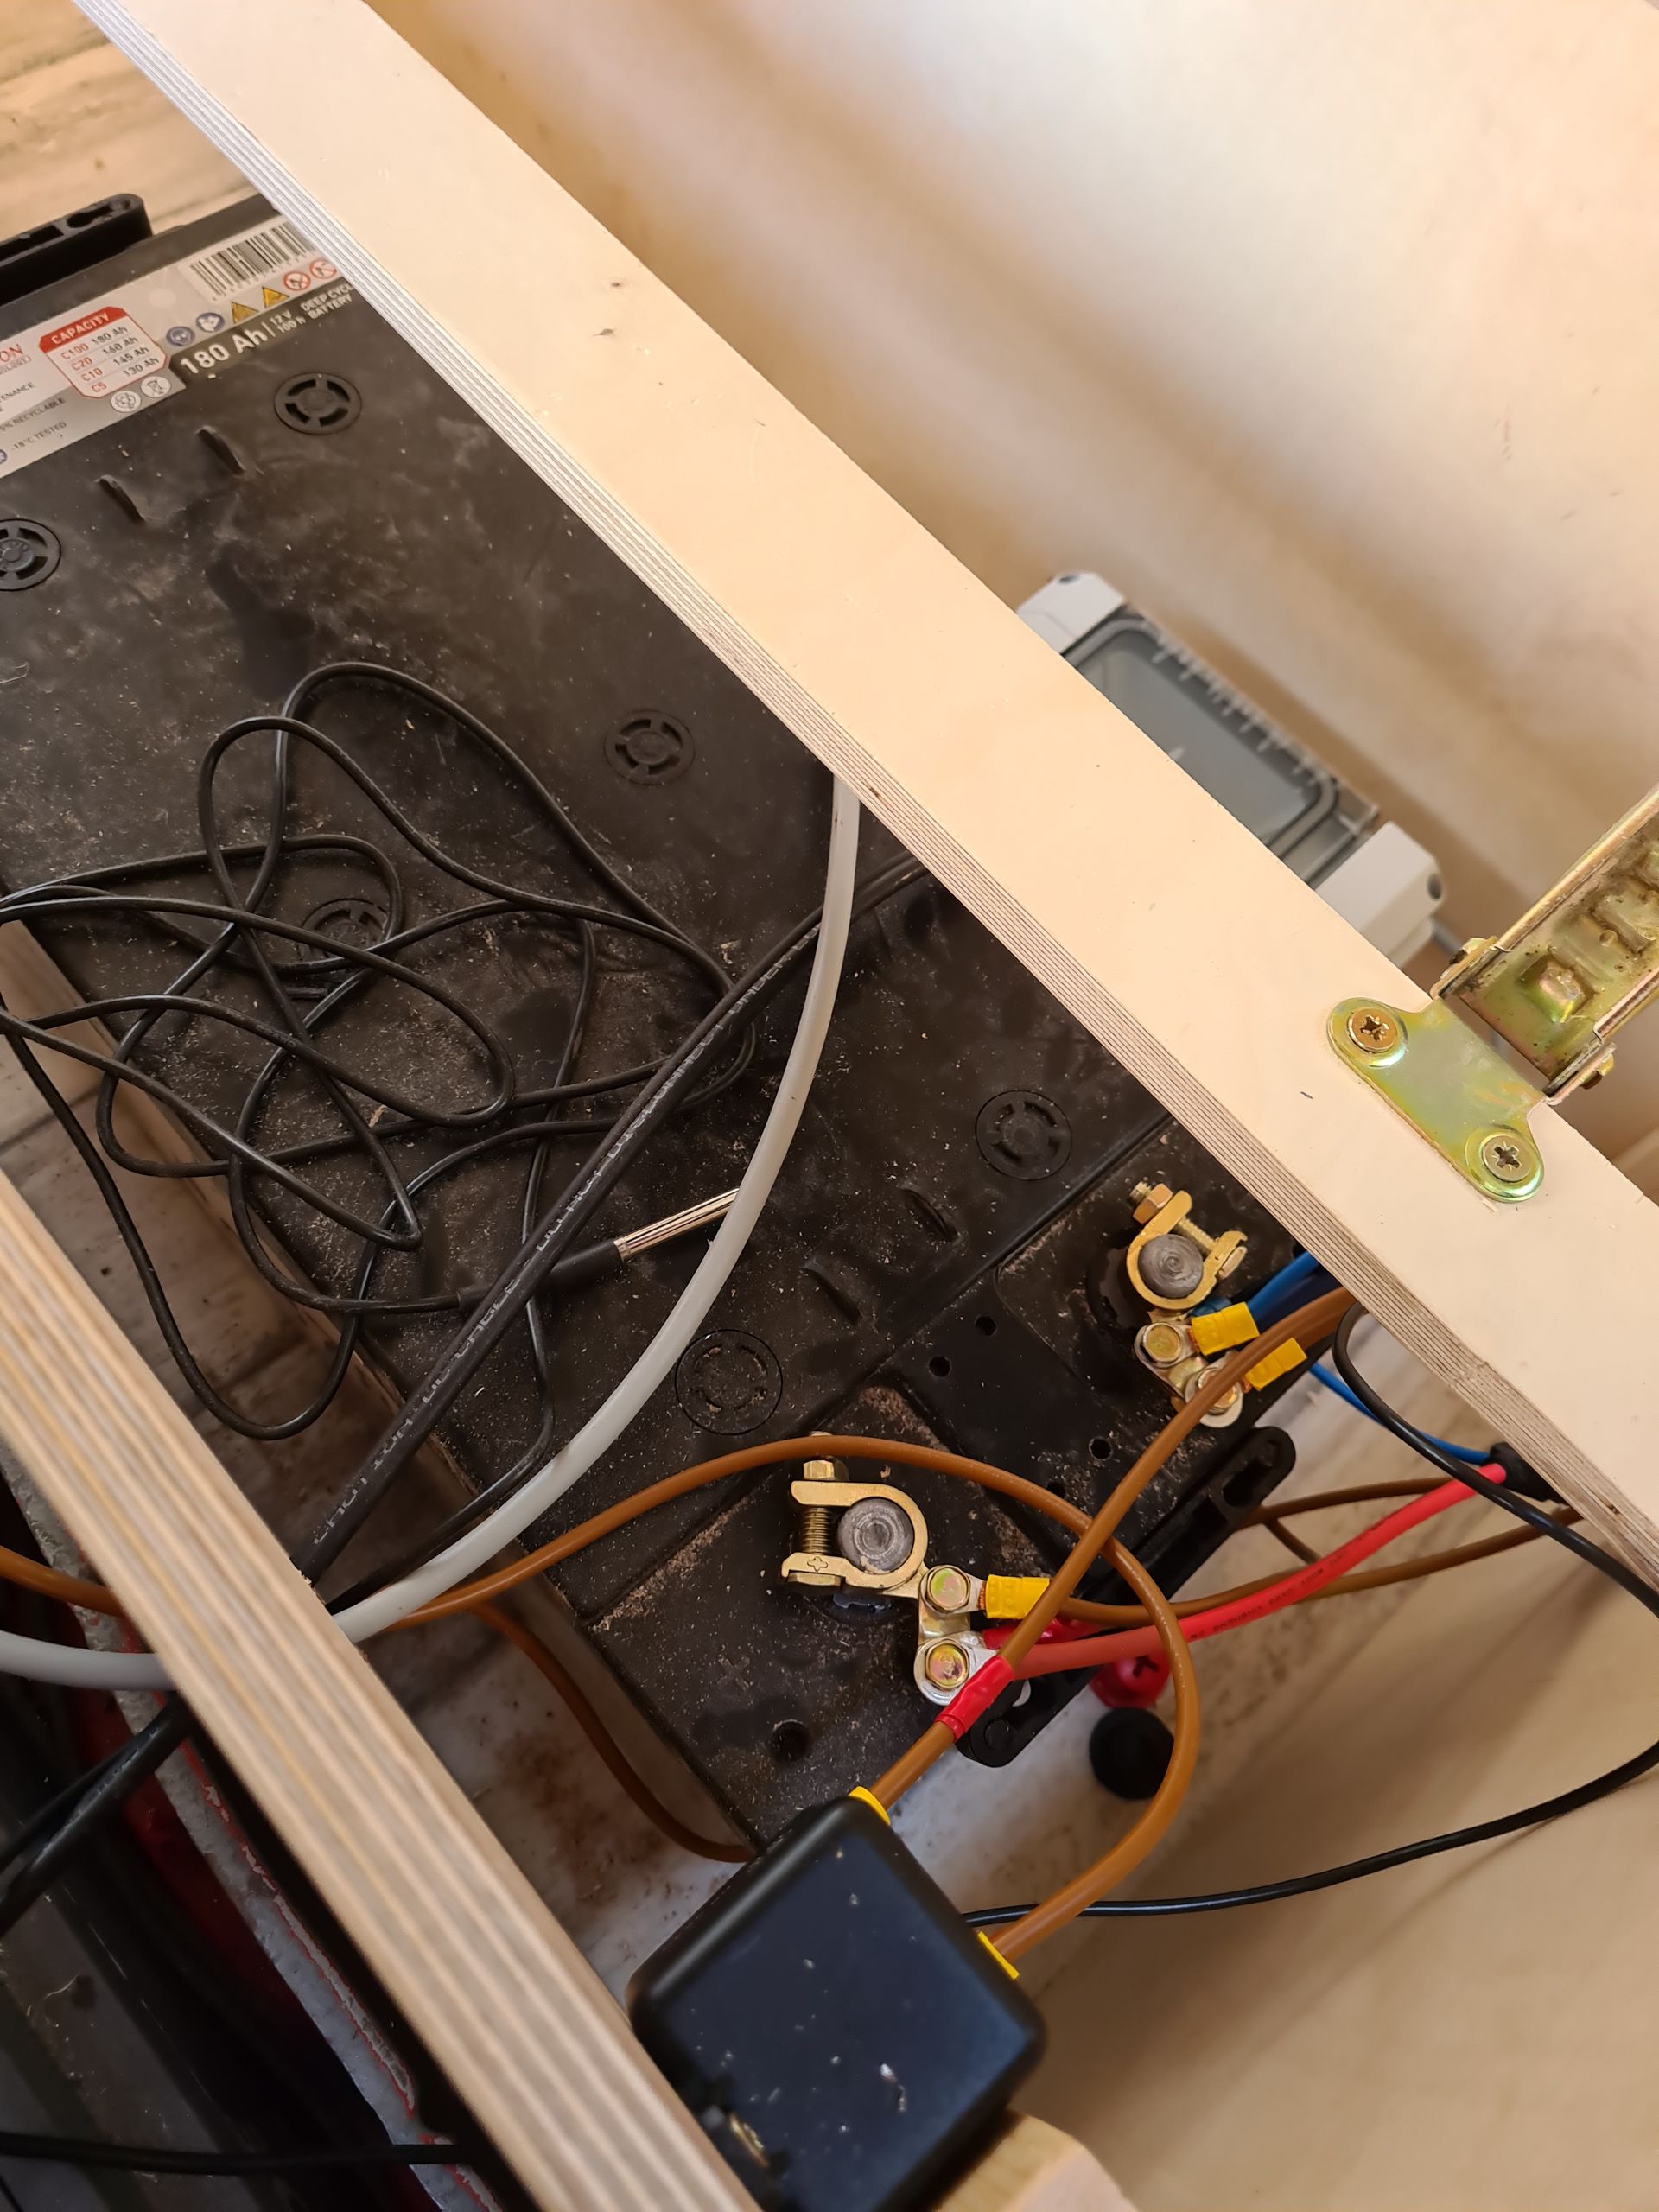
We decided to connect the second battery to the circuit of the car battery and thus use the alternator as a secondary charging station during the car ride.
Our battery is now supplied by two power sources and so far we are coping well with our consumption.
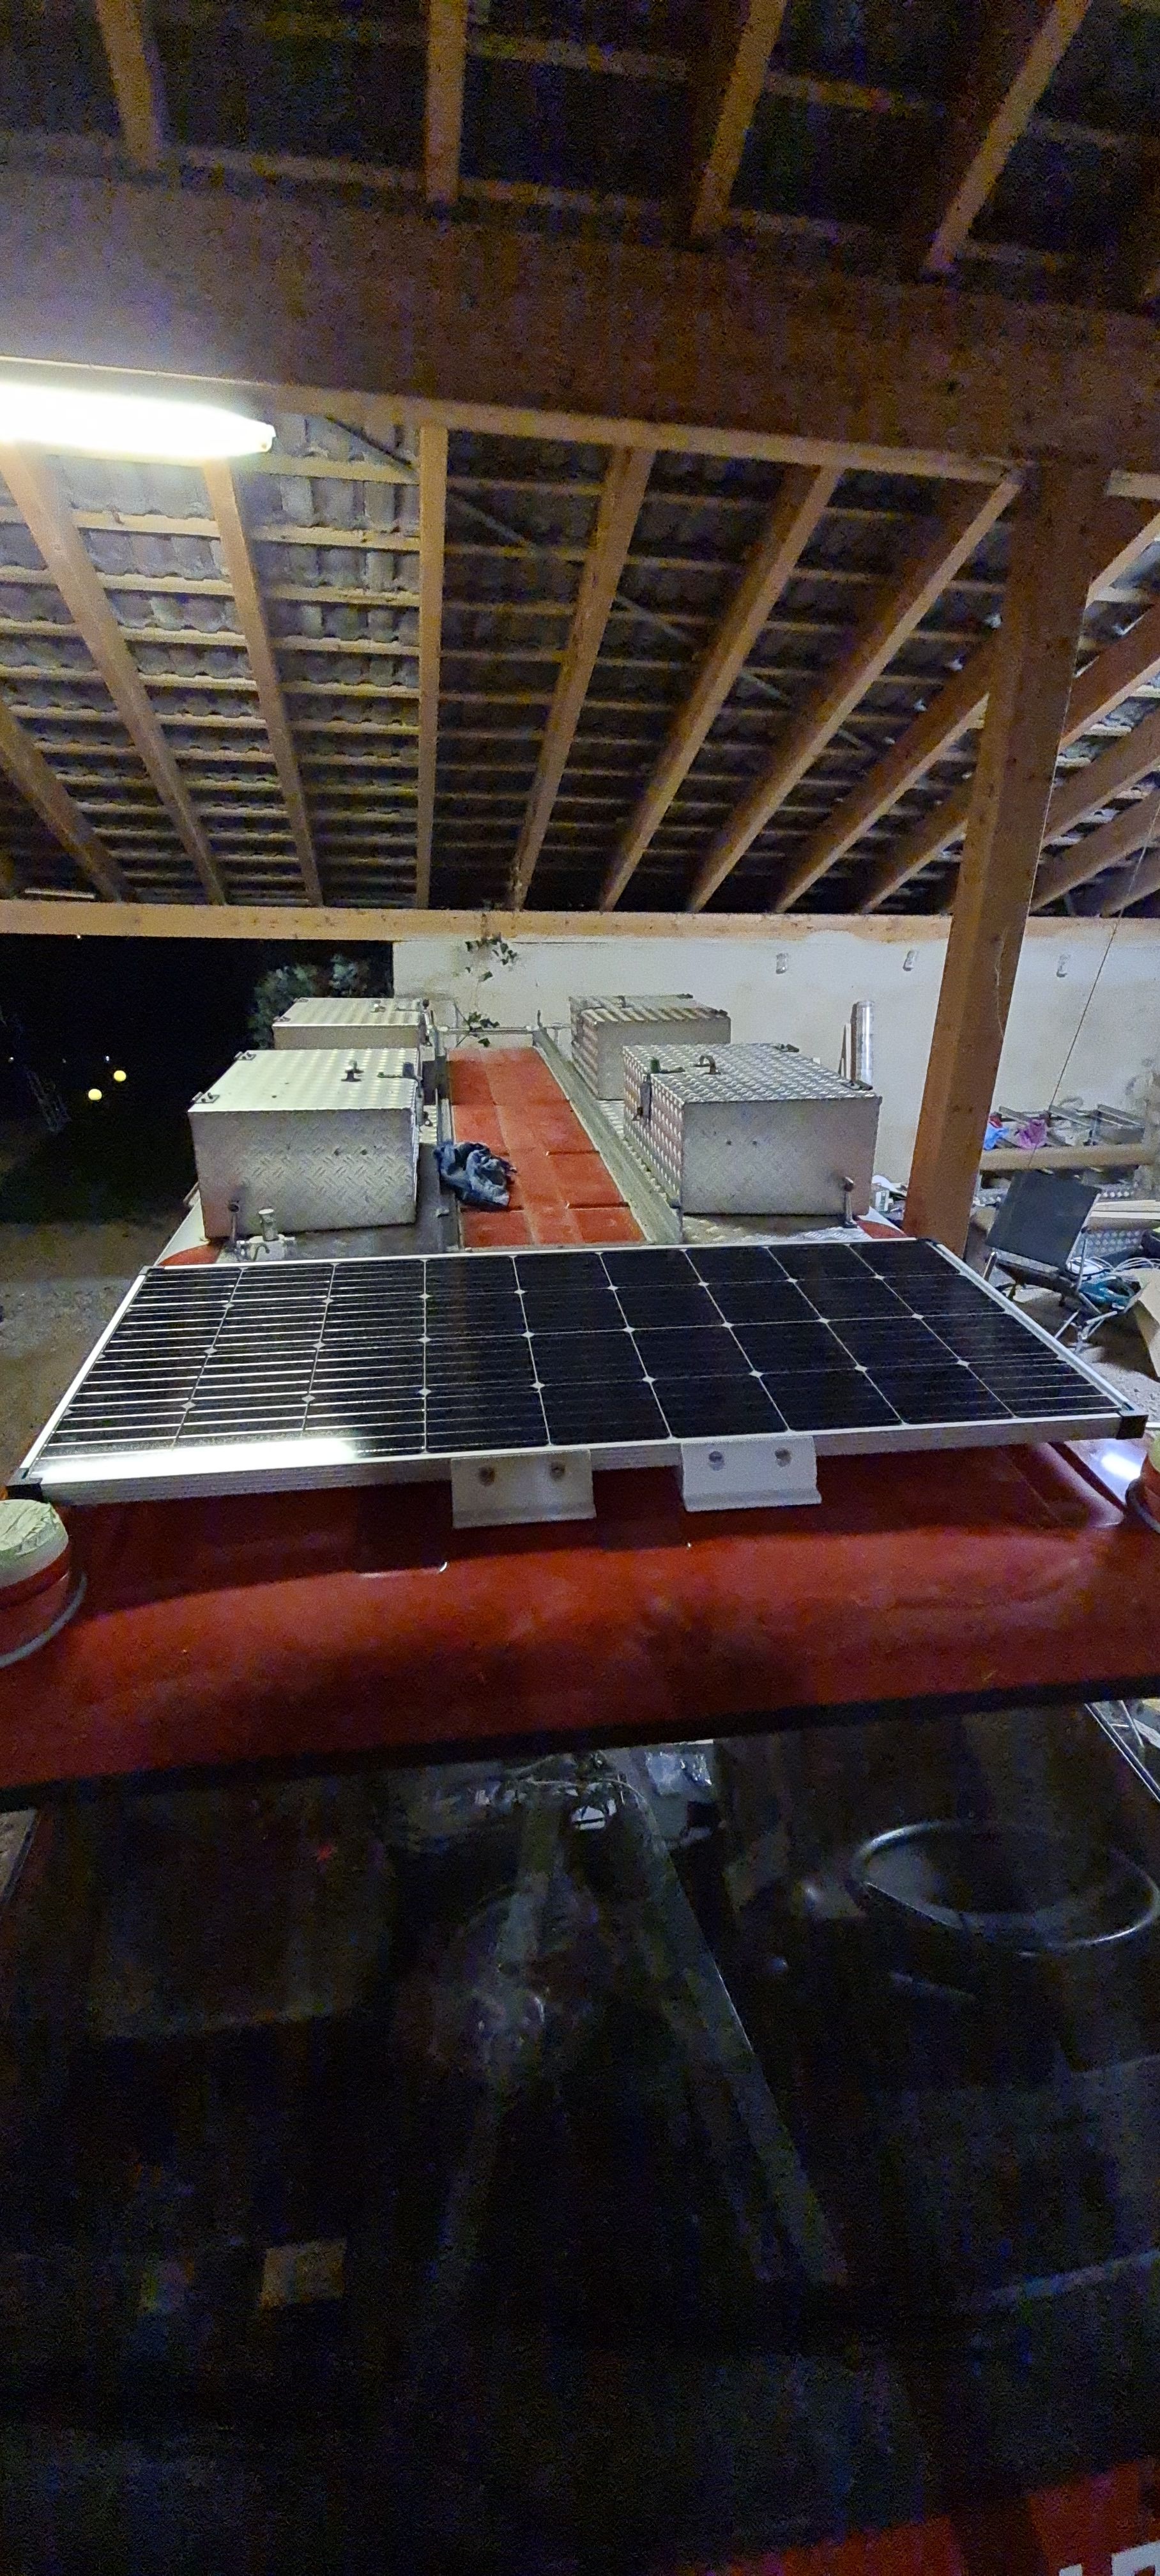
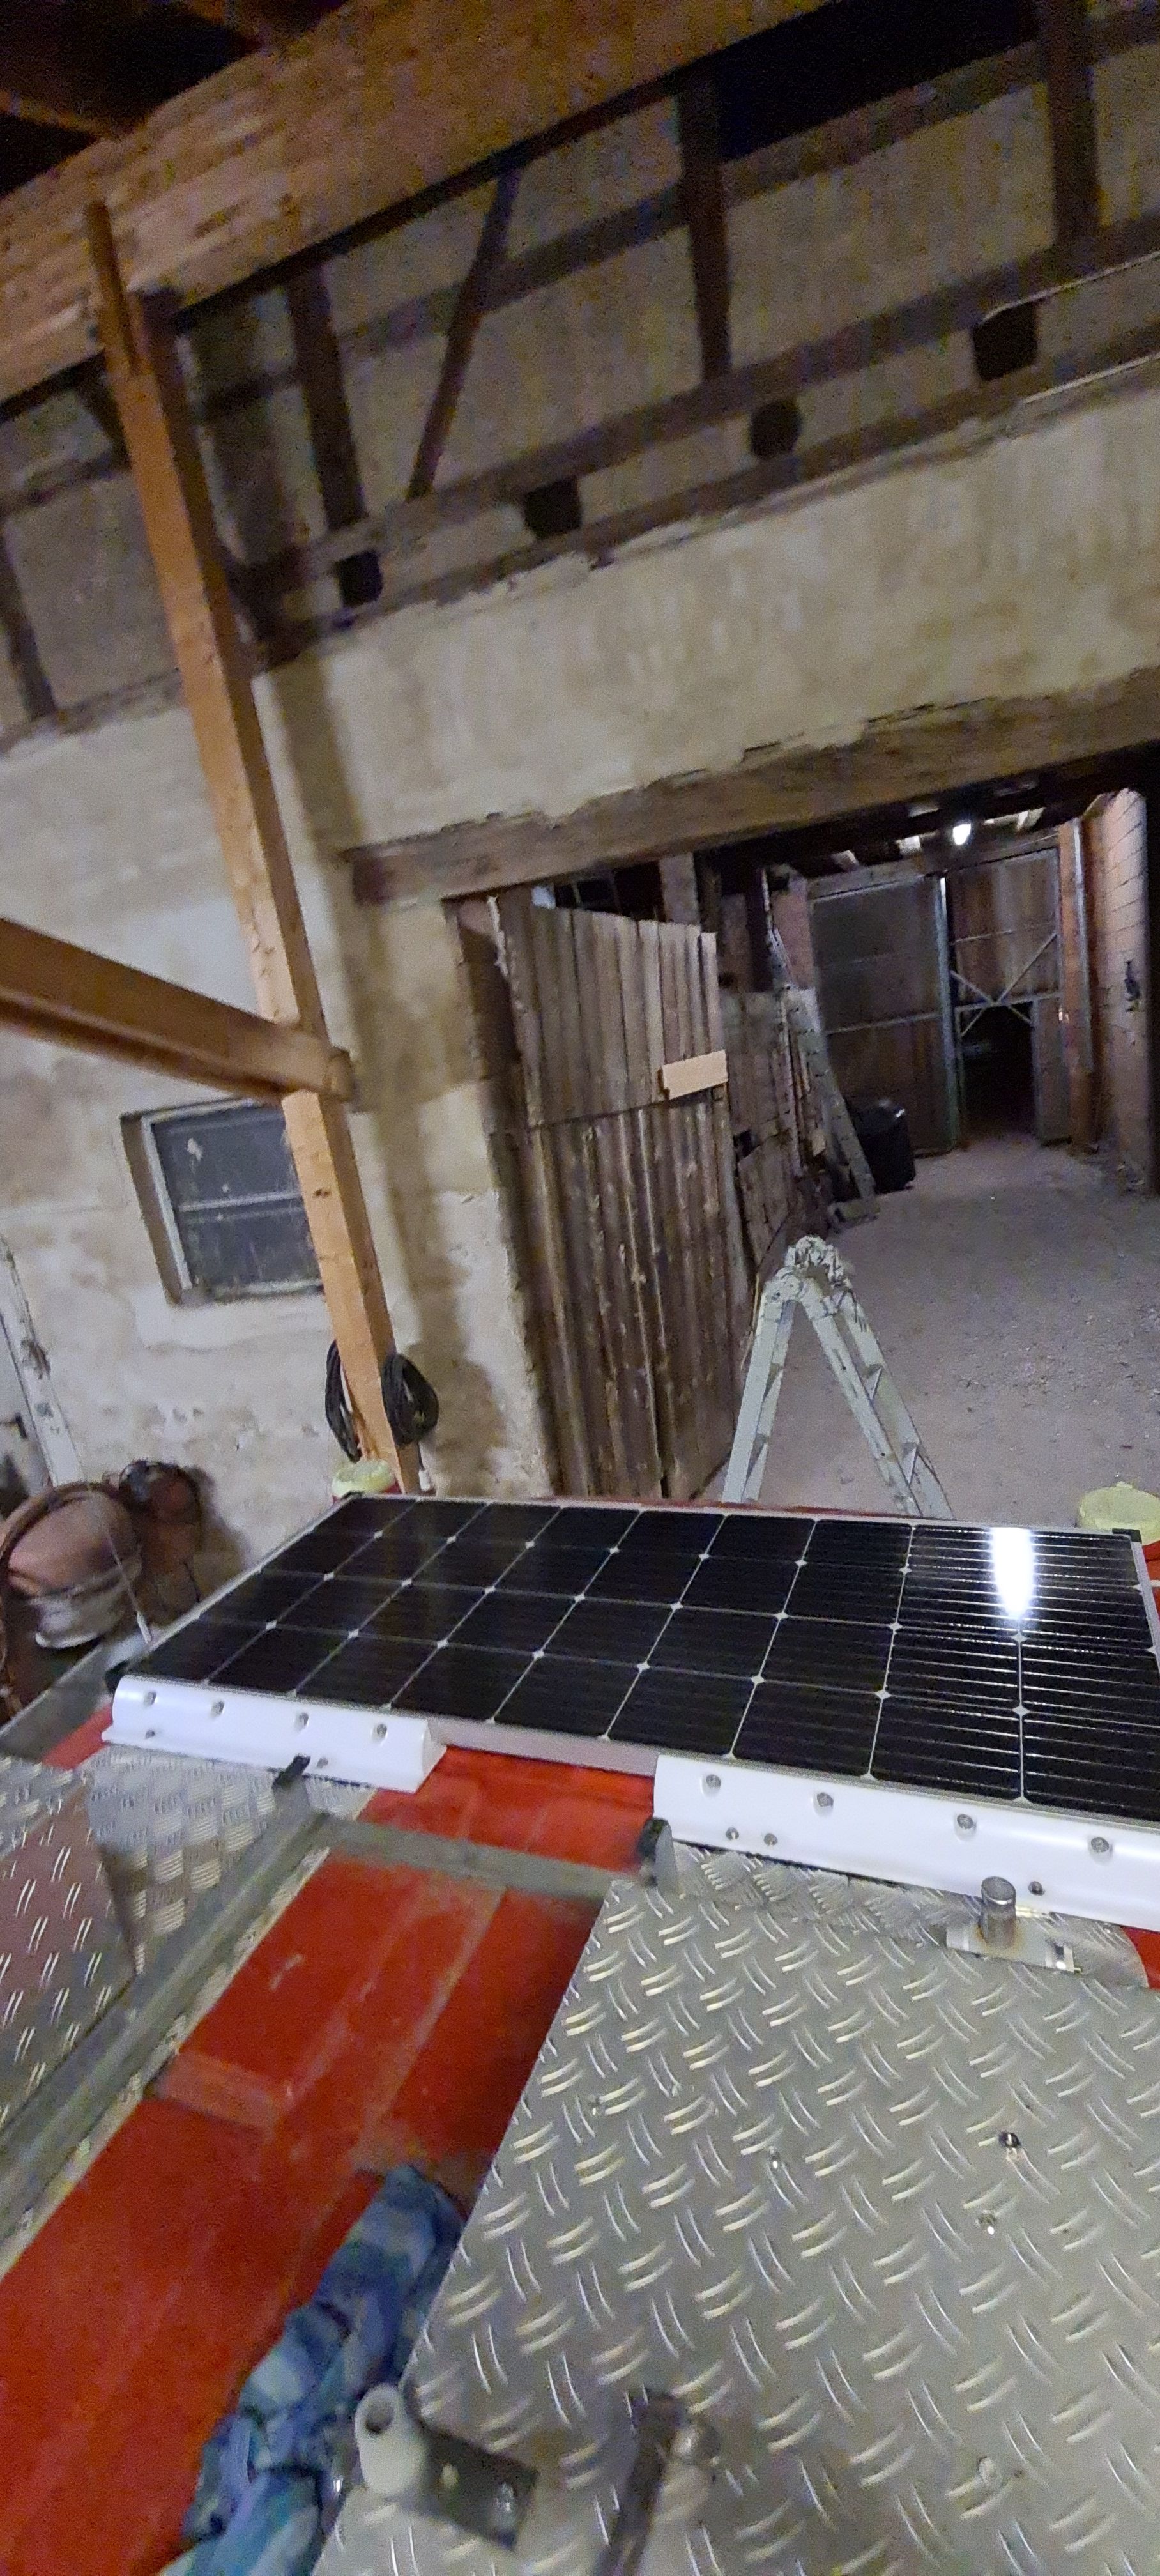
The installation of the solar panel and the on-board battery. Before we could install everything, we had to order it first. We calculated our rough consumption and then decided on the capacity that our battery must have and how much power the solar panel should provide accordingly.
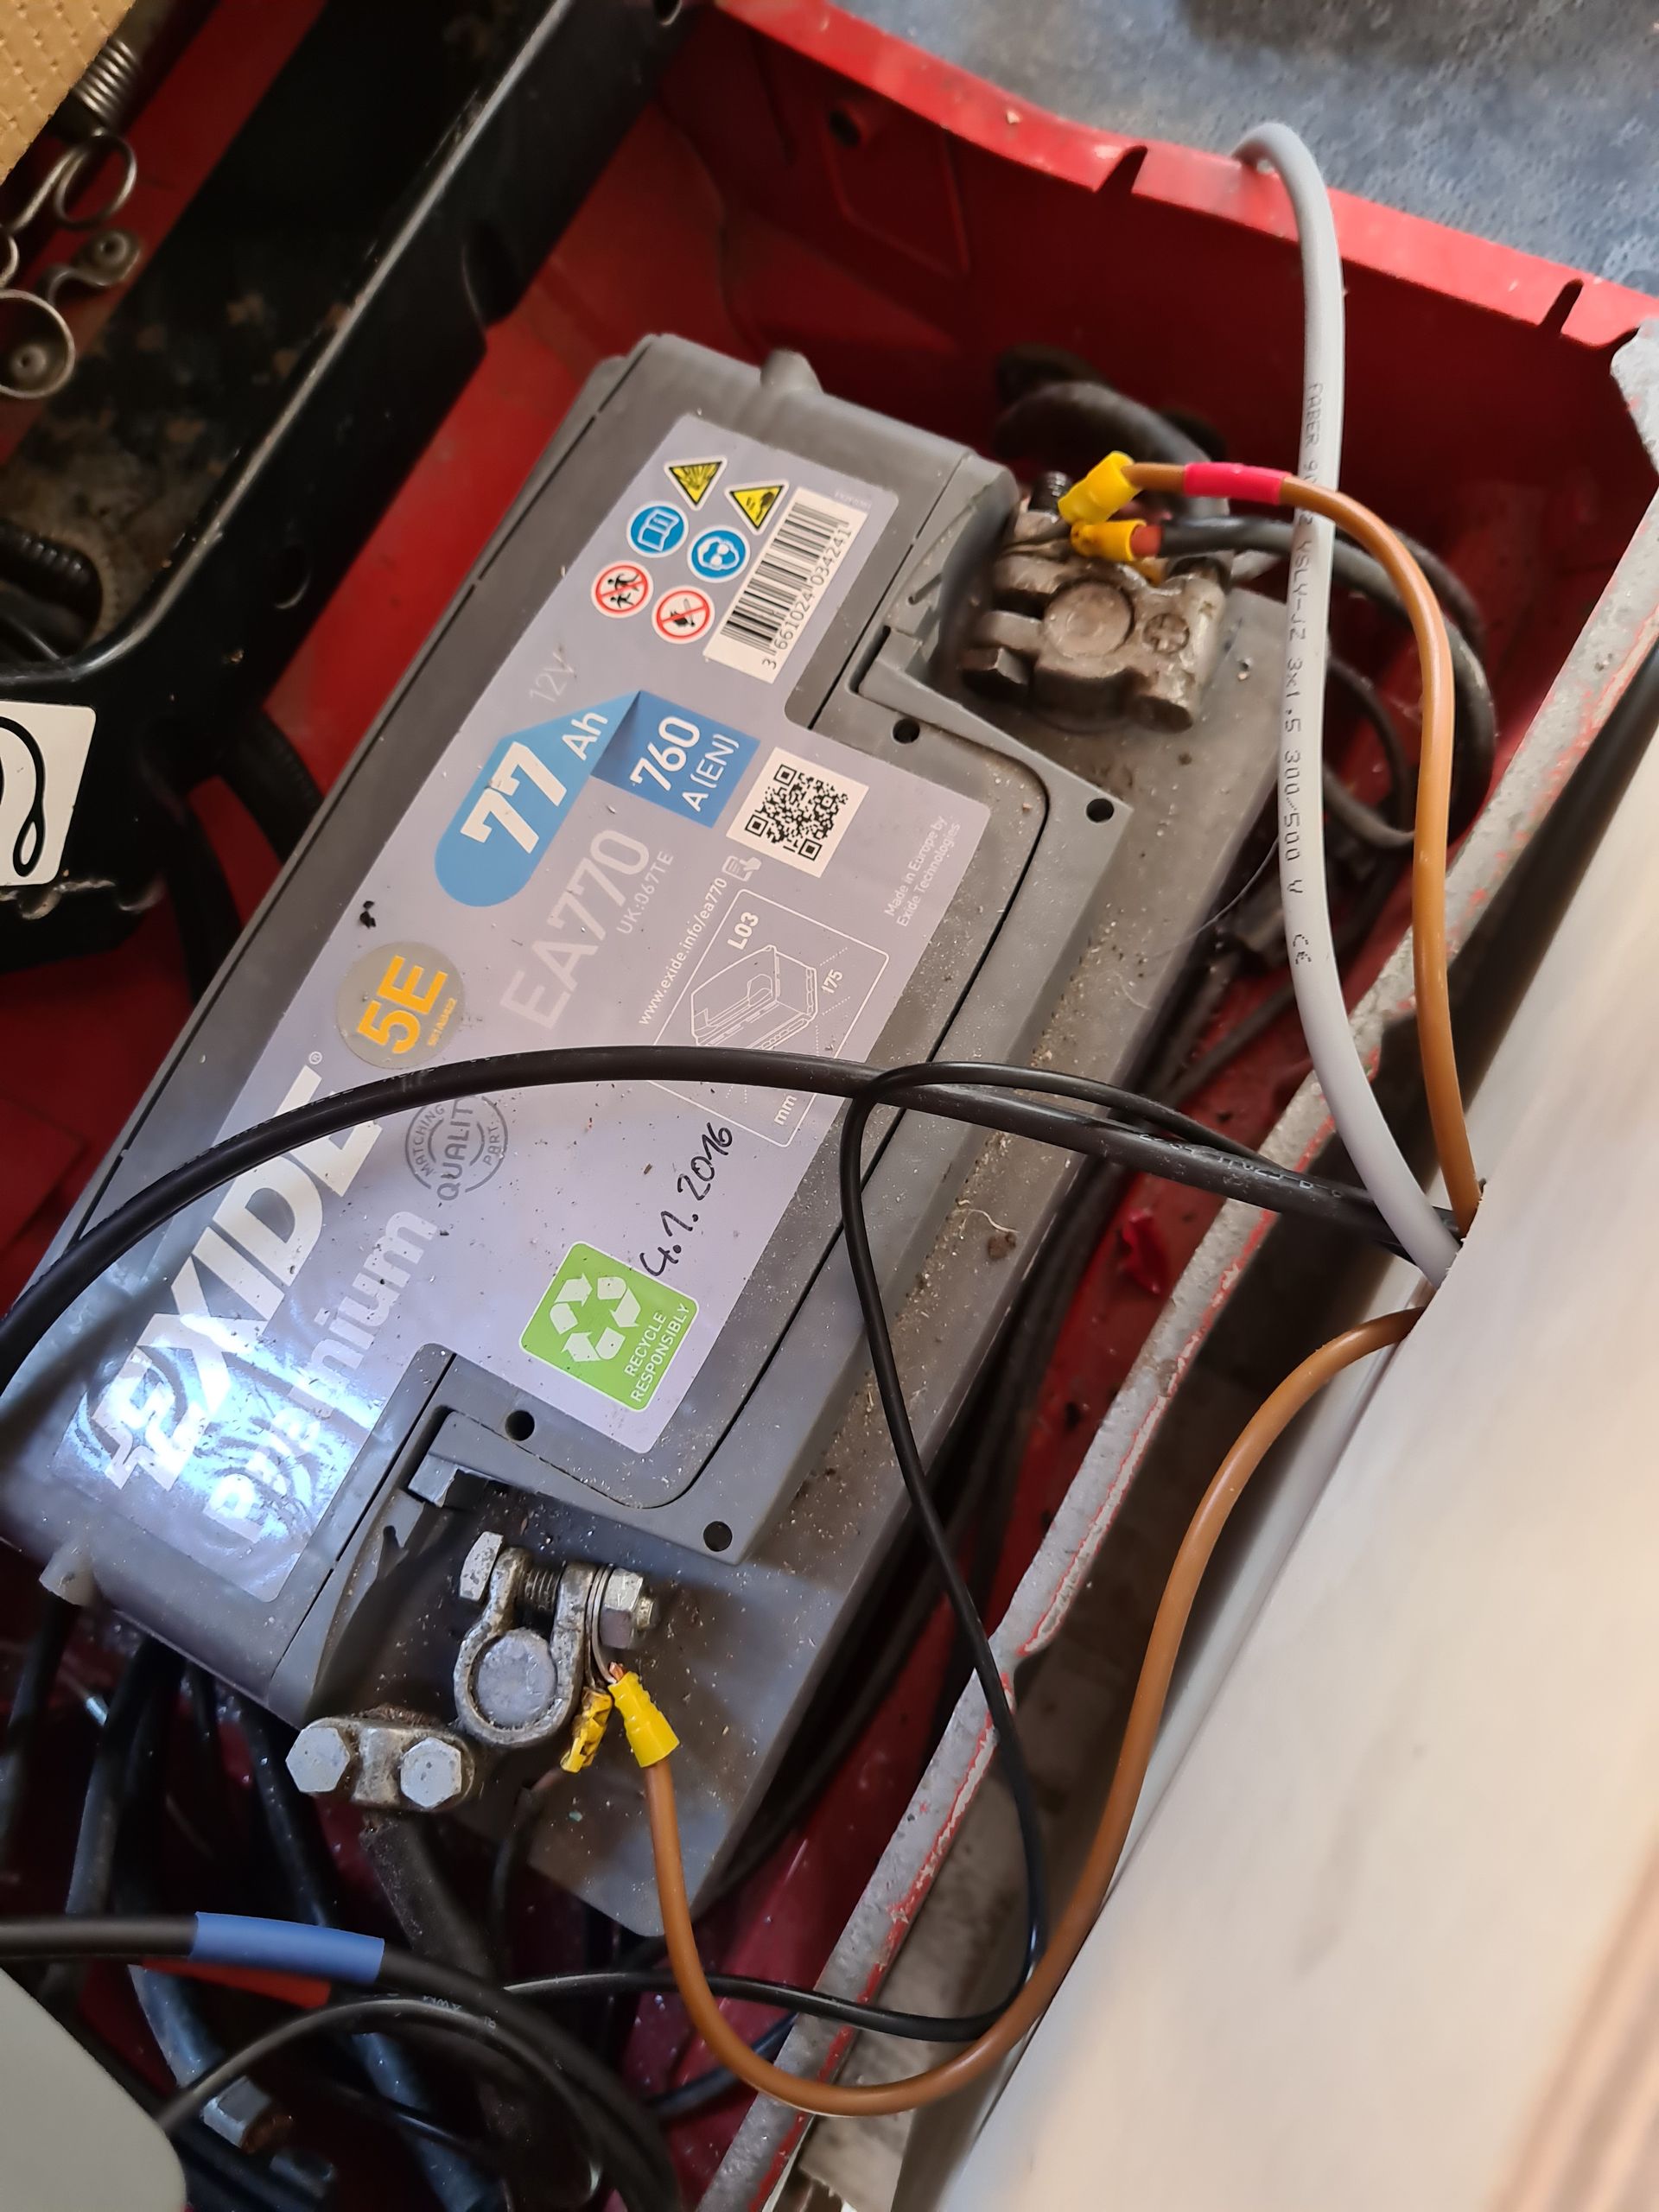
The battery we use is an AGM battery with 170Ah, the panel has a power of 170 watts. Somewhere I read that the power is calculated by a factor of 1.5 of the used battery capacity.
Since we had limited space on our roof, we couldn't install a larger solar module here. In the end, however, the power of the alternator compensates for that.
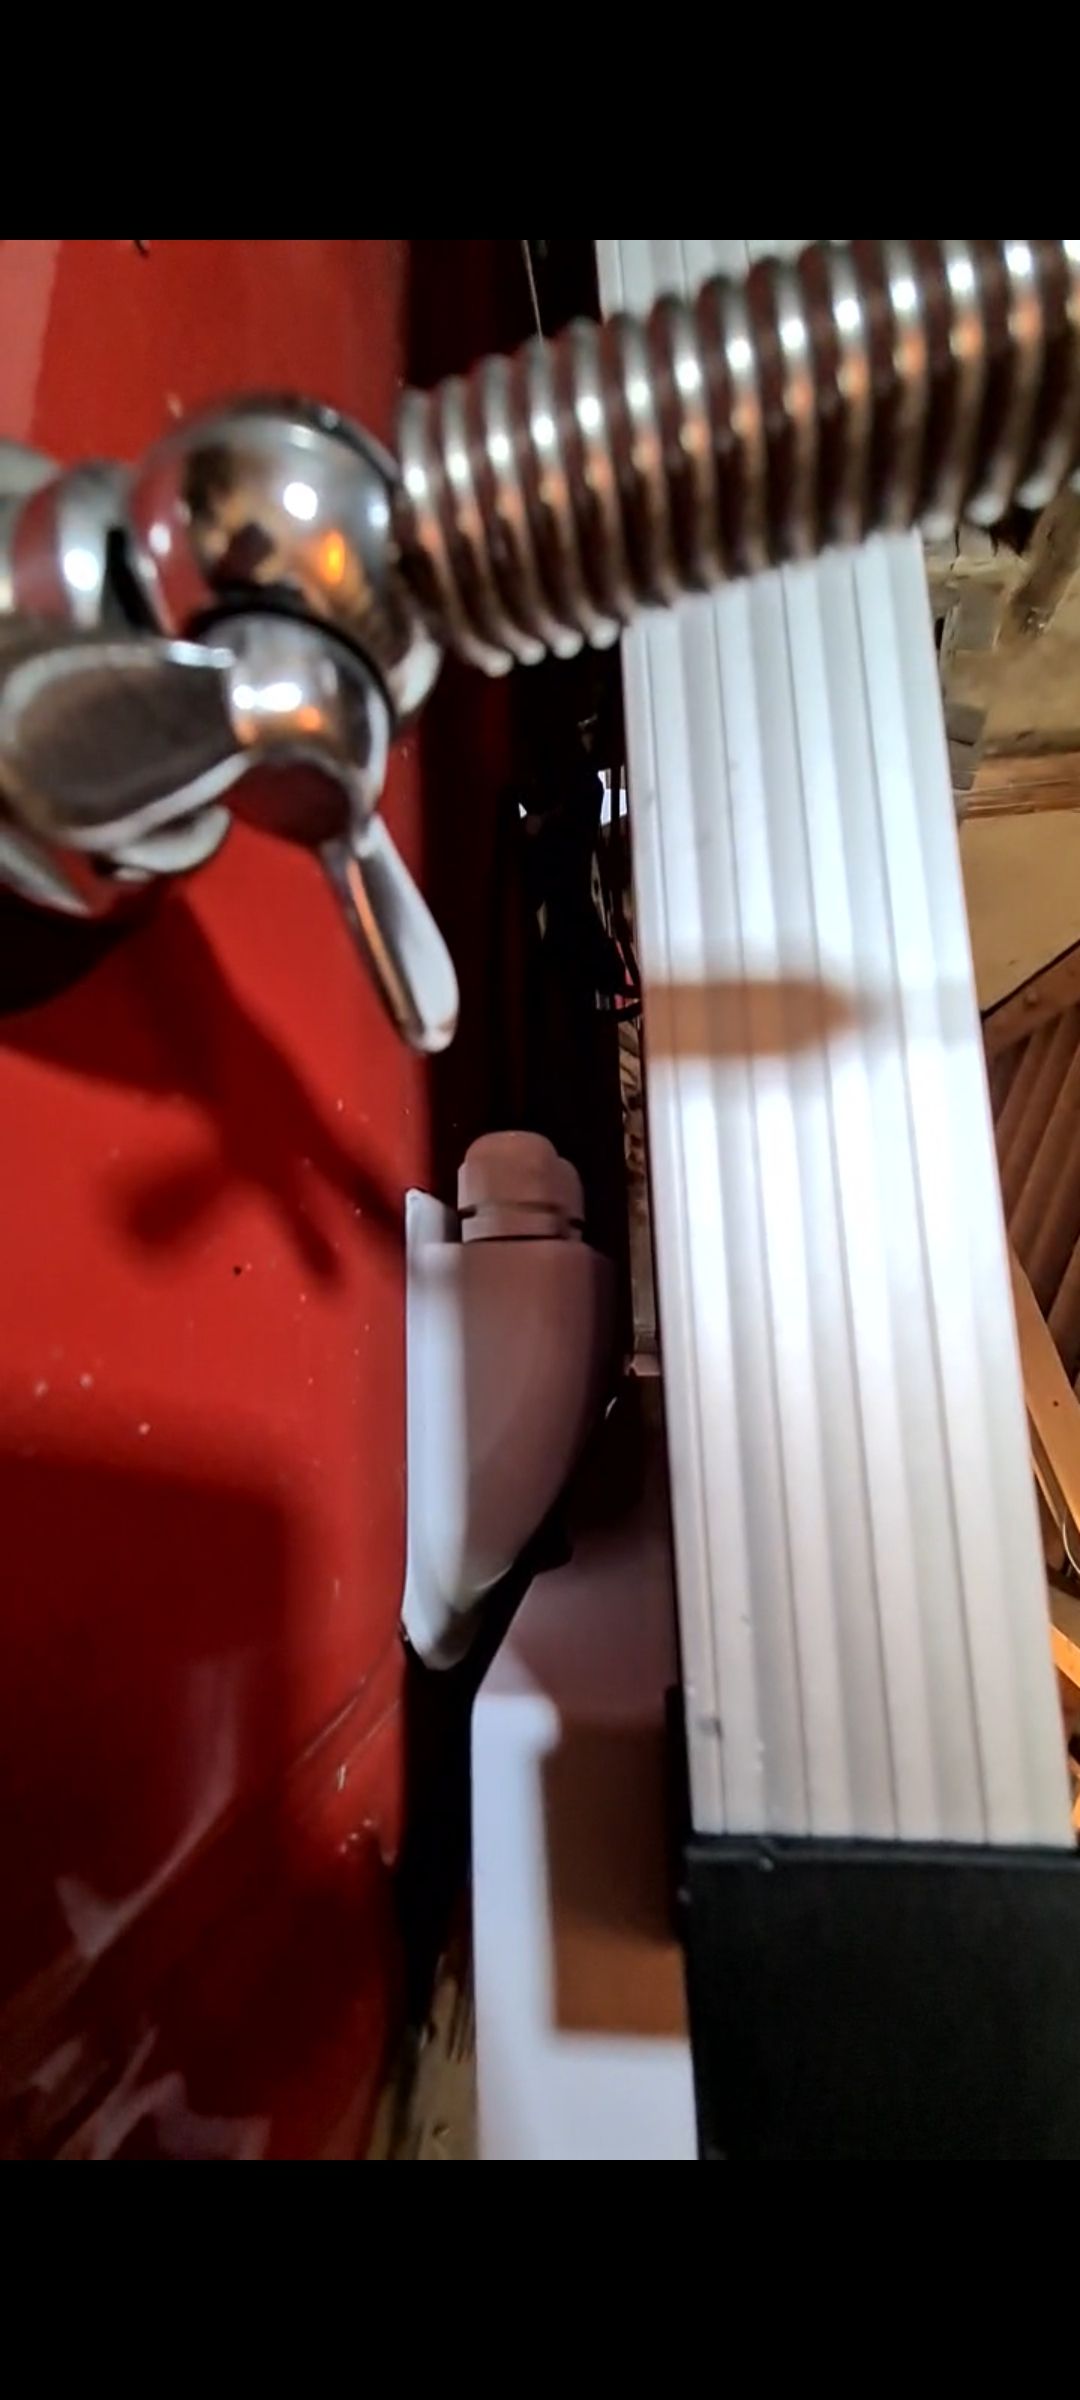
The location. Our panel is located on the front roof. The car battery is located behind the driver's seat. The on-board battery is now located in the cargo area right next to the car battery.
The consumers. In the previous blog post, I already mentioned that we laid the cables from the front to the back, since most consumers are located near the rear doors in and around the kitchen area (We laid four cables out the back, three of which are connected, and one we still have for a future installation). One consumer is located in the front between the passenger and driver seats to enable charging during the drive.
The circuit. Our bus runs on 12V voltage. We had to weigh for a long time whether we wanted to install a 230V circuit and in the end we decided against it for cost and benefit reasons. Nowadays, many things can be charged with 12V. Every mobile phone can be connected to a USB port and refrigerators, submersible pumps, and kettles can also be used with a 12V connection.
If we ever need a higher voltage, we can supply our bus with 220V via a shore power cable and the corresponding connection. However, this would ultimately only work on a campsite.
If you have any specific questions, feel free to ask me. I hope I could provide a rough overview of how things are set up. The principle of the electrical system is pretty much the same in almost any camper van. We are fundamentally equipped here and will probably upgrade further in the future. But that, like everything, is purely a question of money.
Iscriviti alla Newsletter
Risposta