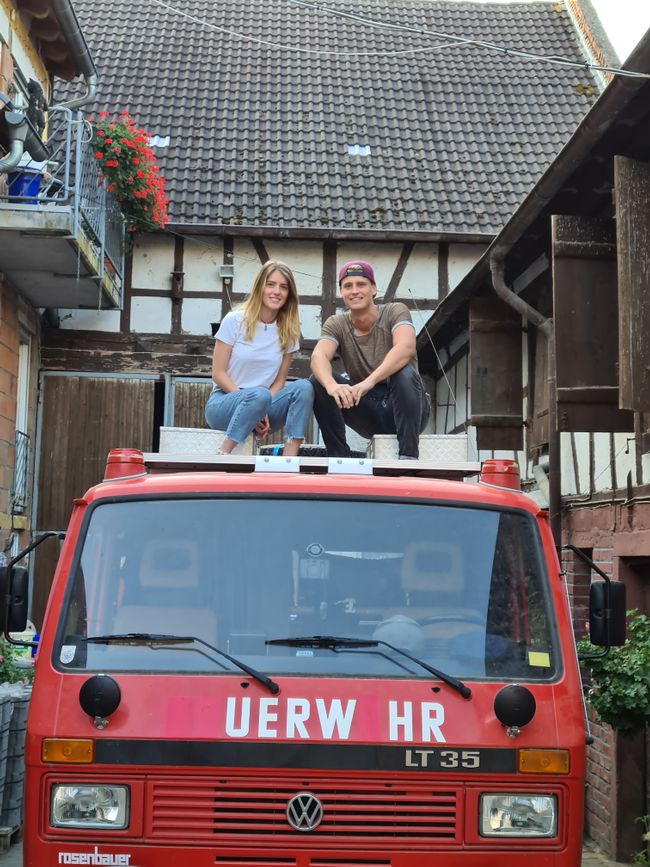
The Conversion Part 1: Body/ Insulation/ Basic Structure
ထုတ်ဝေခဲ့သည်။: 19.09.2020

သတင်းလွှာကို စာရင်းသွင်းပါ။
Since we both had no idea about converting a bus, we had to gather information from various forums and sources.
To give a rough overview, I would like to post a step-by-step demonstration in multiple parts.
First. What is going to be converted?
As a campervan, almost any body can function. Under the hashtag Vanlife, you can find all forms of campervans, from converted school buses to Sprinters to minivans. I am amazed at how people unleash their creativity.
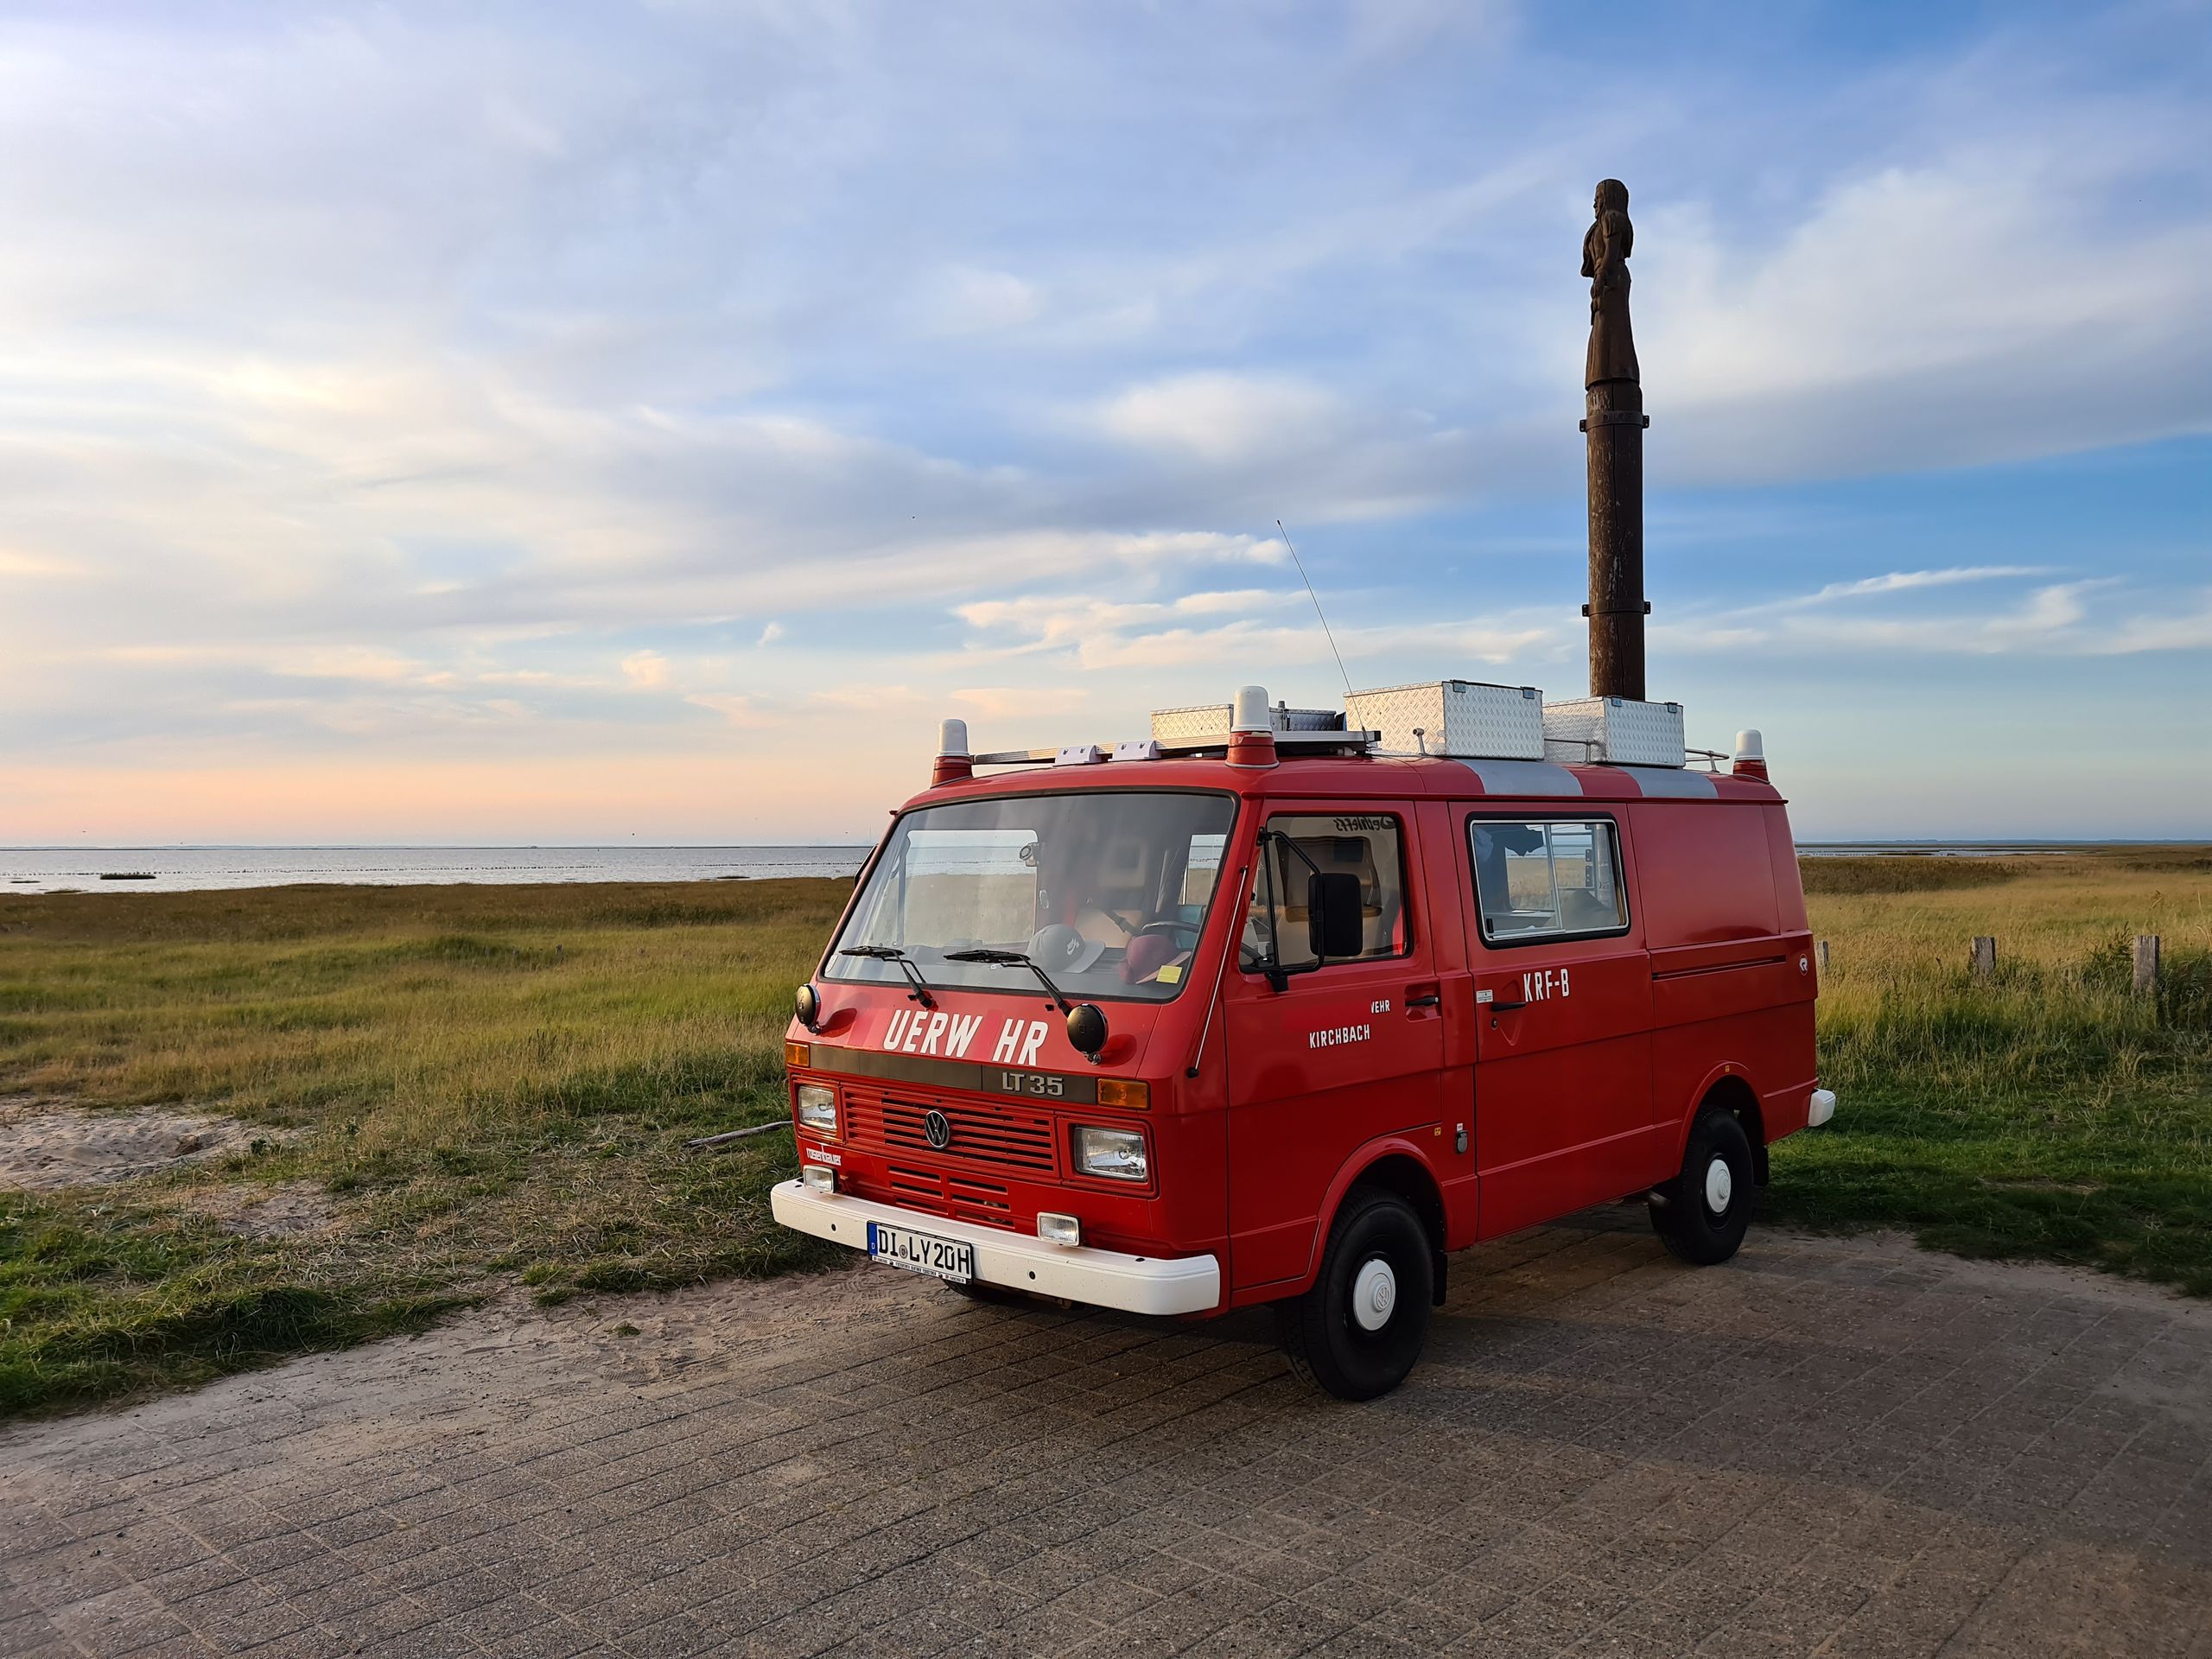
For us, in the end, the LT35 was not only the optimal model visually but also in terms of dimensions. With a length of 1.9m, width of 3m, we were able to plan a bed and a kitchenette. With a ceiling height of 1.4m, it is technically a seated camper, but that didn't stop us from buying it. :)
Second. Mileage and maintenance. How many kilometers has the bus already traveled and how much wear and tear has it endured due to weather and usage?
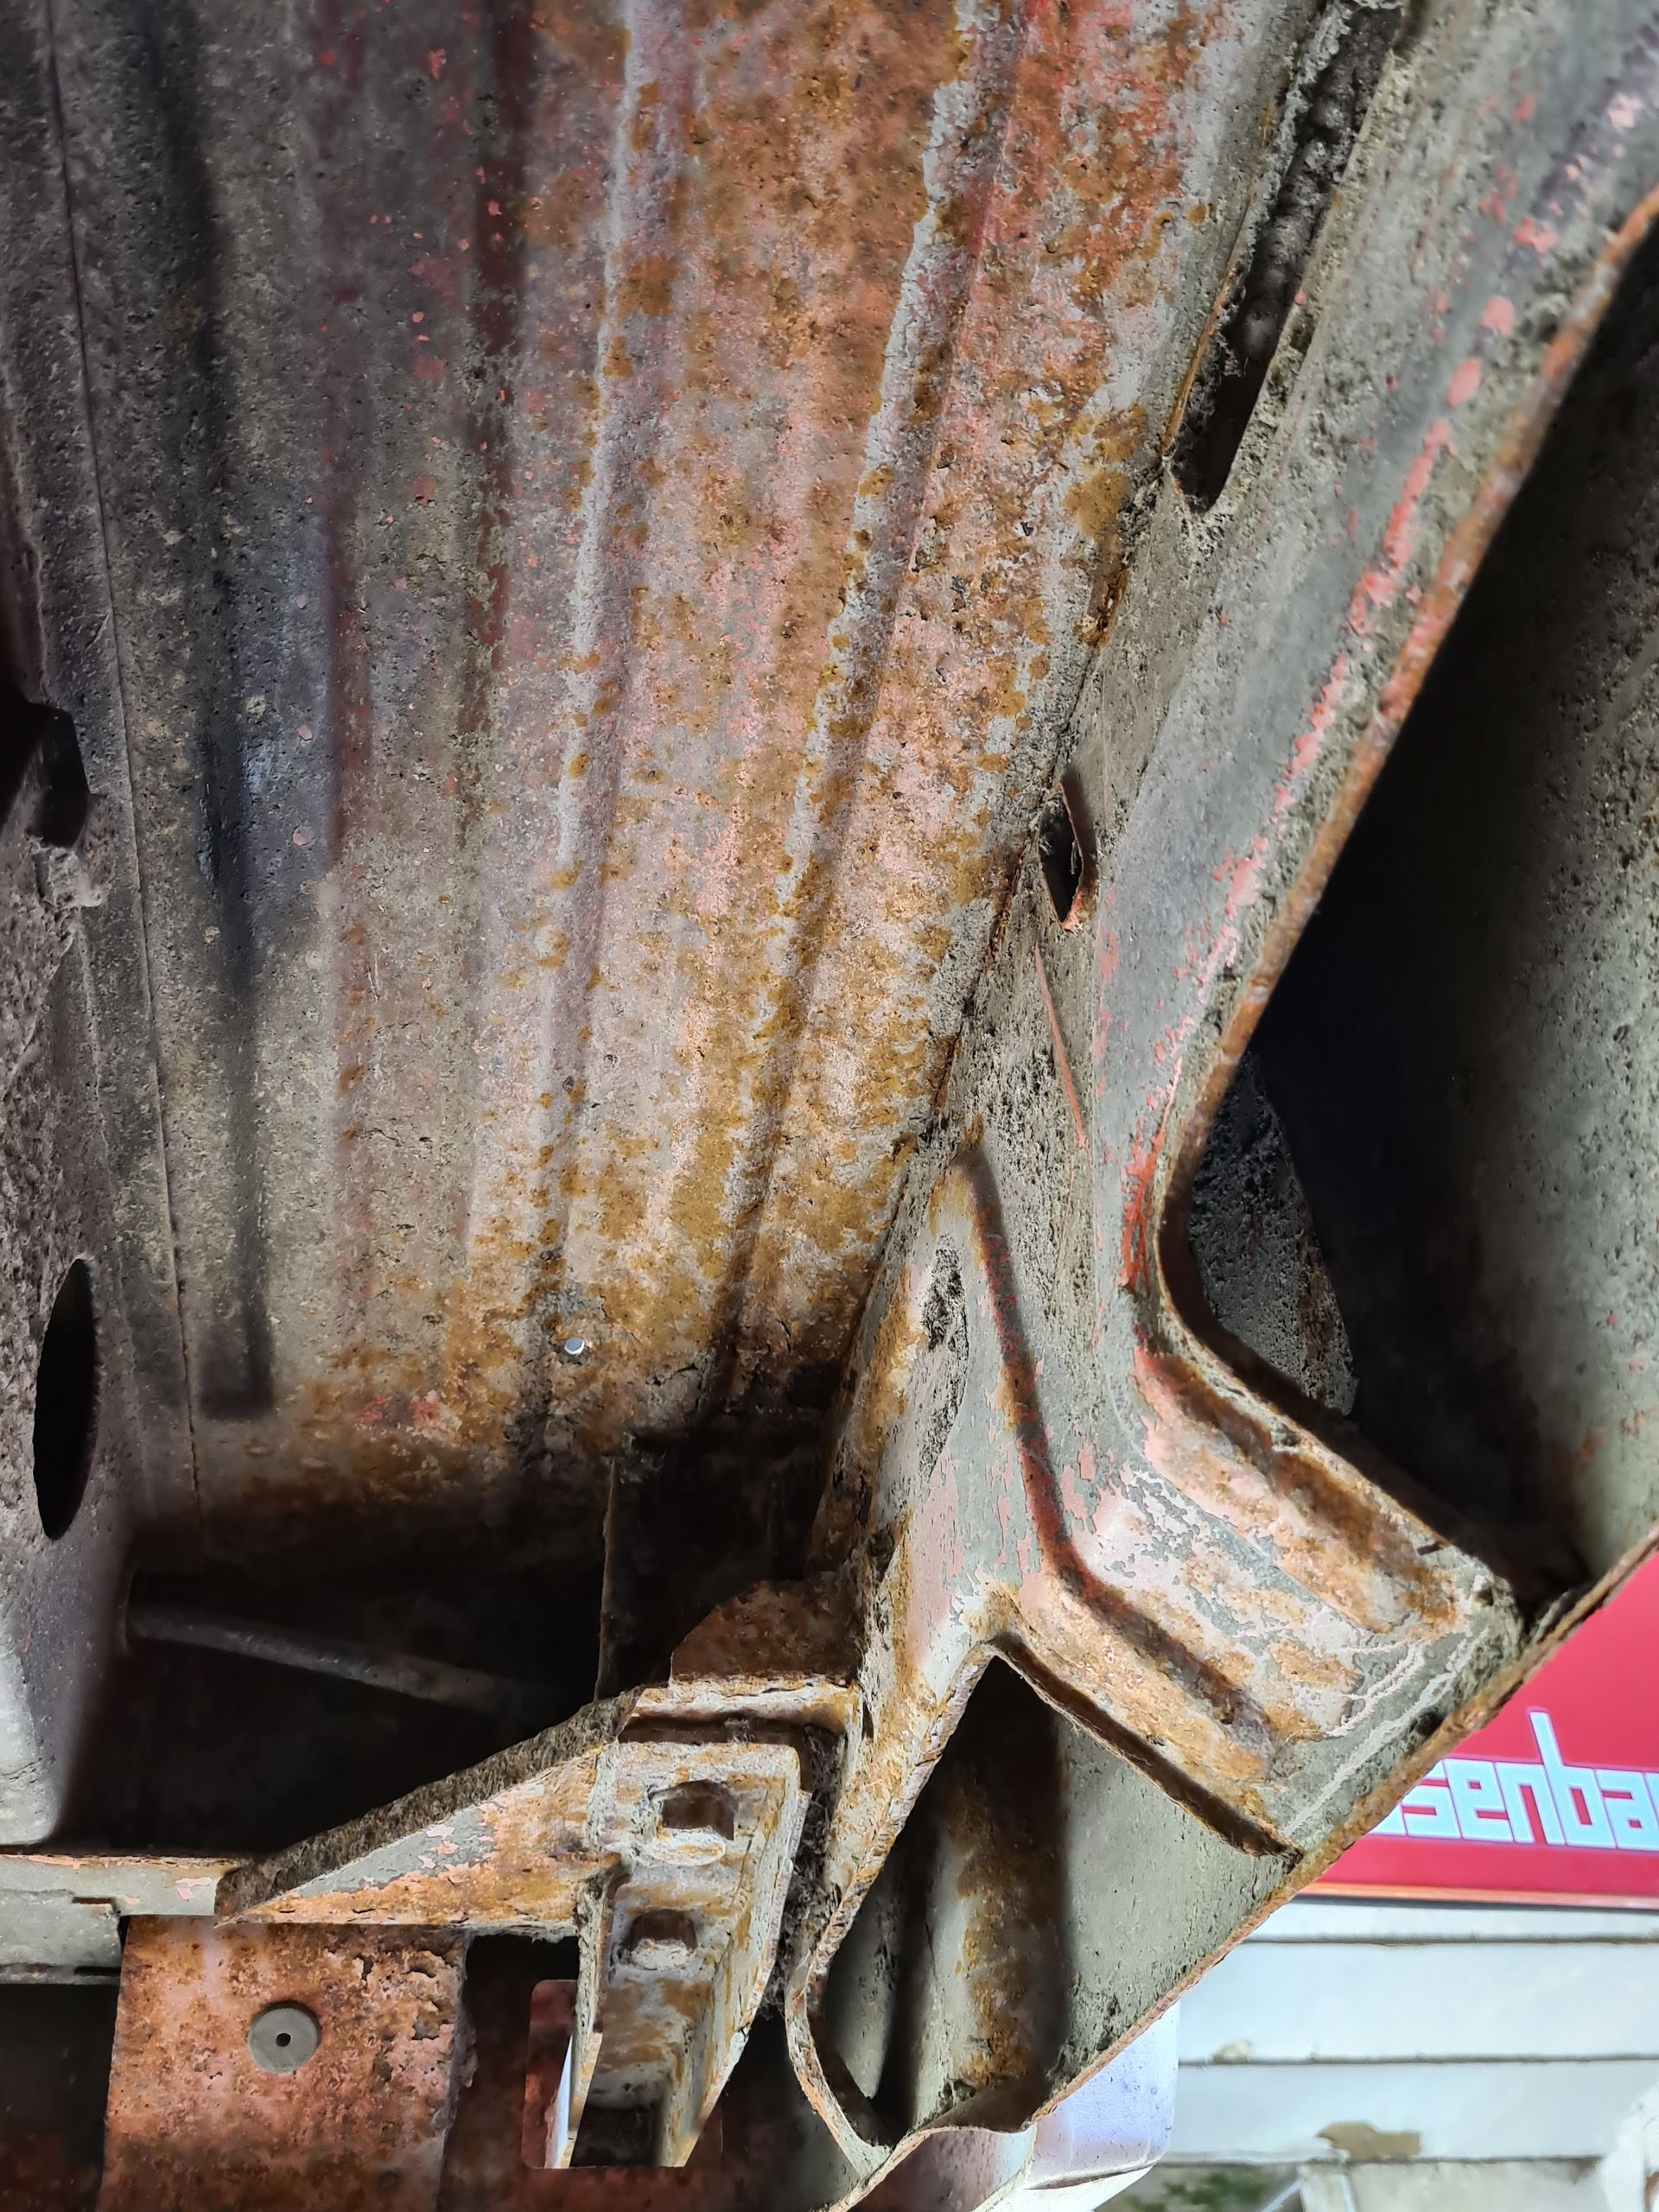
This was also an important criterion for us. We didn't want to buy a cat in a bag and planned for as little bodywork as possible for the first project. Fire trucks are inspected annually and rarely have rust spots on the chassis and undercarriage due to their place at the fire station.
In our LT, the beams at the rear were affected by rust. However, without additional welding work, we were able to handle it well. To maintain the current condition of the car, the cavities and underbody were preserved with wax. Surface rust was brushed off with a wire brush and the exposed metal was coated with protective paint.
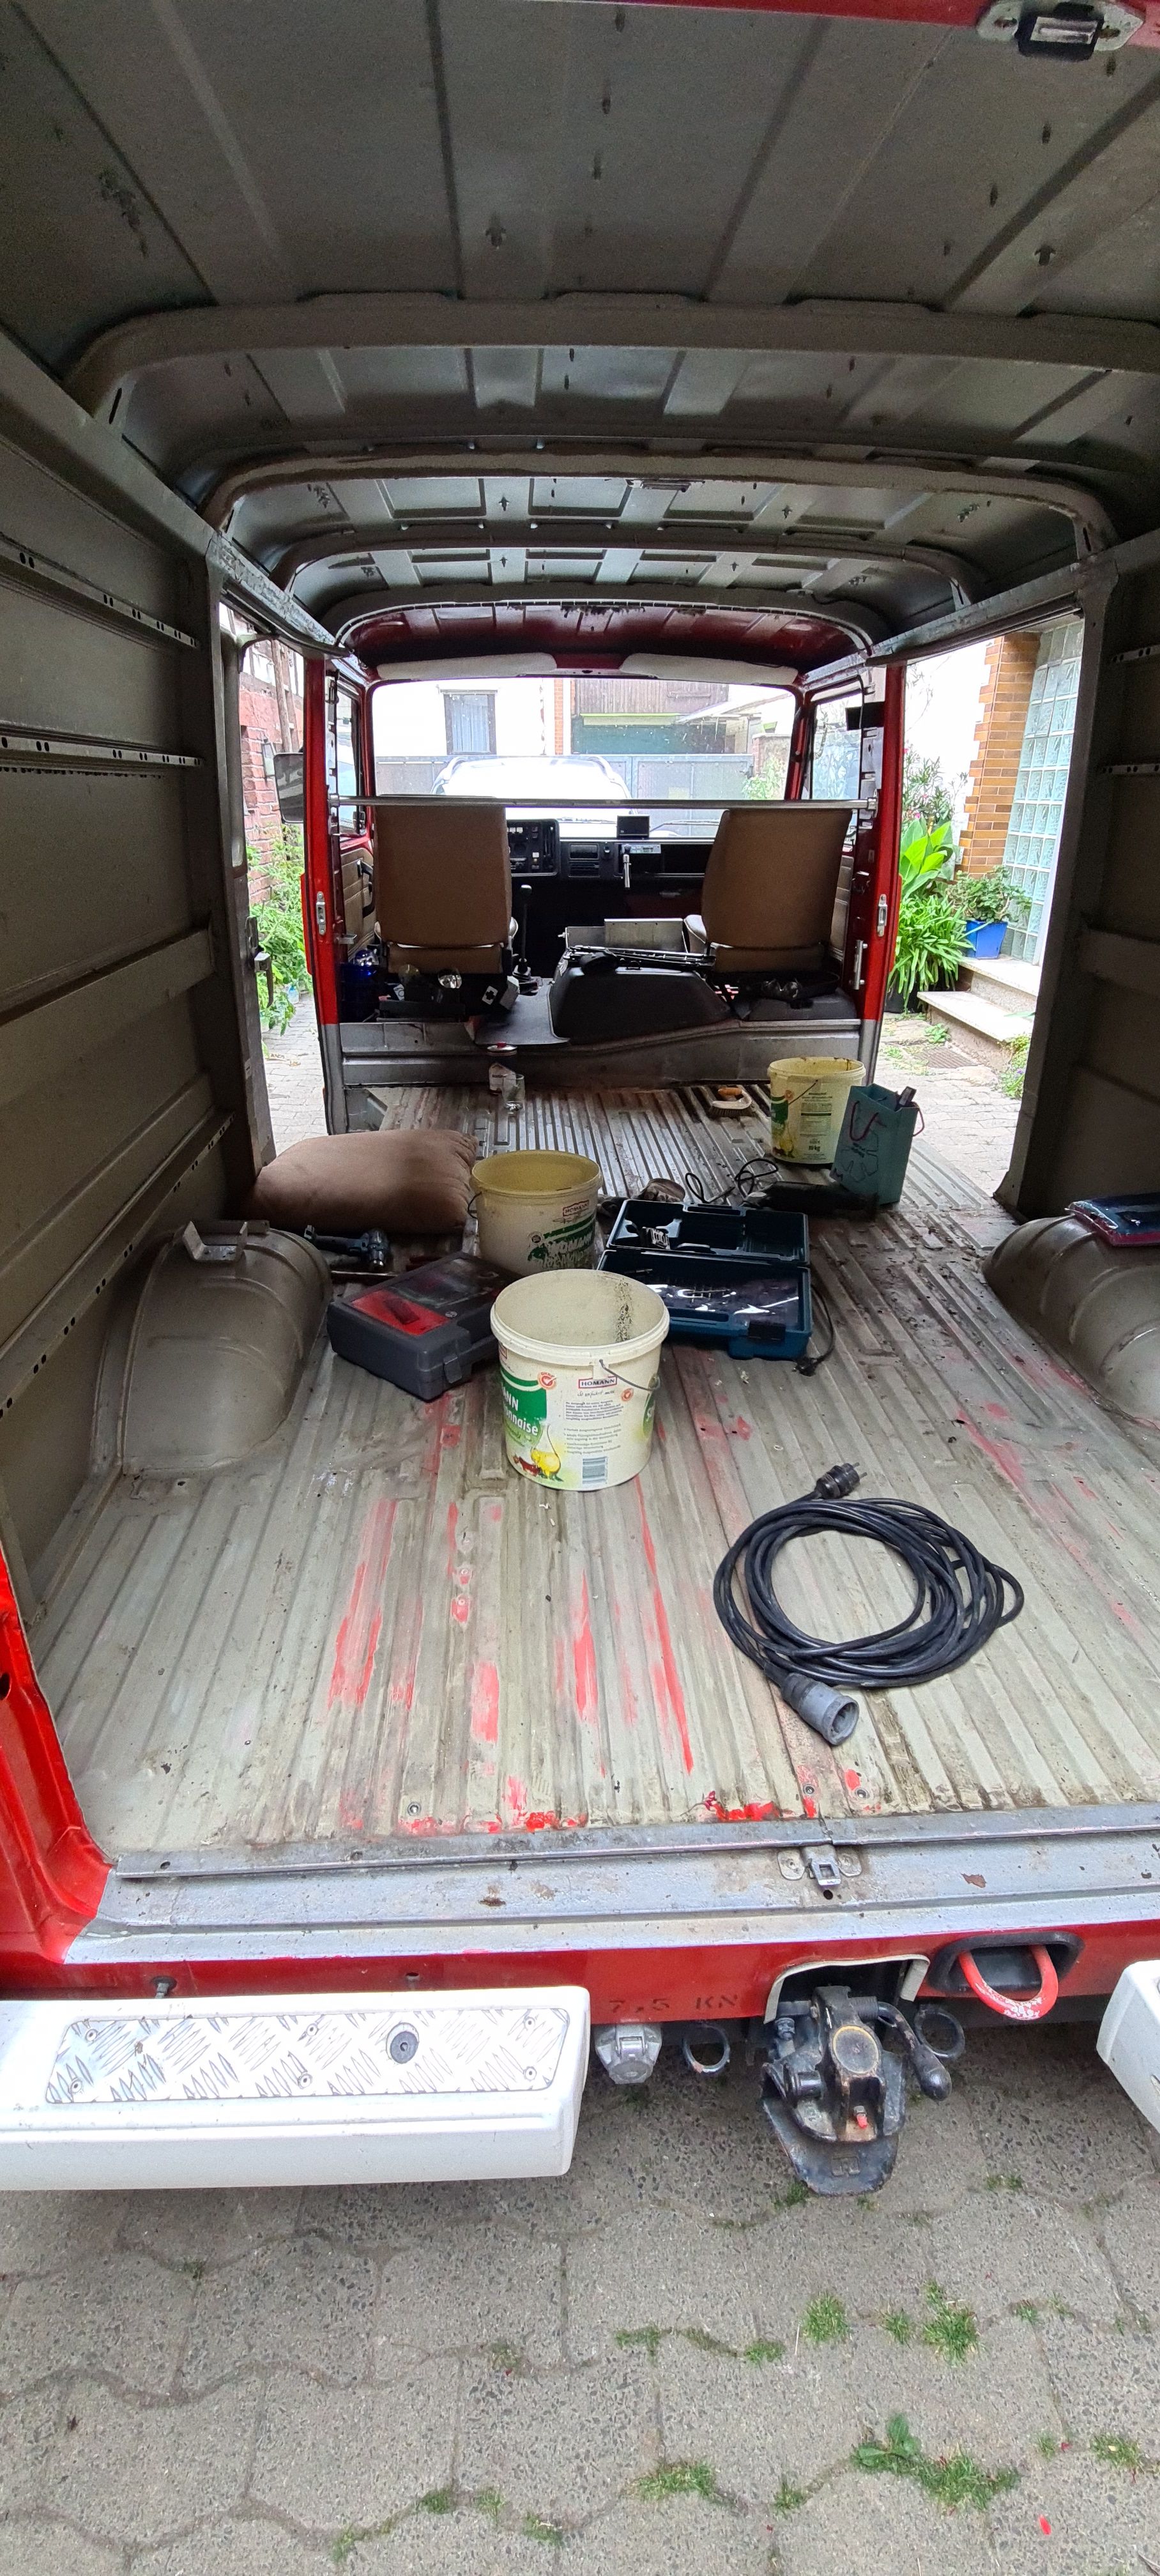
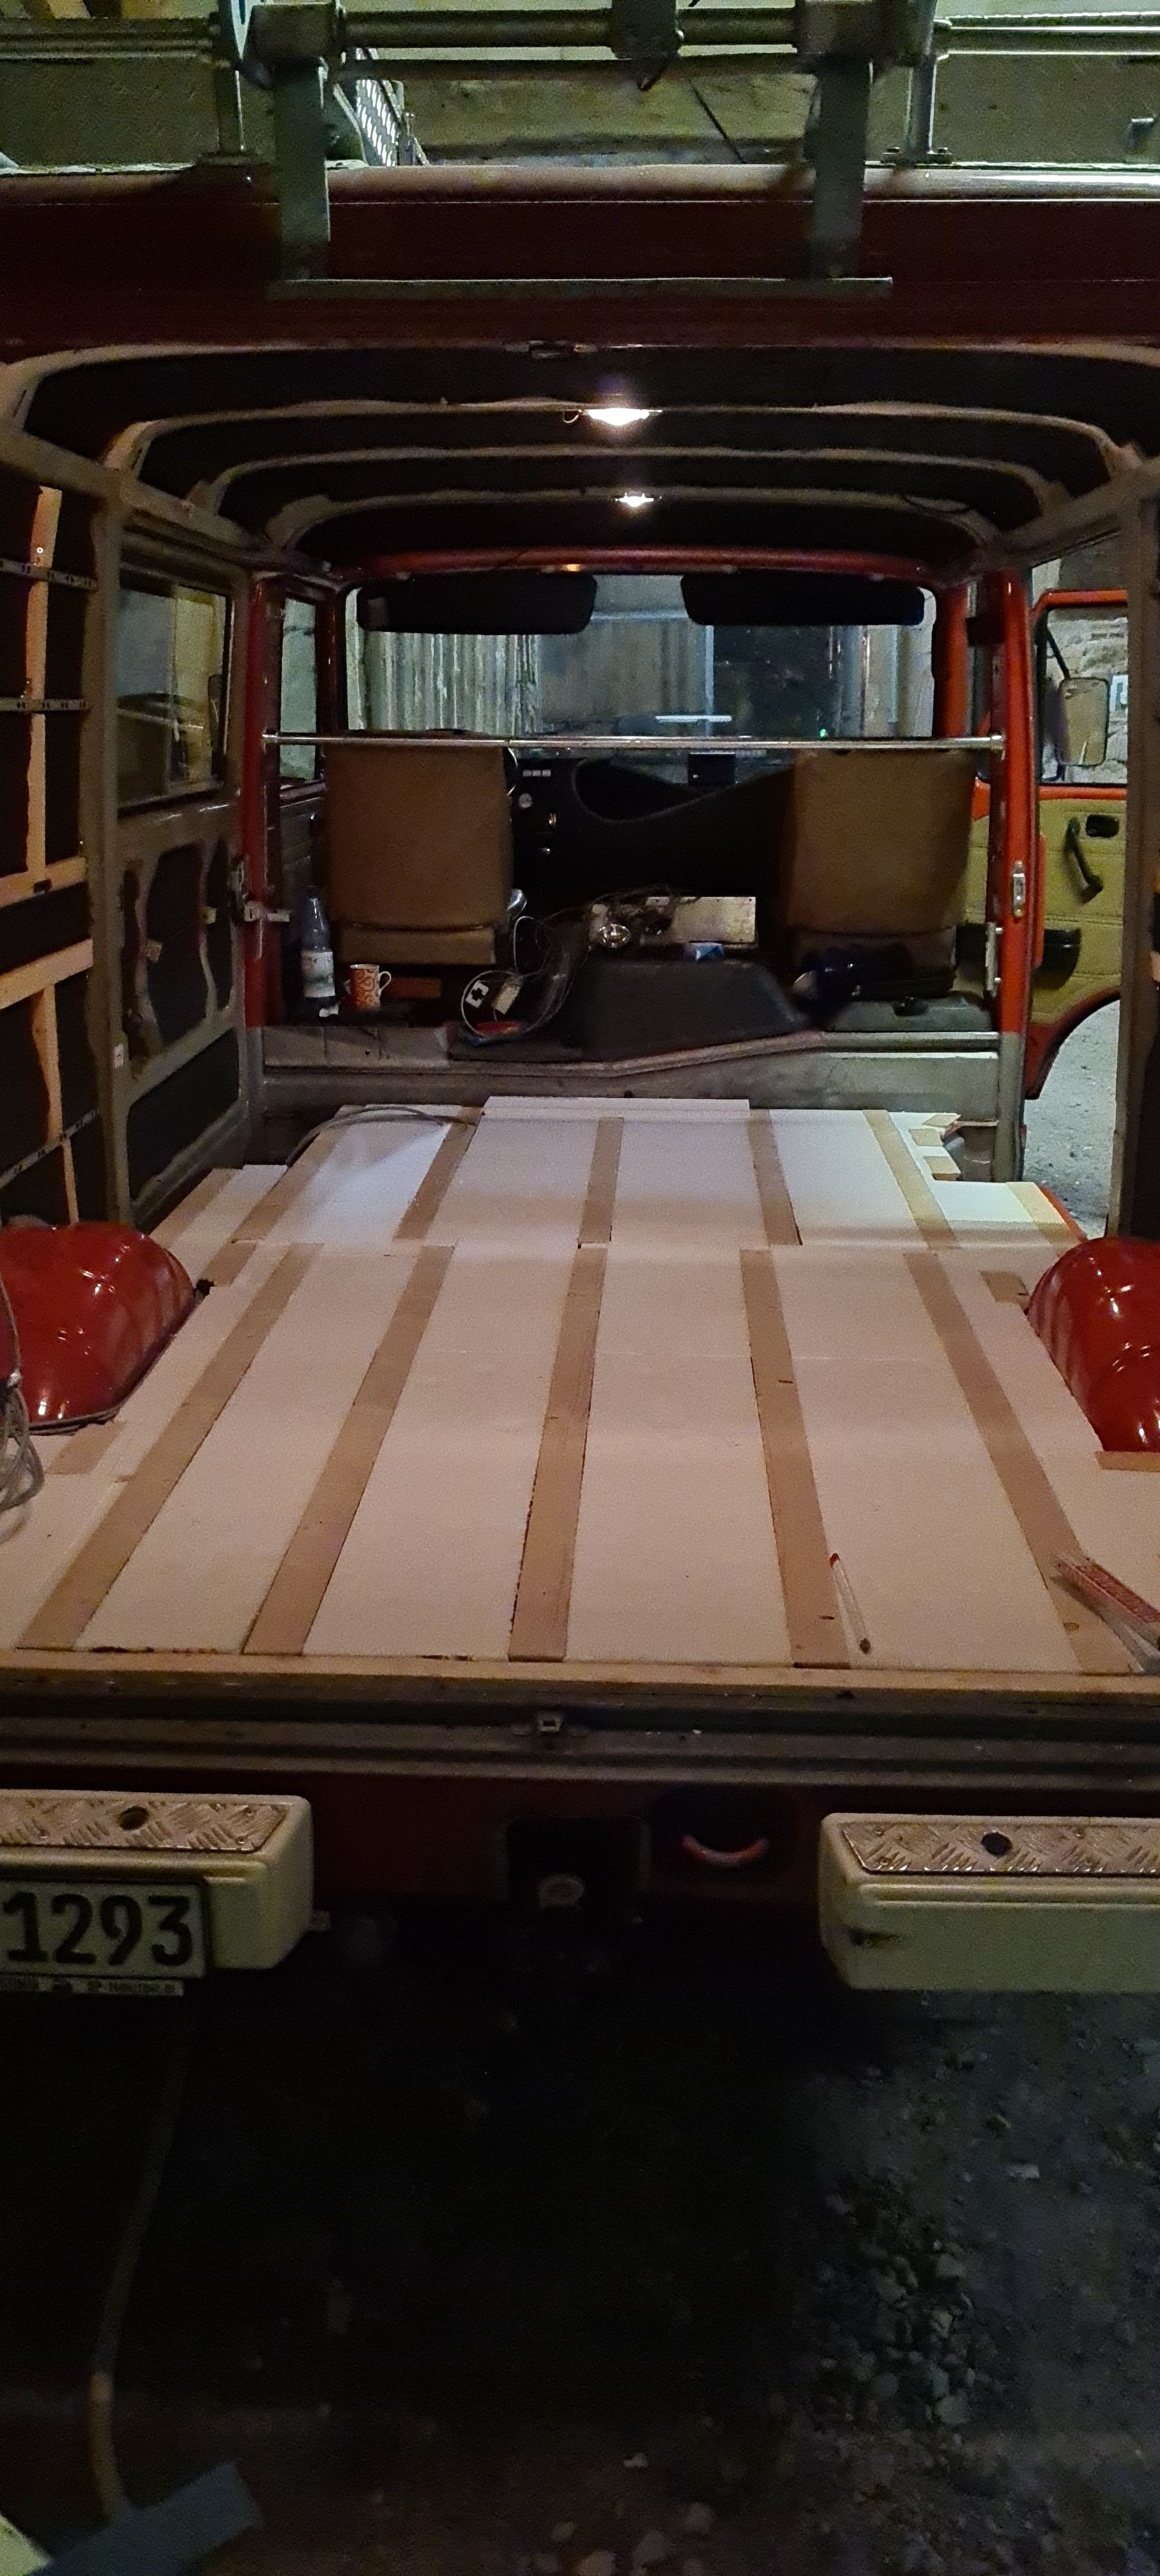
We painted the interior completely in red with a 3-in-1 paint.
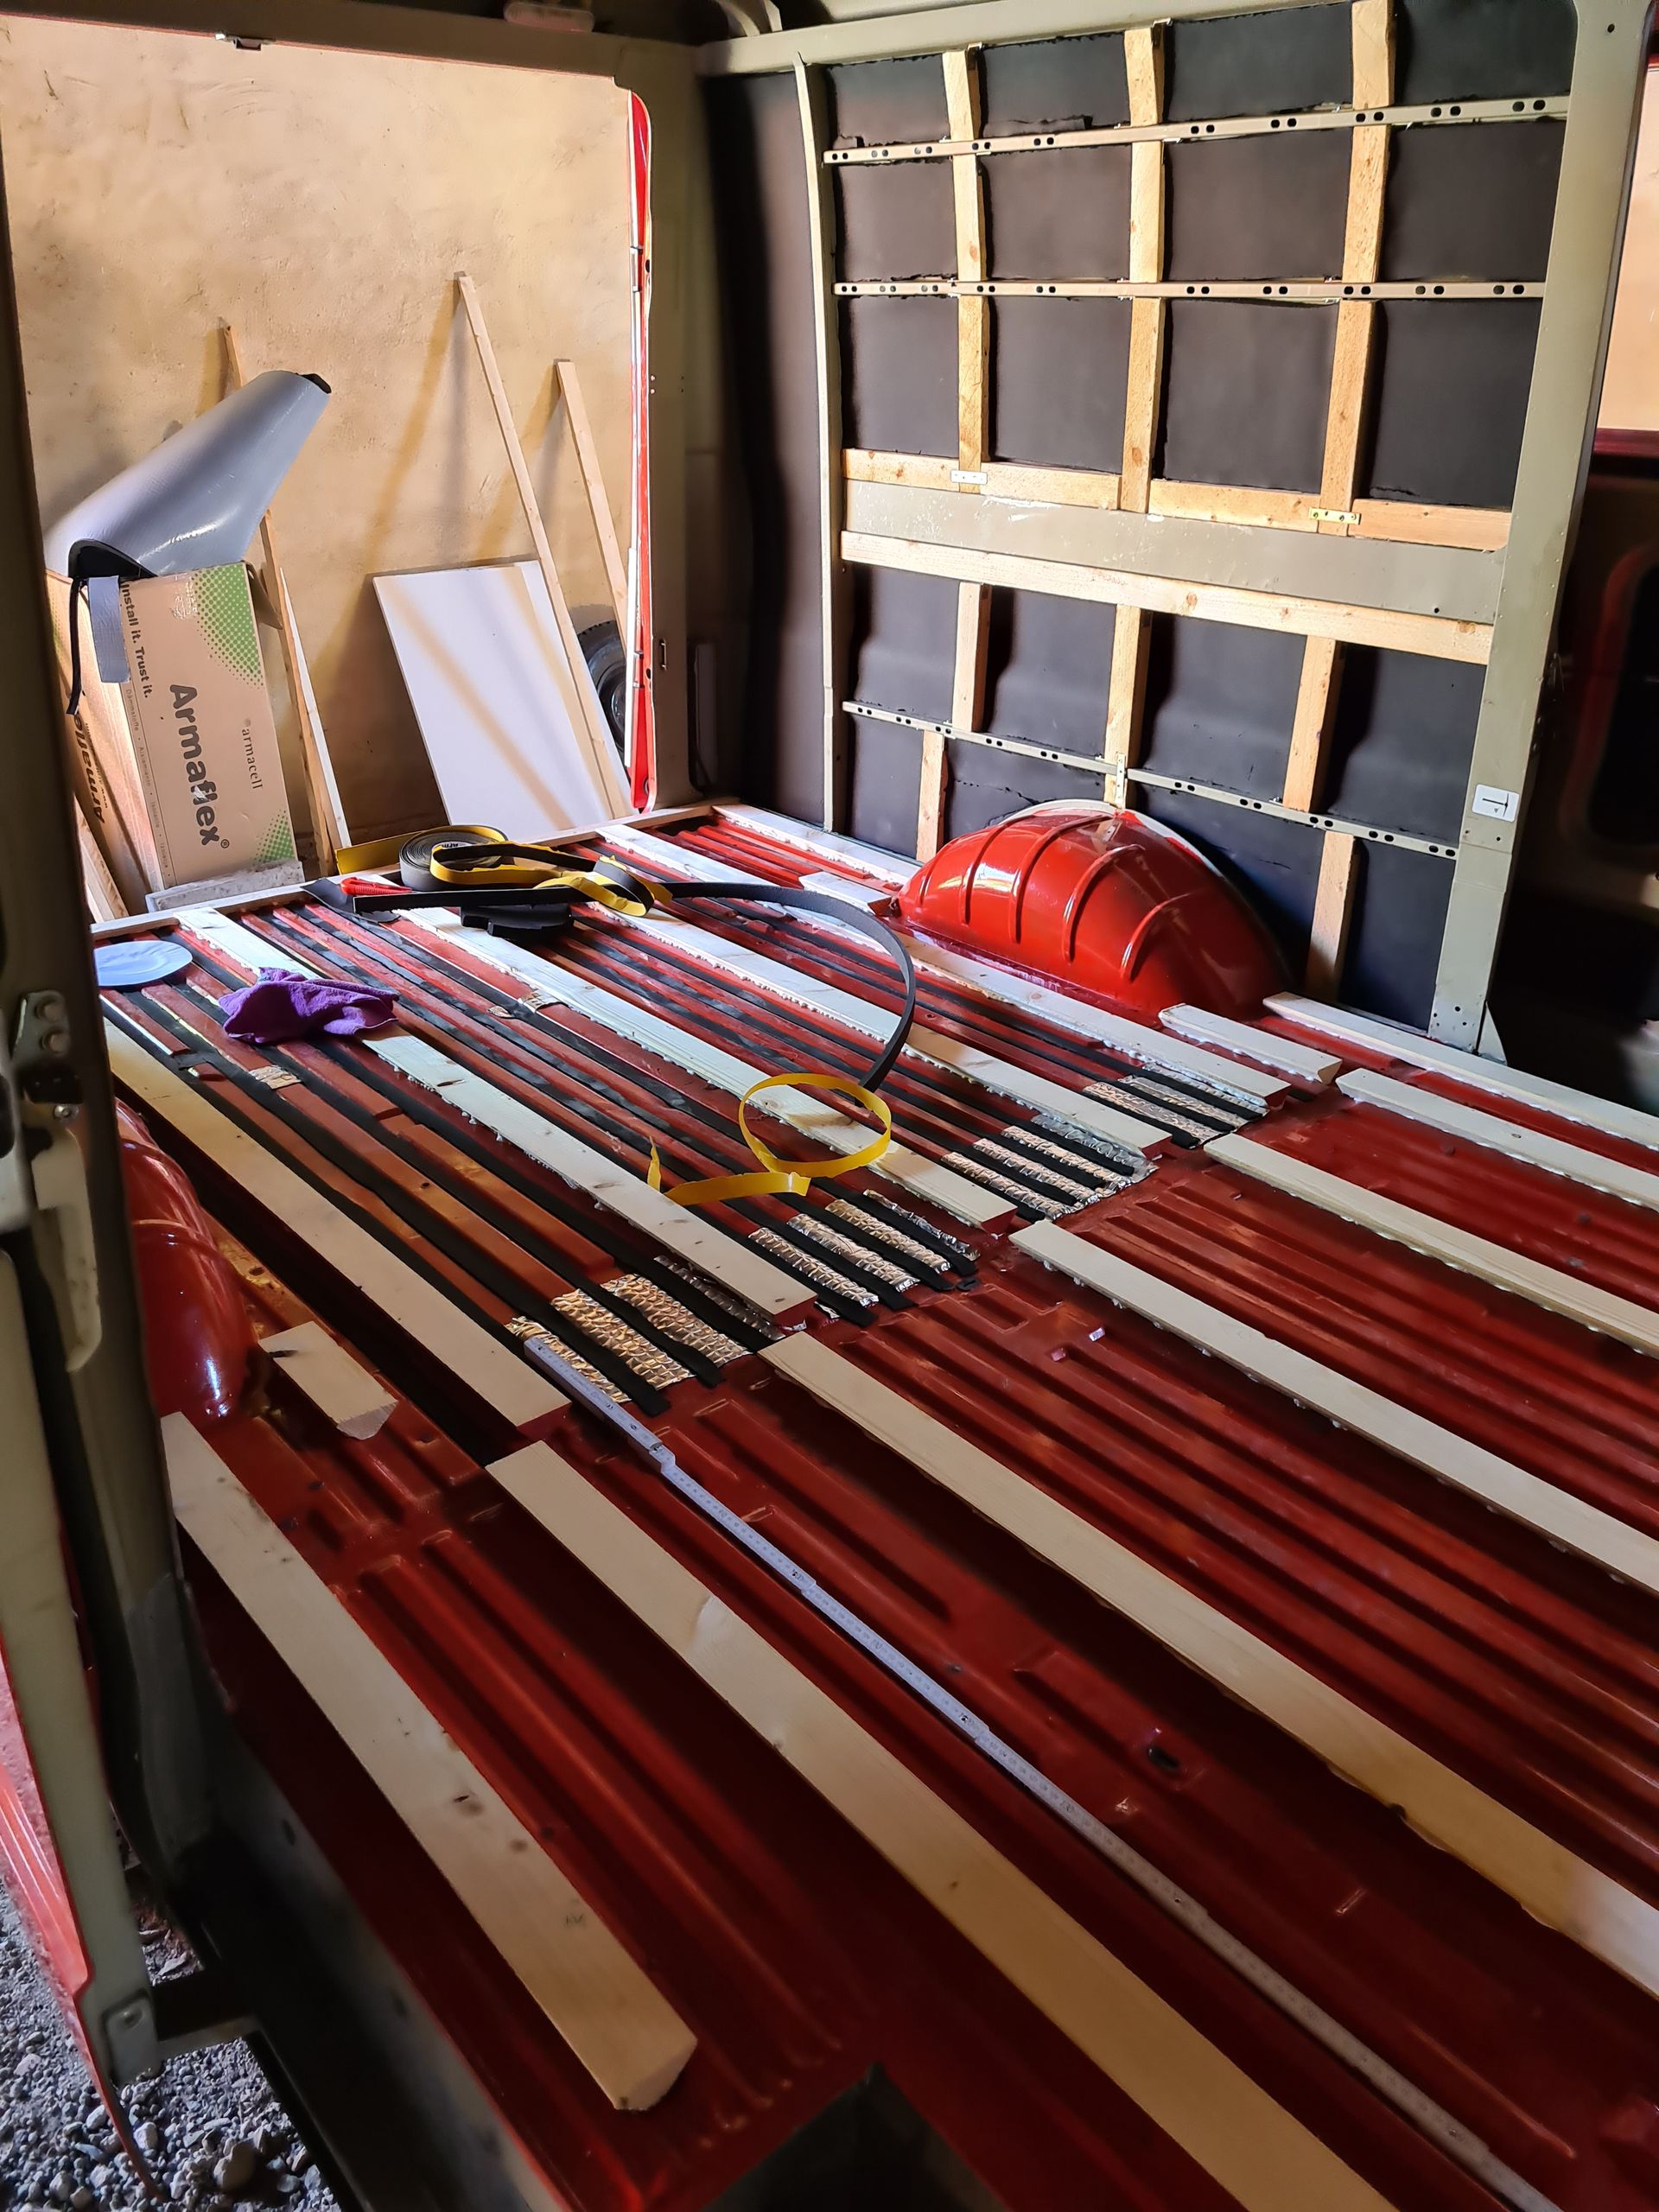
Third. Insulation and basic structure. The walls and ceiling are lined with 19mm Armaflex. We laid the floor with 20mm EPS panels. The self-adhesive Armaflex made insulation very easy for us, but to save some costs, we ultimately decided on styrofoam panels for the floor.
We built the basic structure using 60mm x 40mm ceiling battens. Less is more here. In hindsight, we probably used too many battens. If you know beforehand how and where you want to attach wall and floor panels, you can save weight in this area.
We attached the battens on the walls with the beams of the side walls. The battens on the floor were only glued with adhesive. To prevent anything from sliding later, the floor battens were cut to fit the joints of the underfloor.
To avoid losing further height, no substructure was attached to the ceiling. We attached the future ceiling panel (6mm thickness) with sheet metal screws to the beams of the ceiling body.
I would like to give special thanks to Moksha for helping me cut the battens for the floor structure to a perfect fit.
သတင်းလွှာကို စာရင်းသွင်းပါ။
ဖြေ (2)
Andre
bin echt auf den Innenausbau (Bett + Küche) gespannt! Gute Reise!Luca
Kommt demnächst. Danke Andre! 
ခရီးသွားအစီရင်ခံစာ ဂျာမနီ