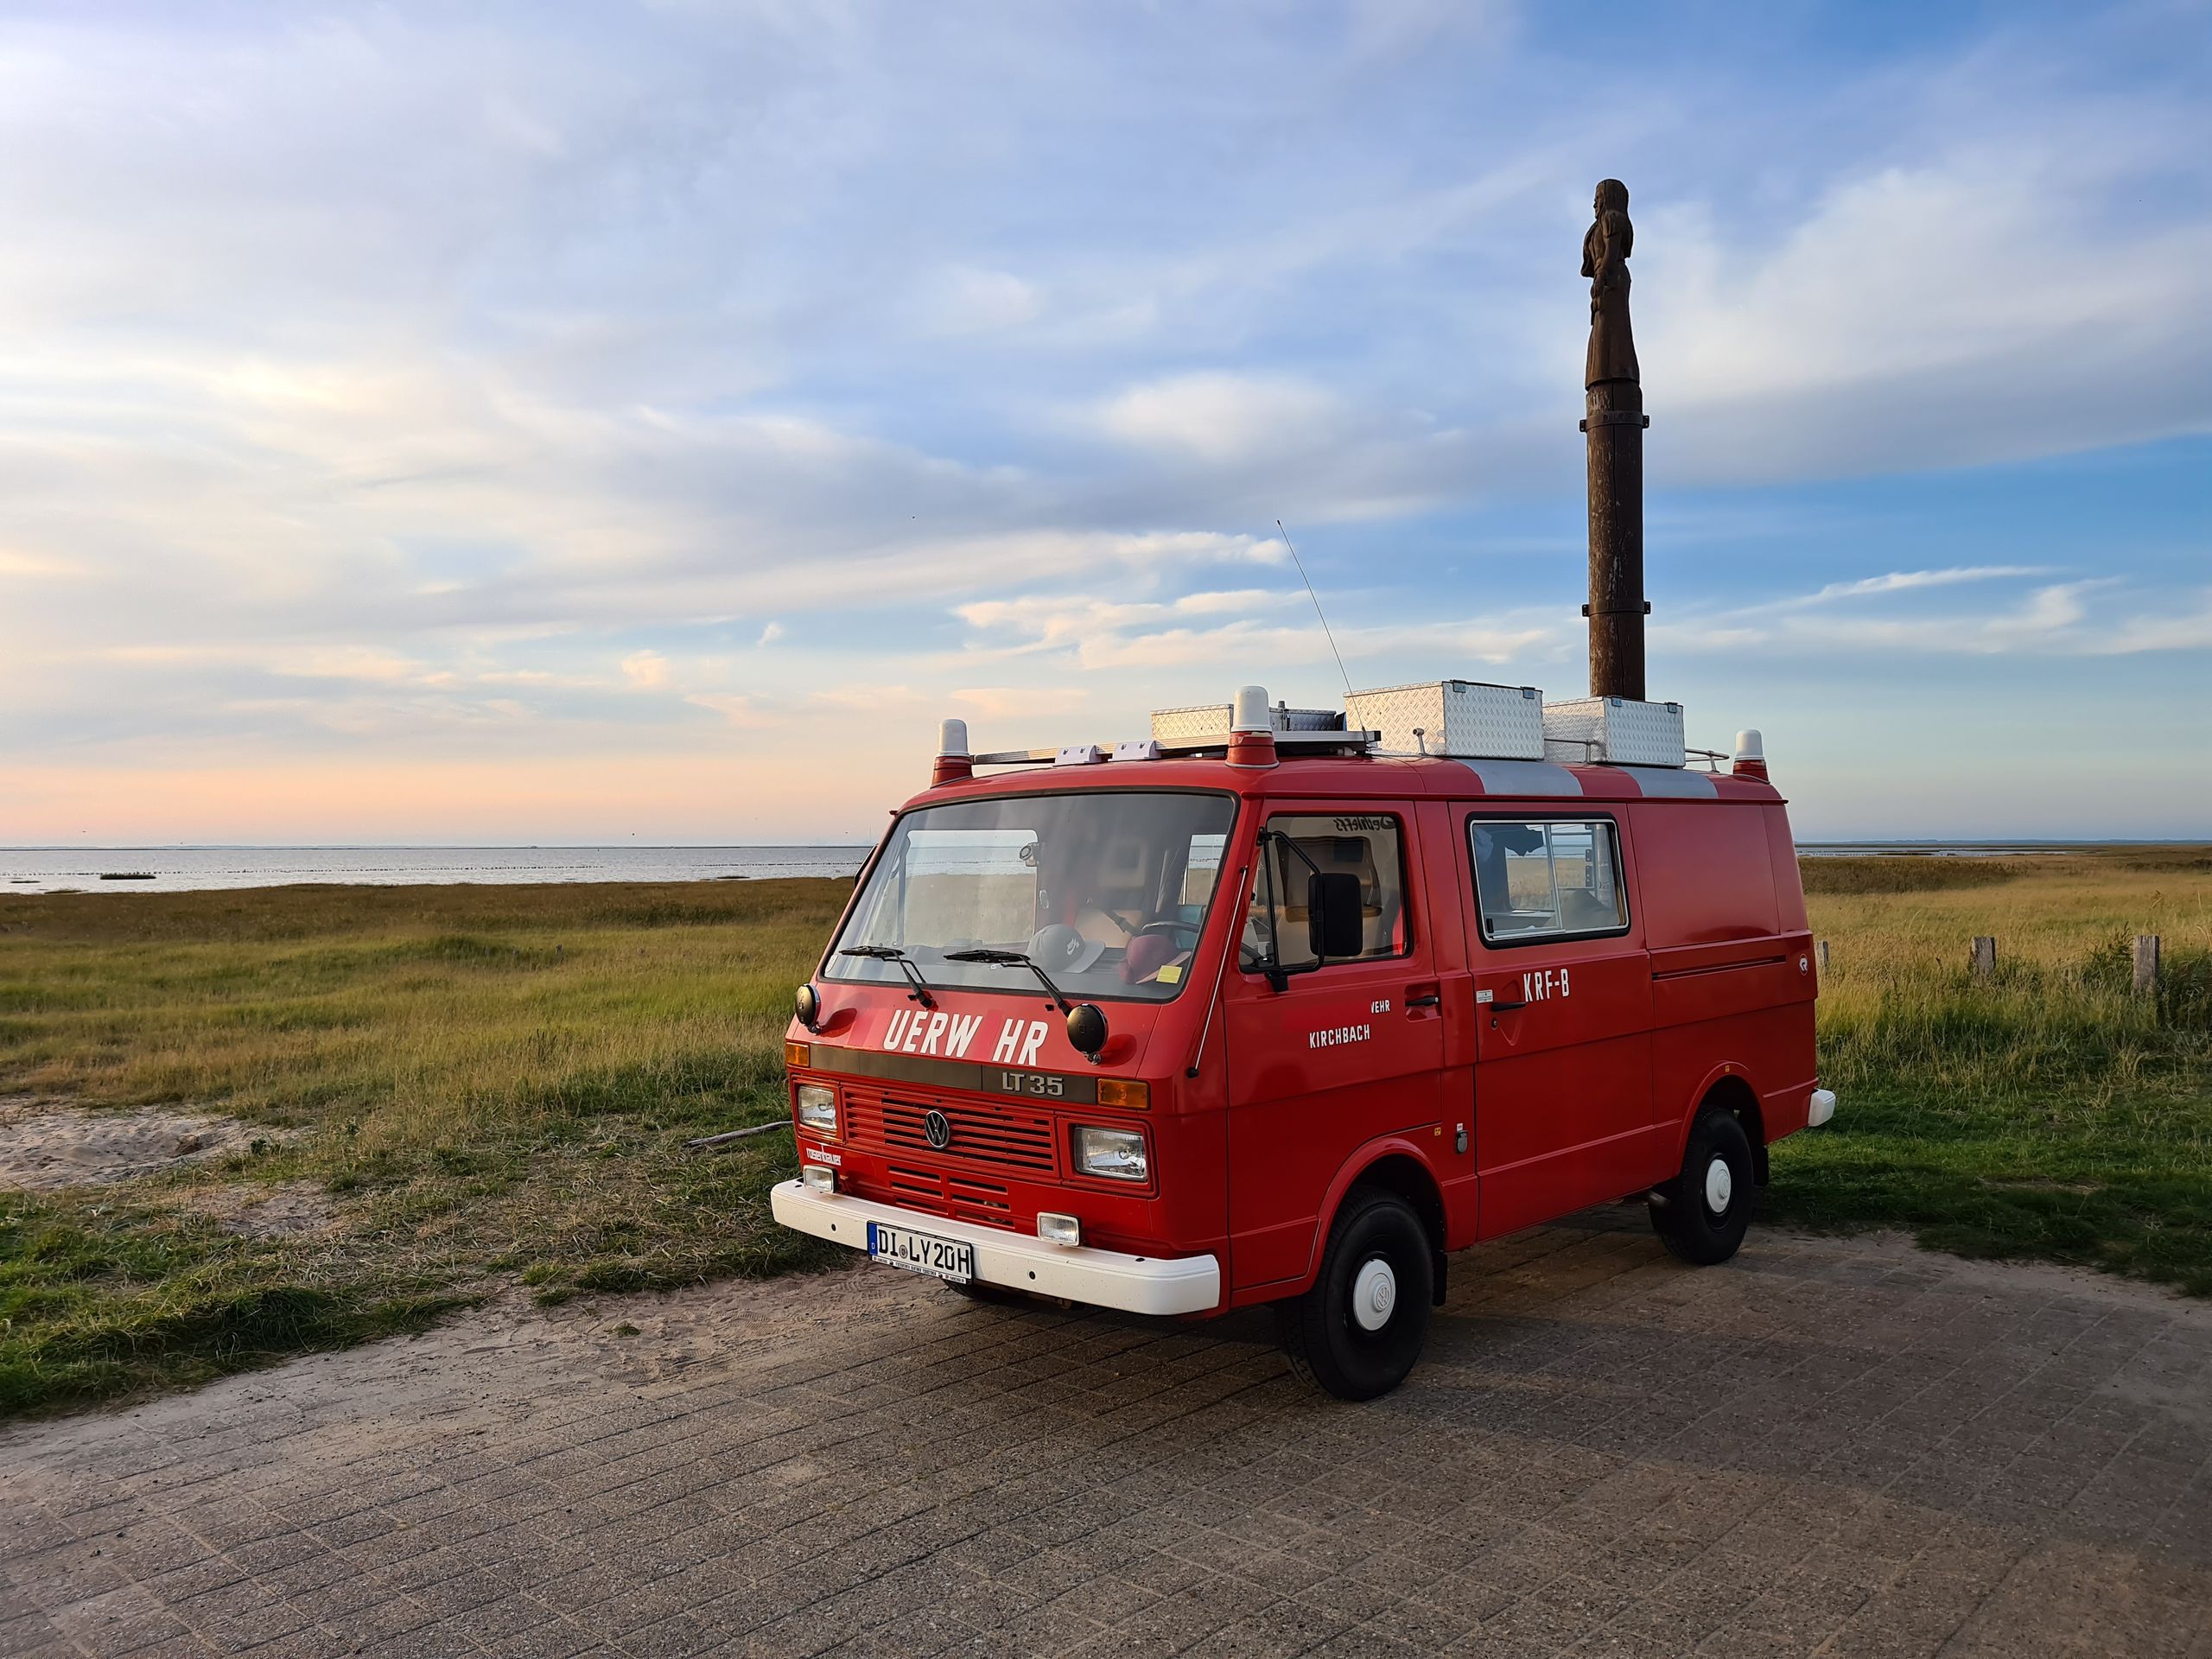
frischauf-und-hinfort
vakantio.de/frischauf-und-hinfort
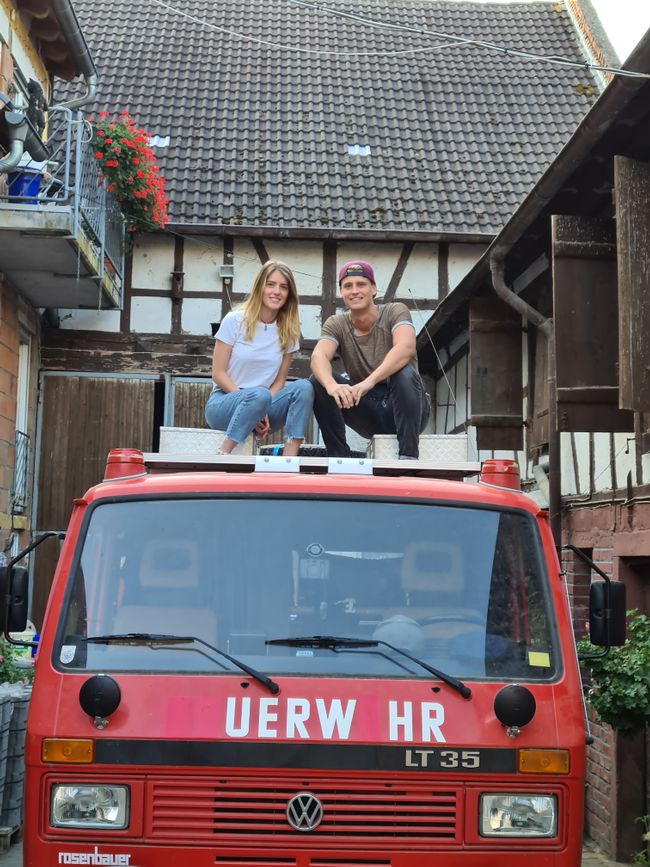
The Renovation Part 4: Interior Design.
A bɔra kɛnɛ kan: 22.09.2020


Aw ye aw tɔgɔ sɛbɛn Kibaruyaw la
After three days off the grid, it's time to talk briefly about the interior design.
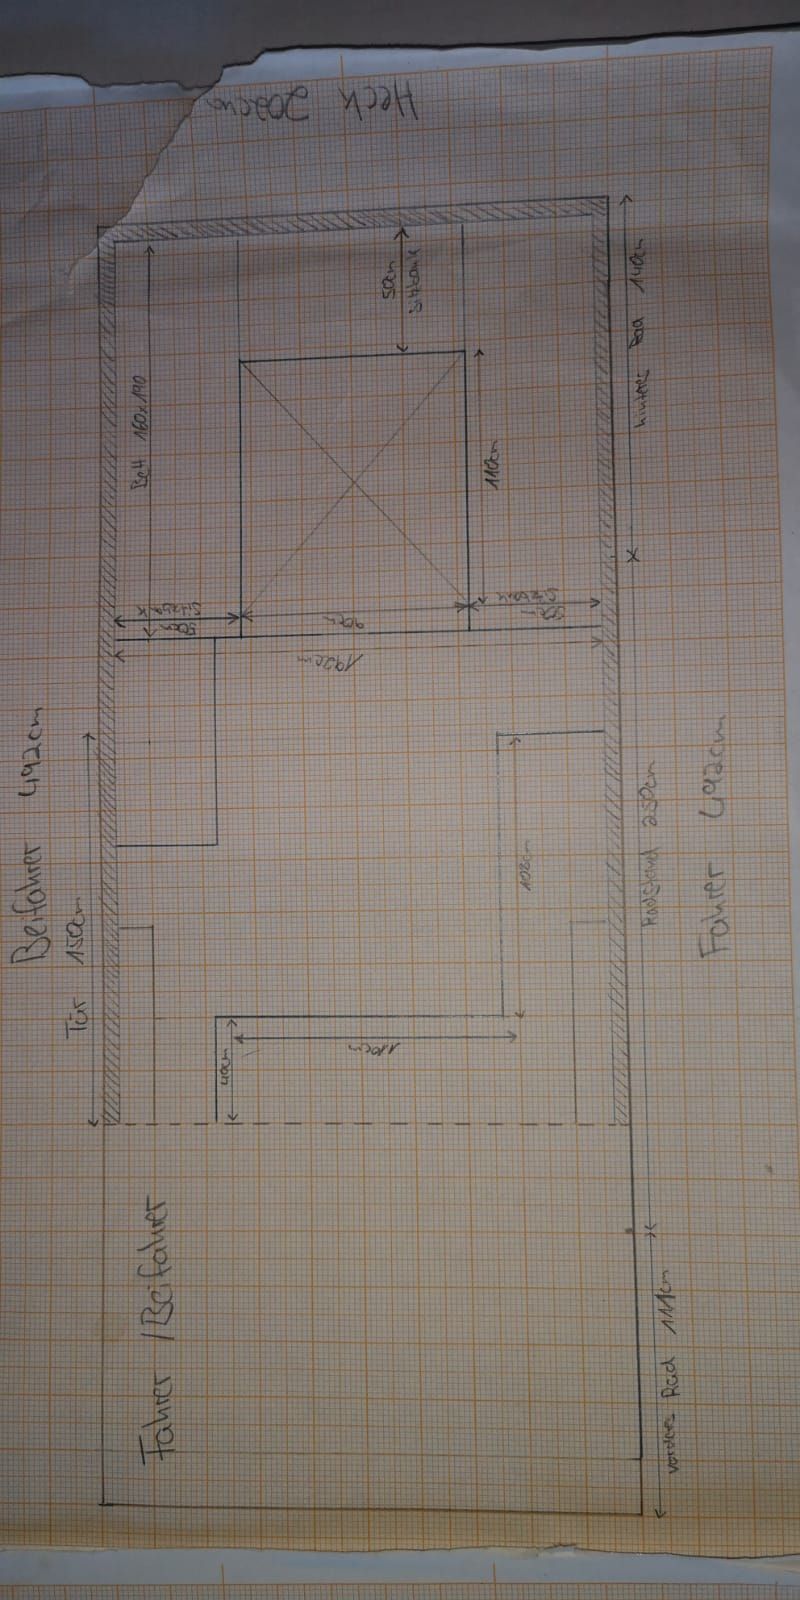
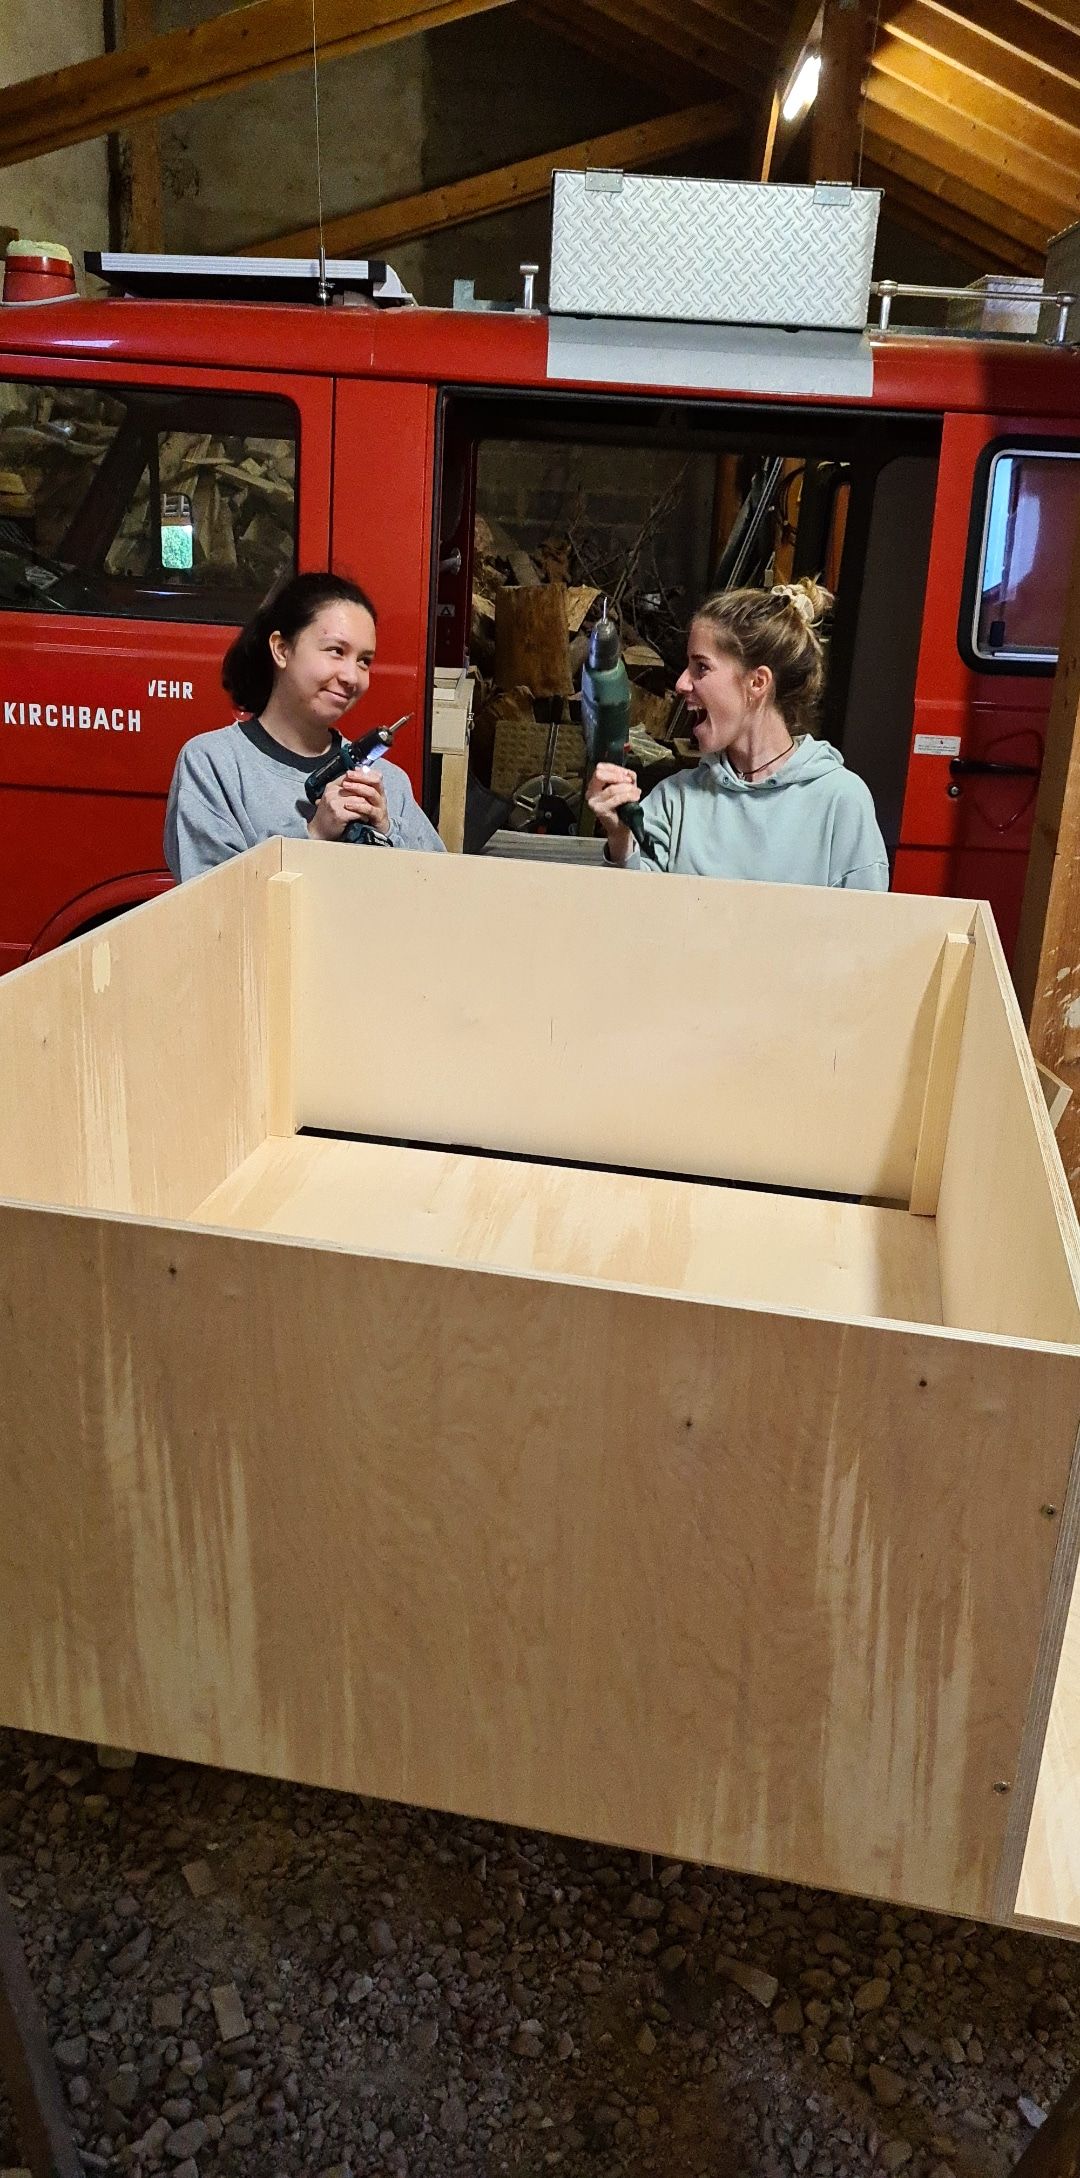
I believe the most difficult part is getting started. Before you happily grab your saw and drill and start working on the purchased building materials, it is important to visualize the whole thing spatially. Since both of us had difficulties with this visualization, we had to rethink everything about ten times.
We went from initial sketches to repeated measurements and later reconstruction with cardboard boxes. It was fun to work on the interior design, as we could unleash our creativity. Forums like Instagram or Pinterest provided us with good inspiration.
But the problem of being free-spirited was ultimately our indecisiveness. The room layout was very important to us. Of course, we wanted to make the most of the available space. The bed had to be flexible. The kitchen shouldn't take up the entire space, but still provide enough storage space for all the necessary utensils. And anyway, how is the best way to create storage space? In drawers, boxes, or cabinets?
By now, I can say that we are very satisfied with how we finally built it.
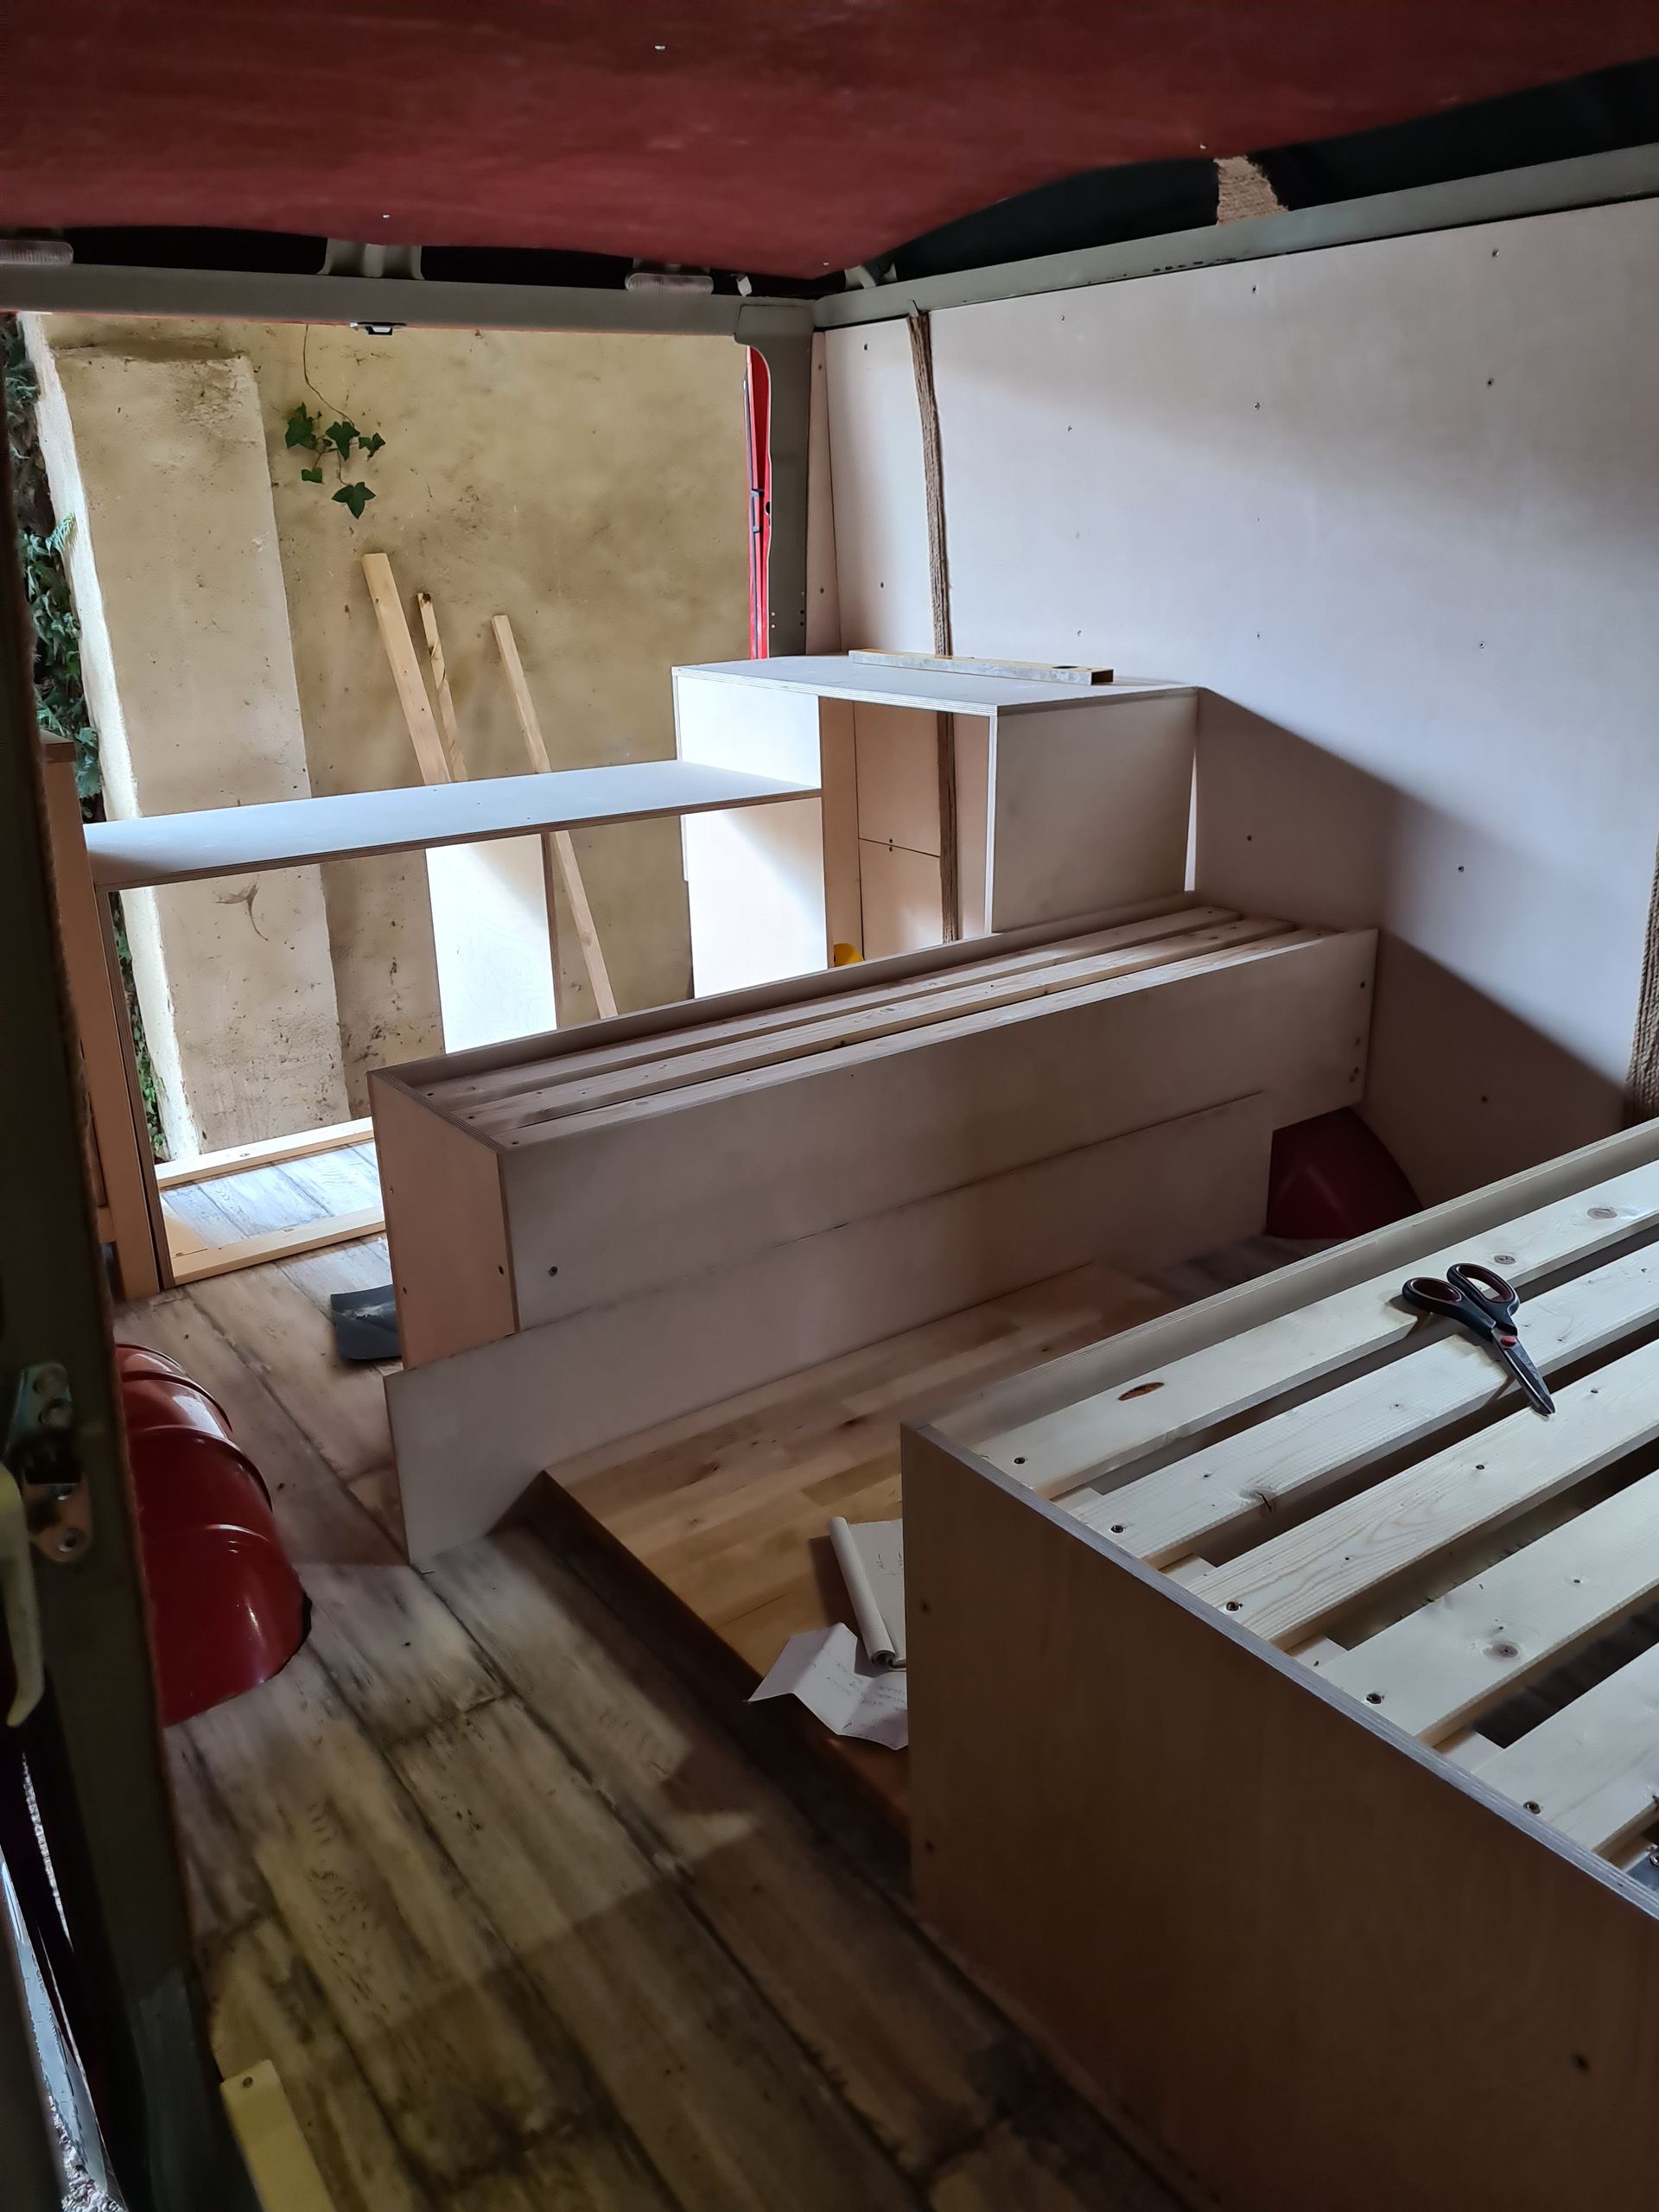
The room layout is as follows:
In the front part is the living / dining & sleeping area.
In the back part, the kitchen with sink, stove, and refrigerator is located.
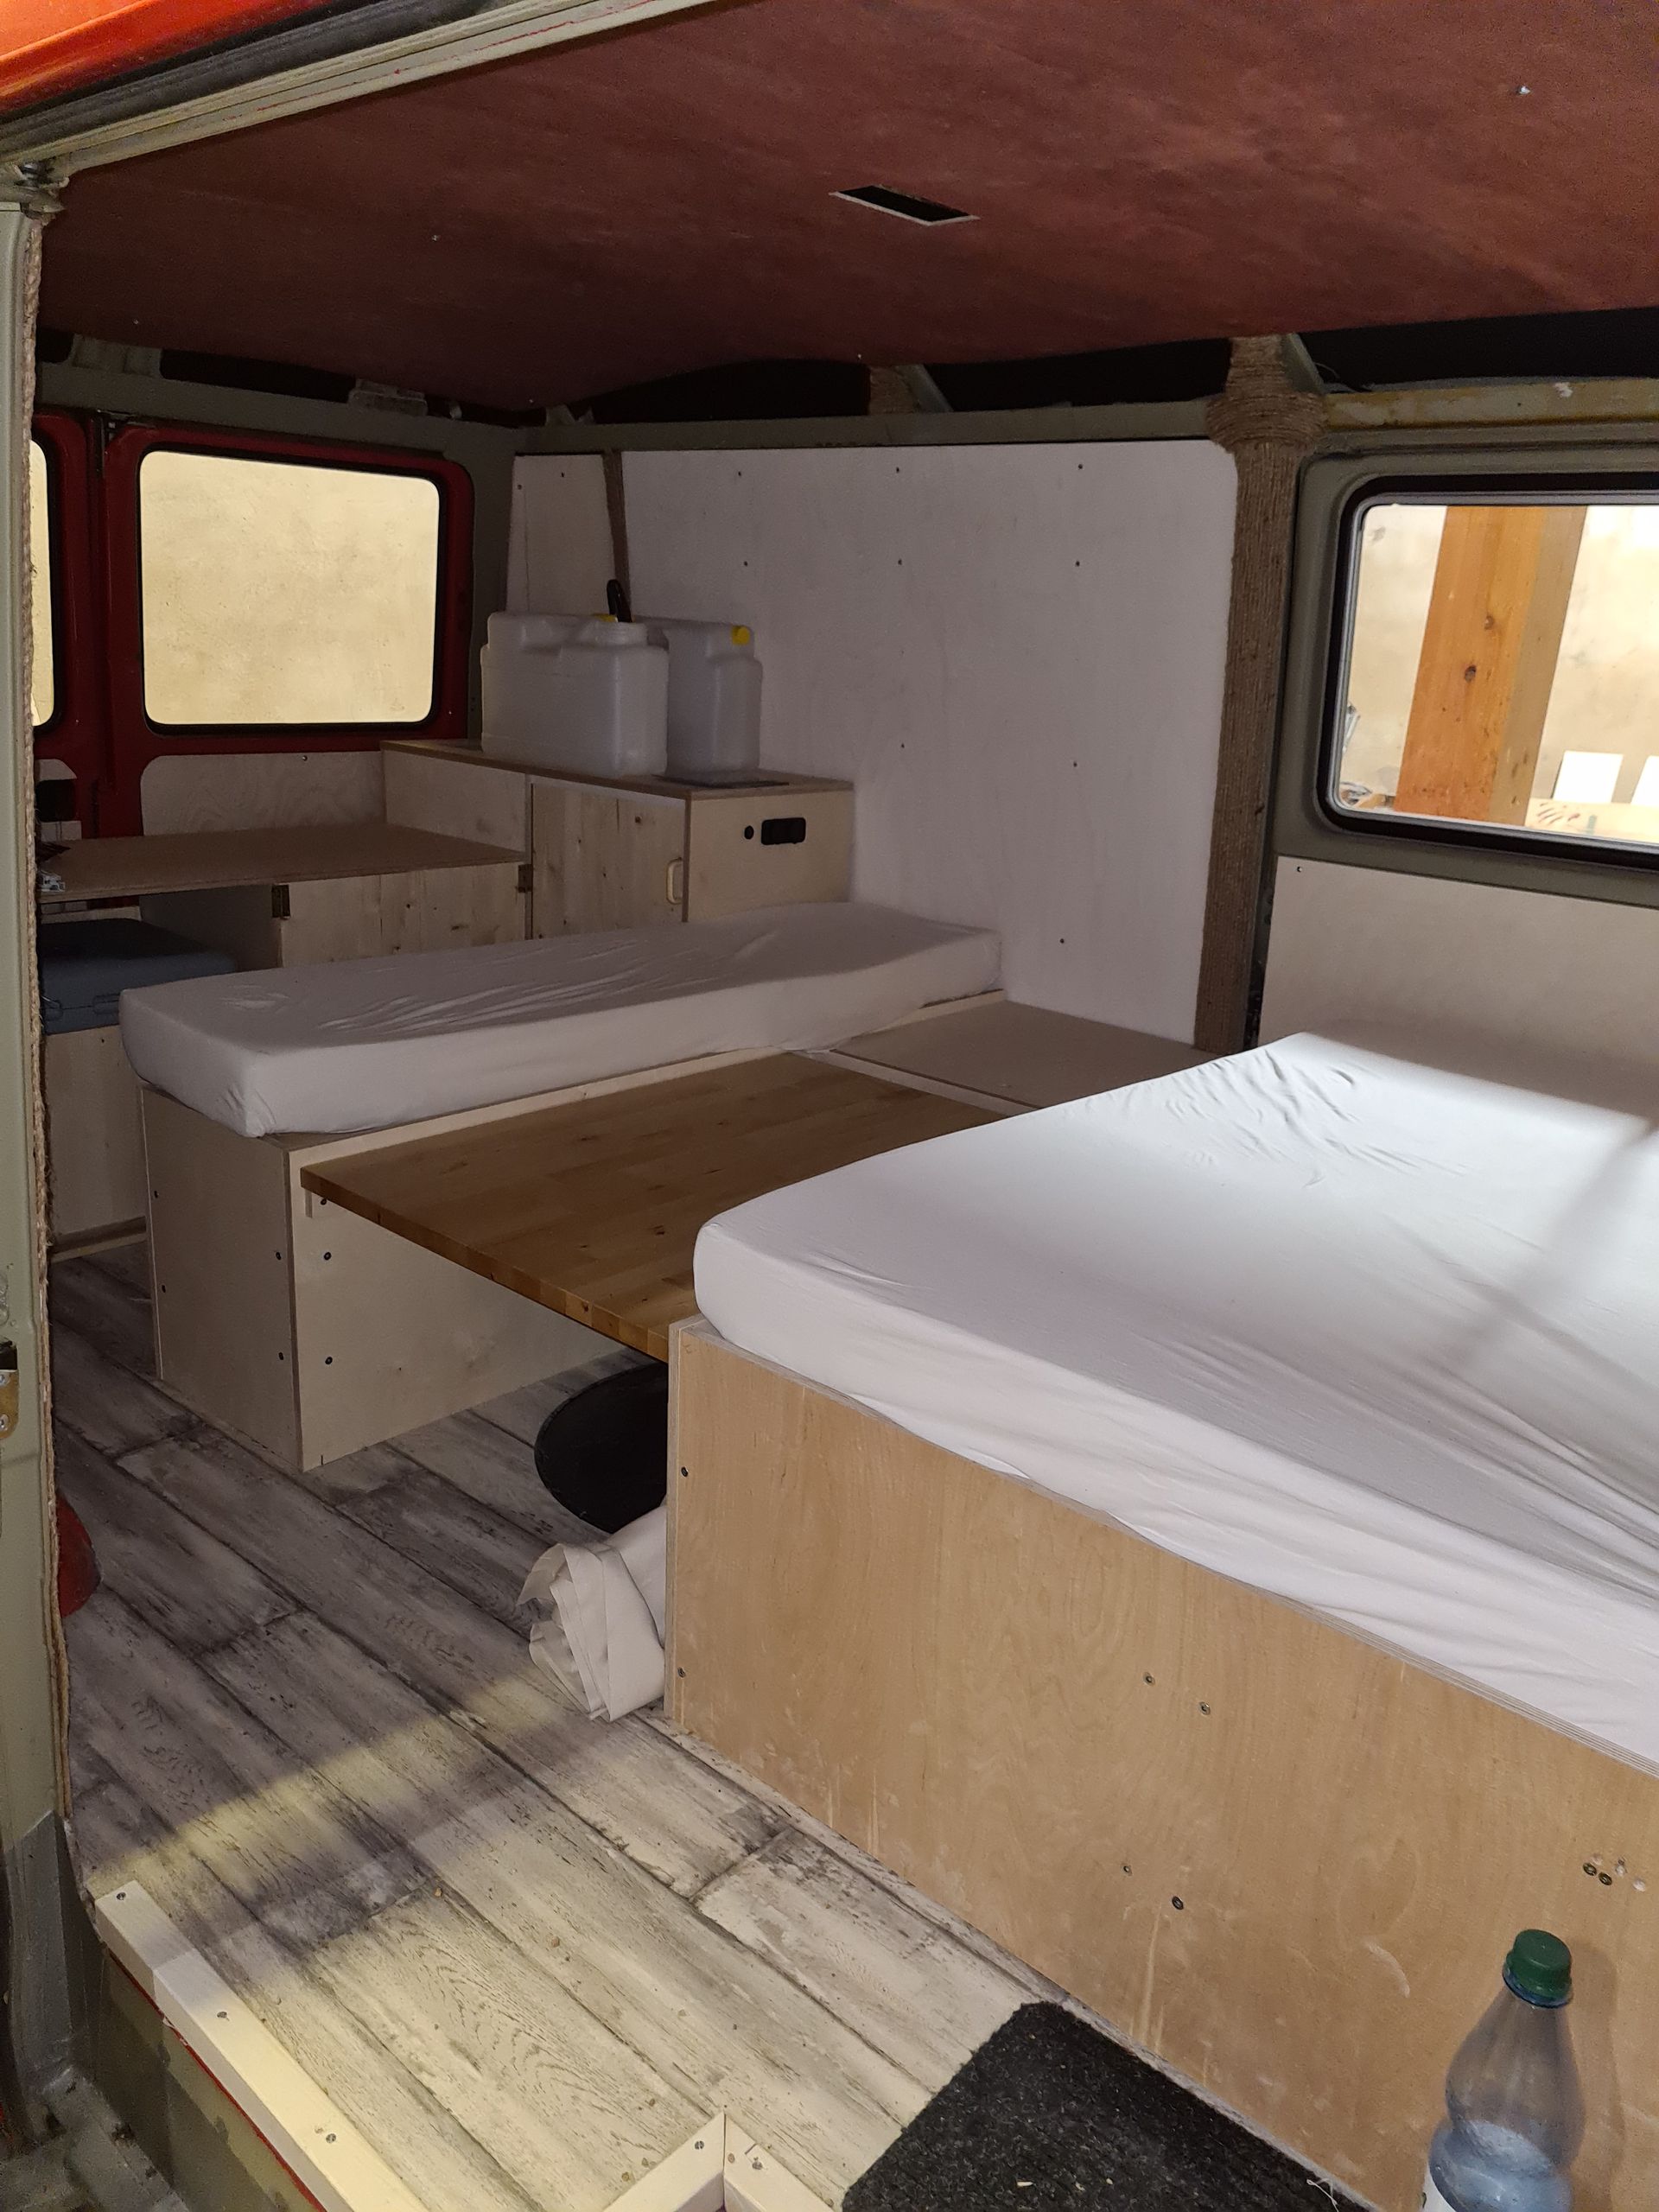
The bed:
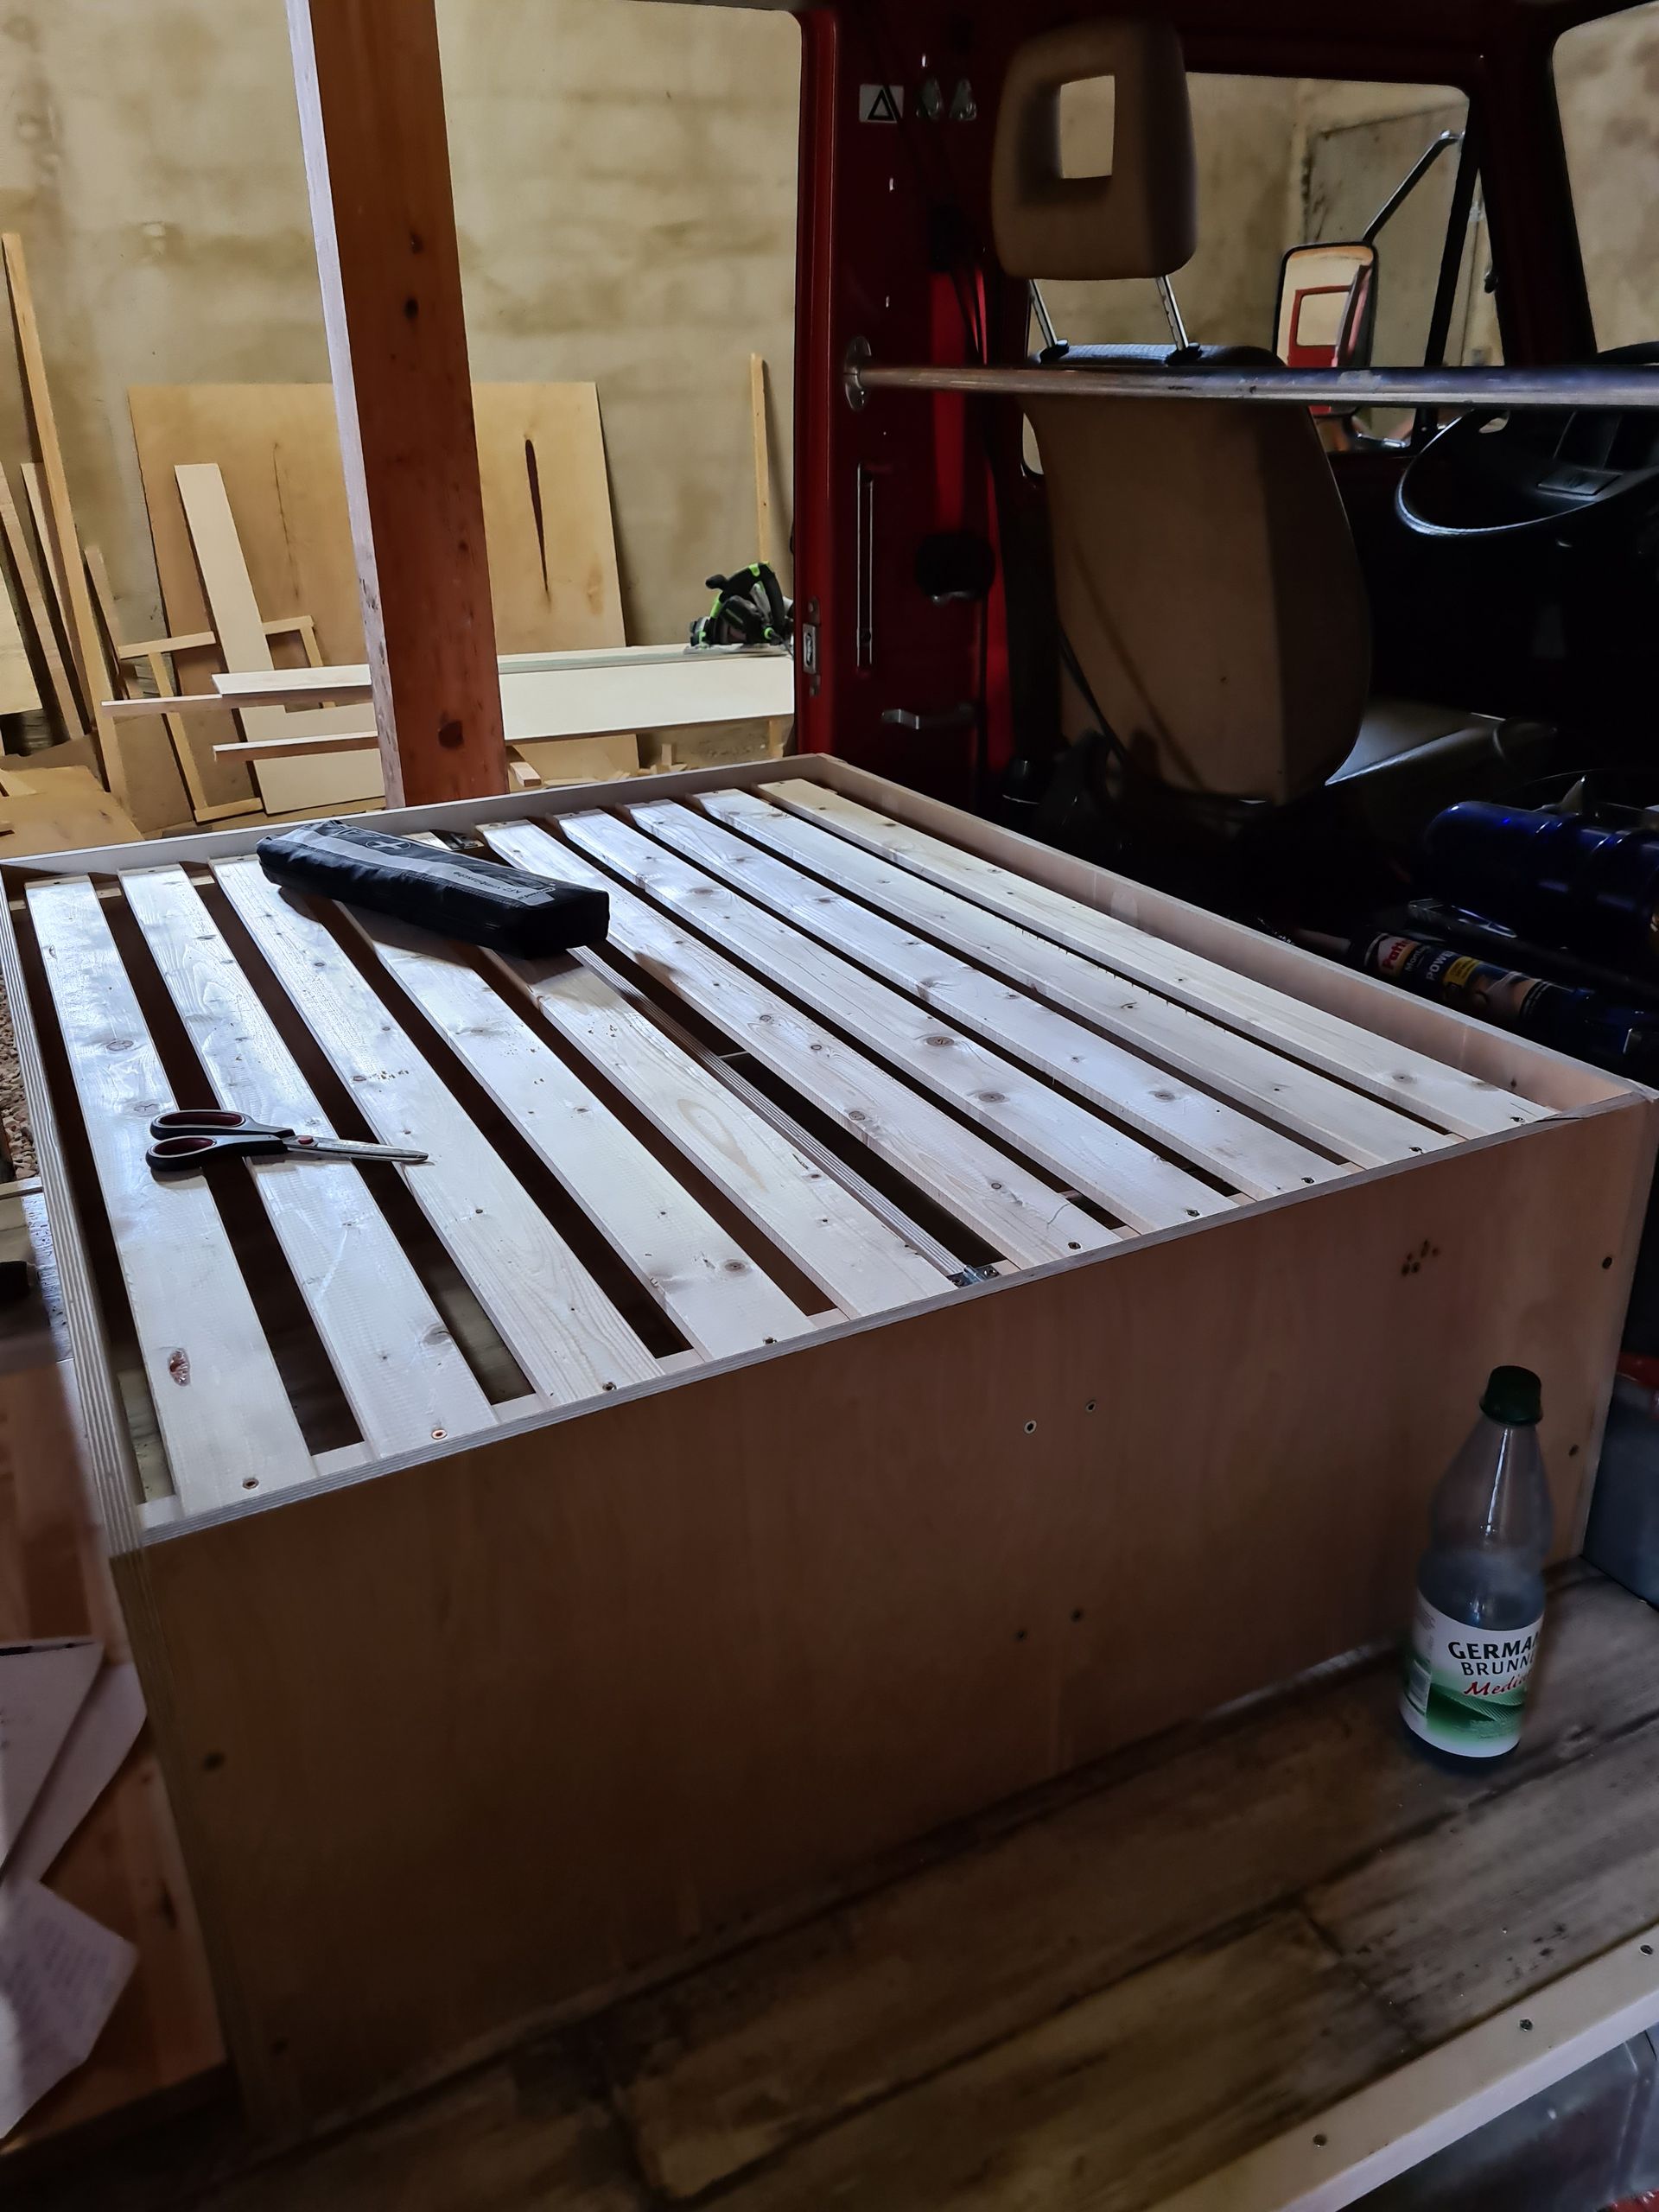
If you look at the bed from above, it can be divided into three modules in length.
The module behind the driver's and passenger's seat is 1.3m wide and 1m long. It is divided into two bed boxes of 50cm and is covered from above with a slatted frame.
In the front box, all the electrical components are located. Here, the auxiliary battery, switch box, relay, and a box with all sorts of electrical accessories are stored.
The rear box is filled with all the clothes that Yasemin and I need to survive. Since the bed has a seat height of 40cm, a lot can also be stored here.
The second module is divided in width into a table with a lifting function and a box for miscellaneous items. Our bed can be transformed into a seating or sleeping area using our lifting table. A table leg with a lifting function was not exactly cheap, so at first, we really had to consider whether we could afford it. In the end, we had no alternative and found a comparatively inexpensive model on the internet for 160€.
After a week of active living, I can already say that this investment has proven its usefulness.
The third module is also similar to a bed box and is a reduced version of the first module with dimensions of 0.4m × 1.3m. During the day, we store our bedding and an extra duvet cover in the compartment.
Assembly of the bed boxes.
We screwed the bed boxes together from 15mm thick plywood. In order to be able to lay our slatted frame in the boxes, we attached a foot made of a 35cm long roof batten (5.5cm x 3.5cm) to each corner.
In general, we quickly constructed the bed boxes. However, since we had previously calculated a seat height of 45cm instead of 40cm, we had to cut and reassemble all sides.
For the slatted frame, we ordered a roll of pine wood measuring 2m × 1.4m. We then cut the slats by 10cm and screwed them together again. Since our large bed box is divided longitudinally, we also had to saw our slatted frame into two parts. The cut was then reconnected with 2 hinges, which then allowed us to fold up the slatted frame on the left and right. The boxes can now be used separately.
The slatted frame for the third module was easier; here we simply cut the pine wood slats and screwed them together, then directly screwed them to the box with two hinges.
We covered the miscellaneous items box in the second module with a plywood top.
There is a mattress above each module. In total, we have four mattress parts. We cut the individual parts from a large foam mattress to fit. A duvet cover was also cut into four parts and sewn onto each mattress.
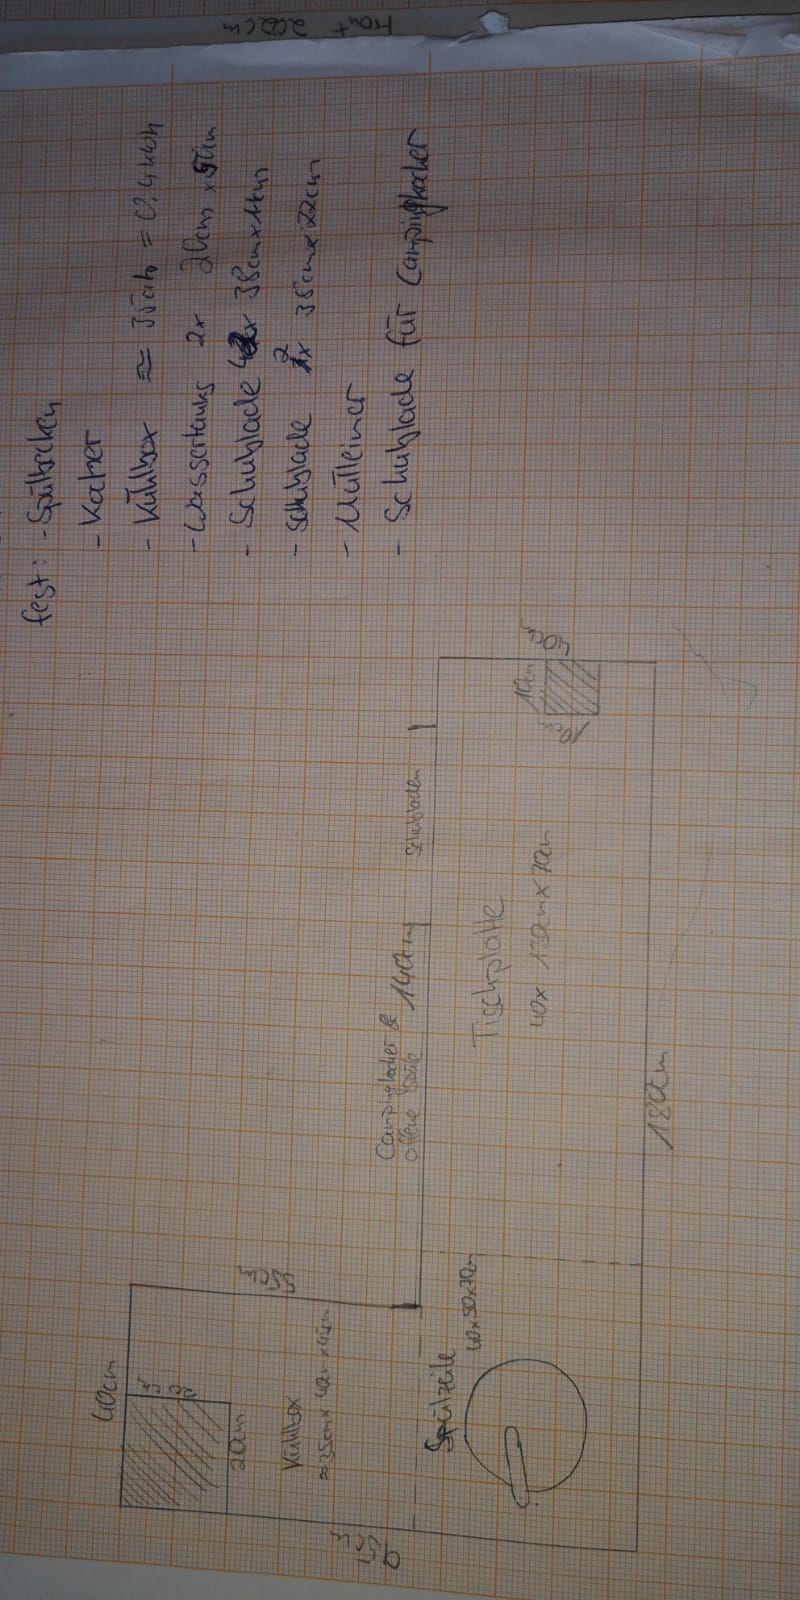
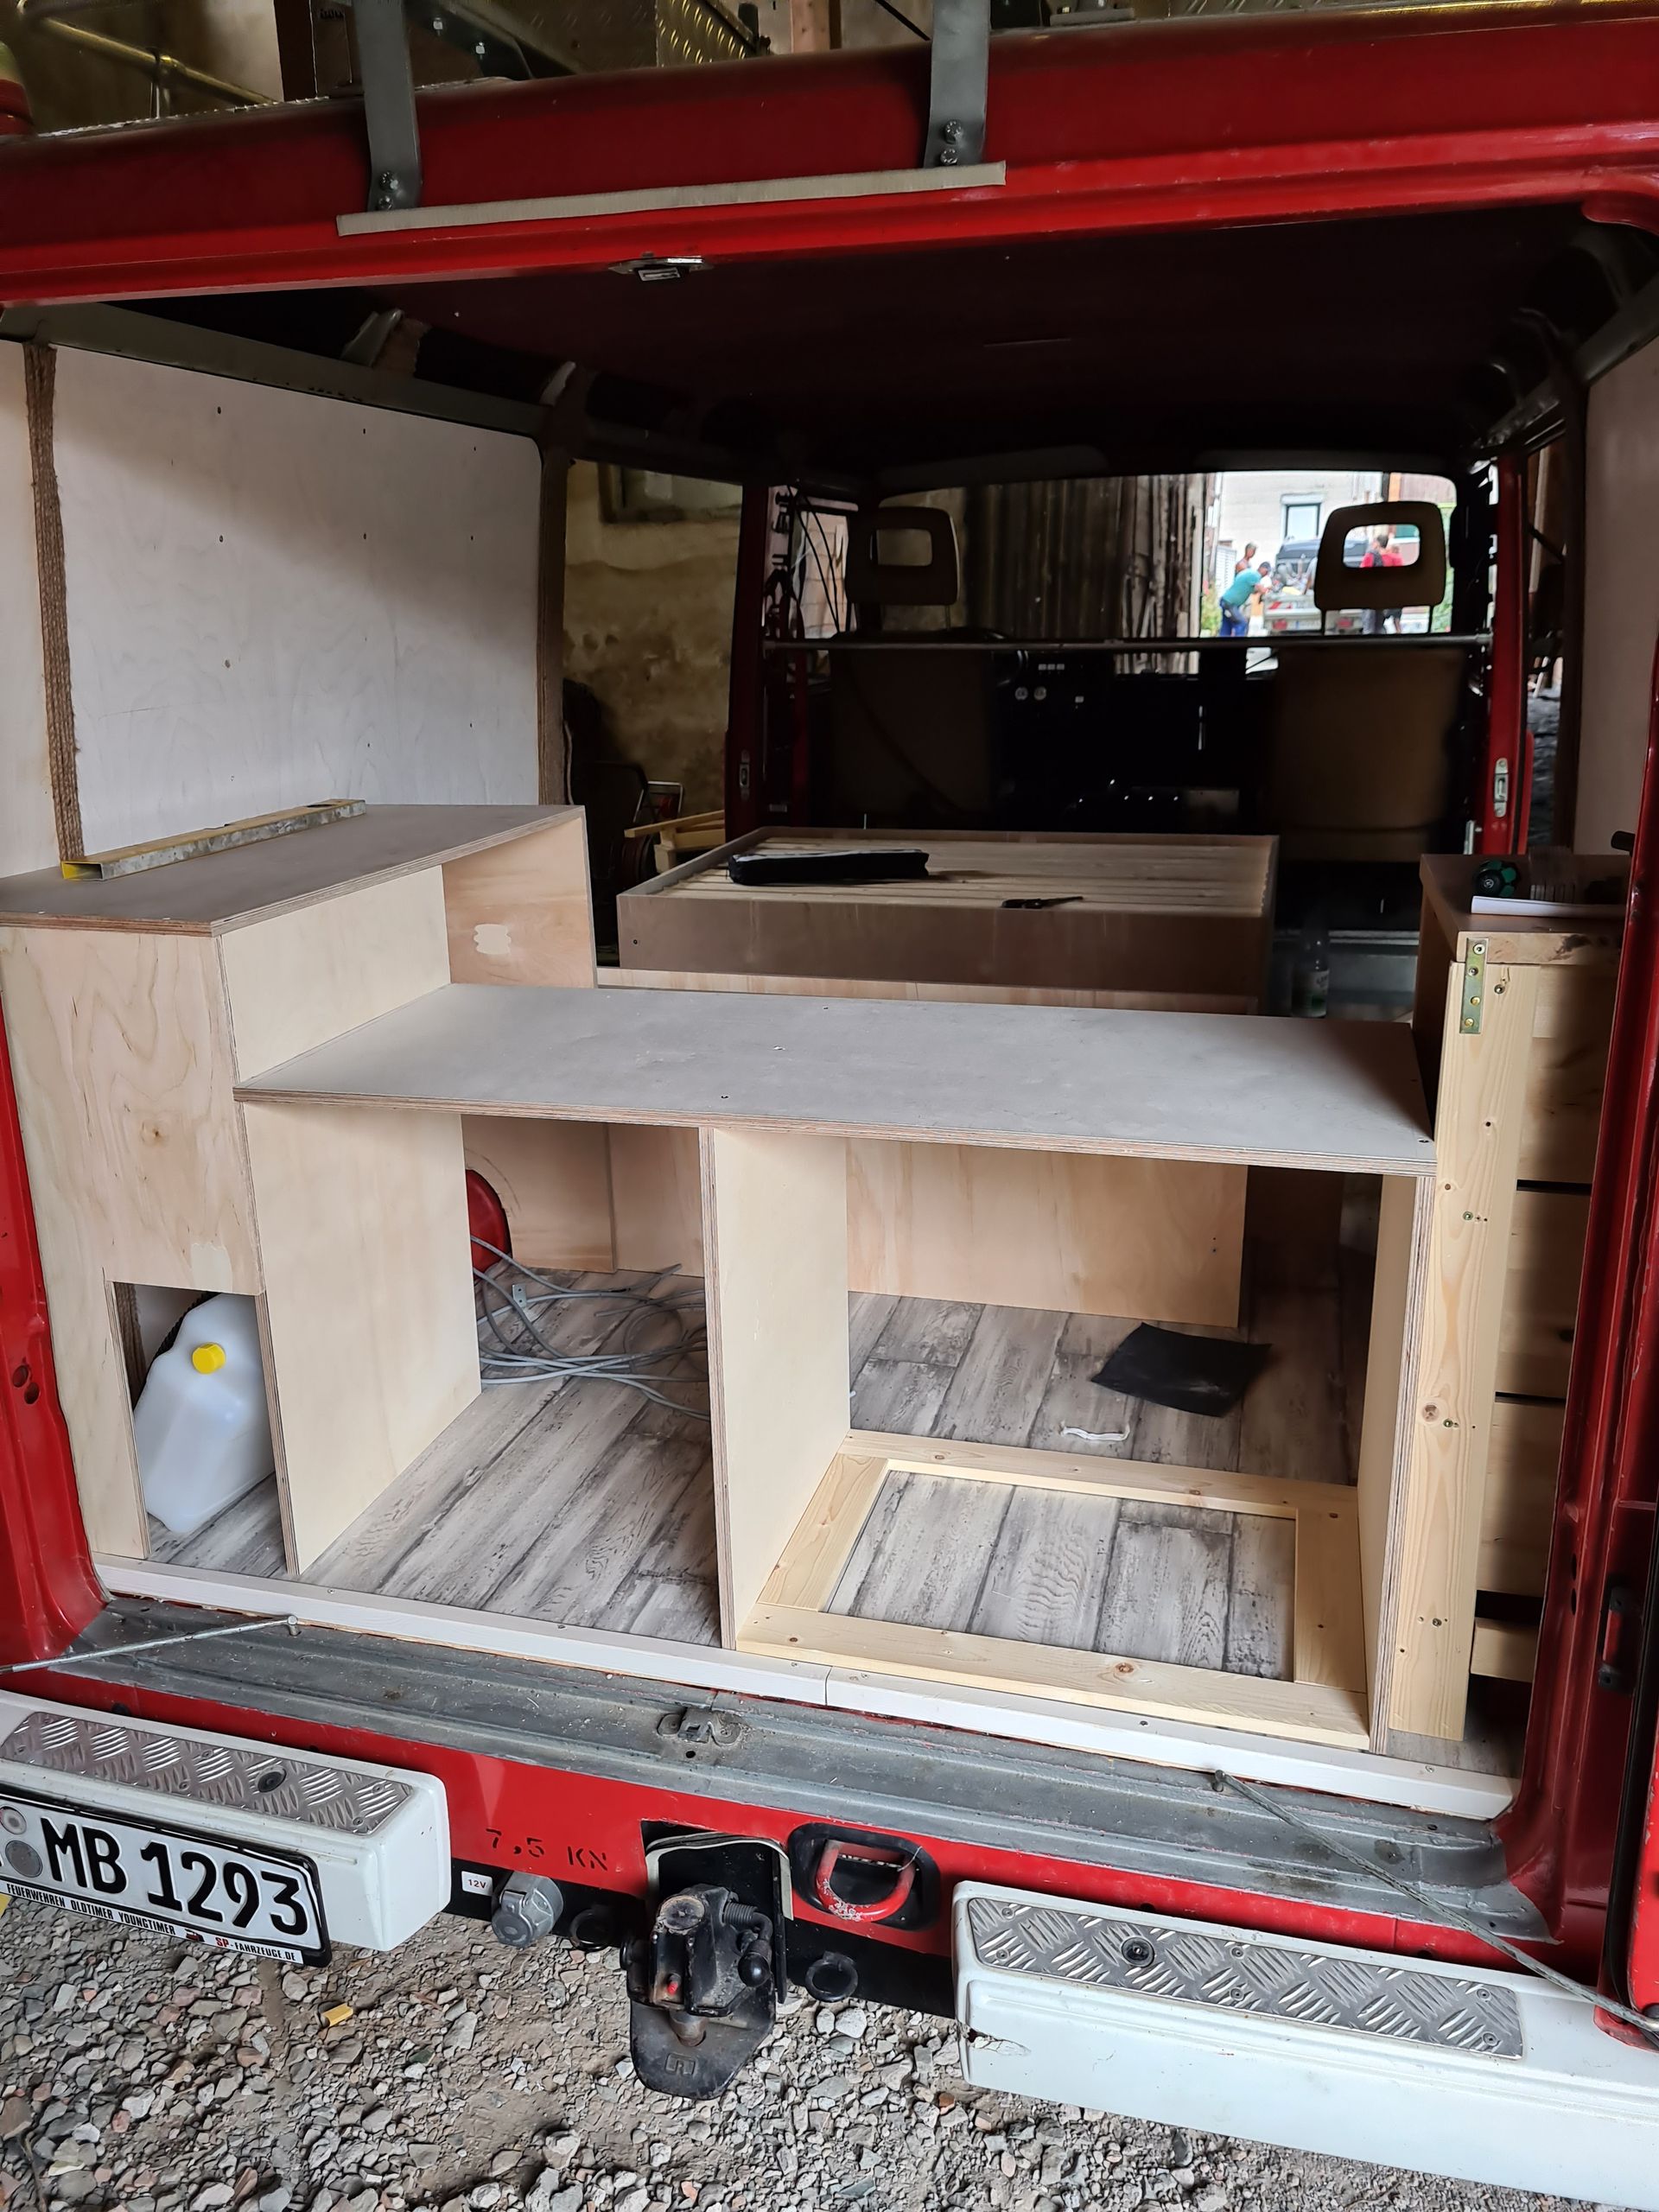
The Kitchen.
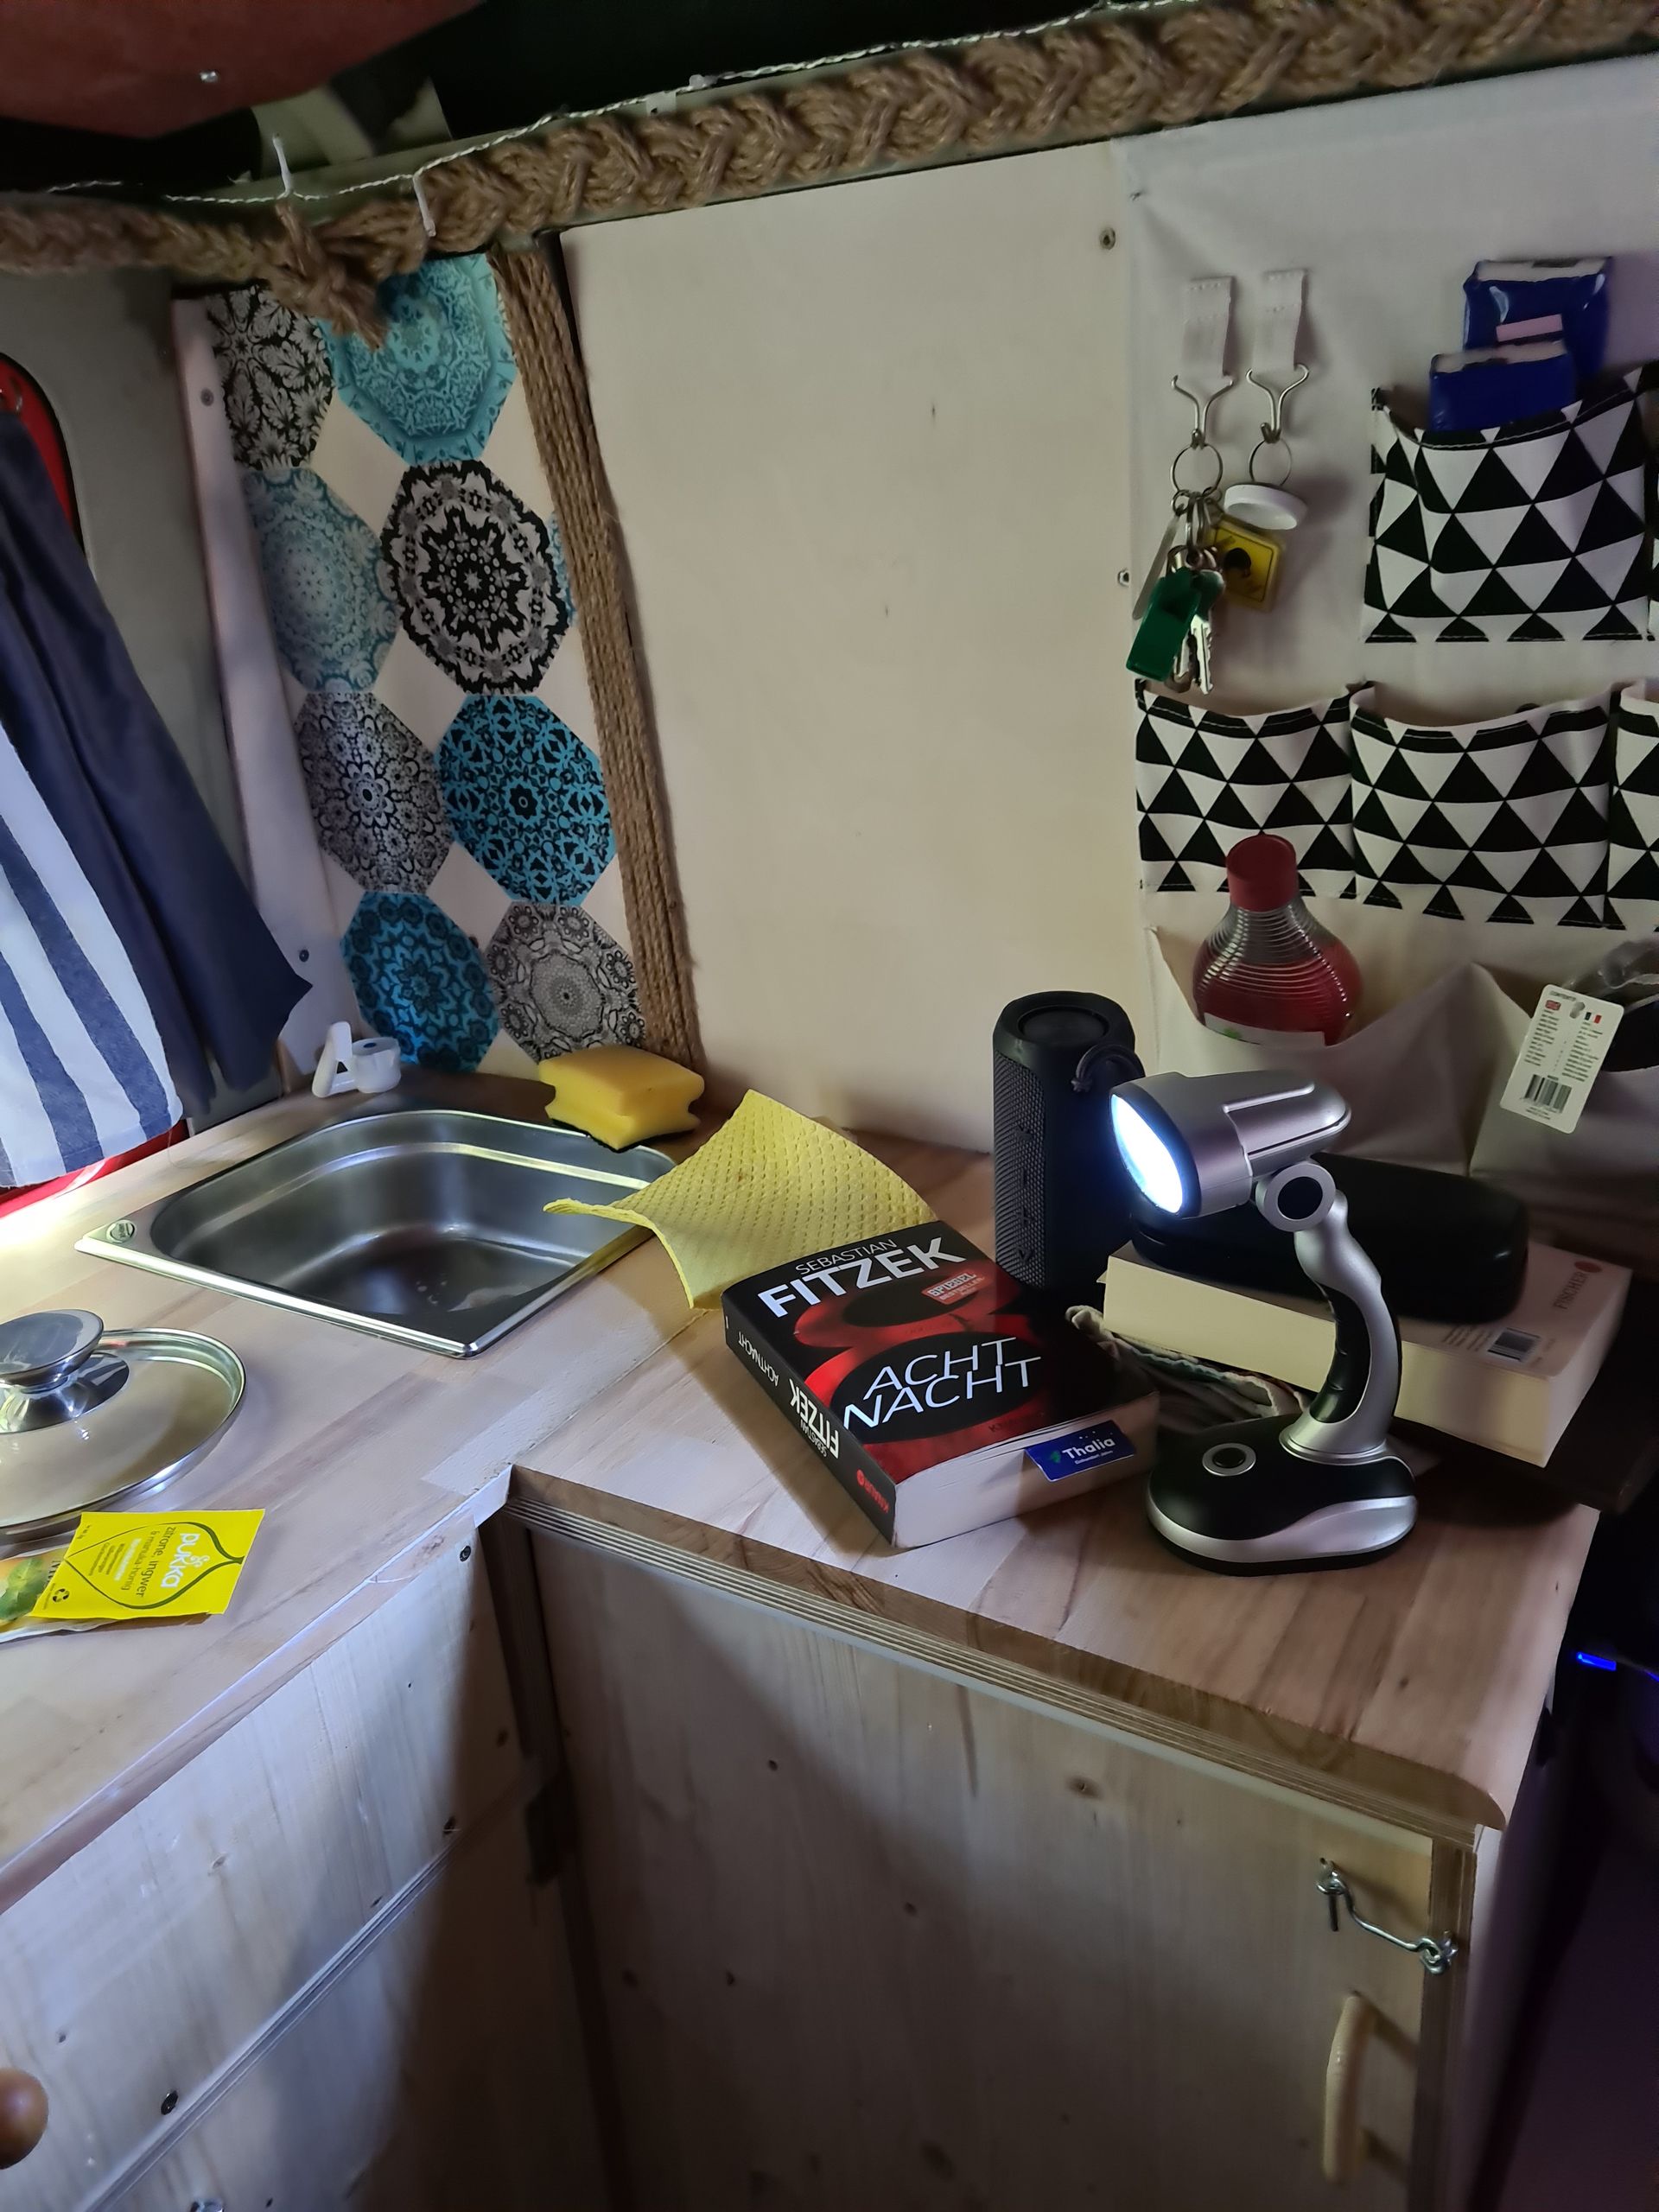
Since our kitchen is located at the rear doors, the entire line can be easily operated from the outside. This is especially pleasant for me, with a height of 1.9m, but in general, it's nice to be able to perform certain activities while standing. This point was ultimately decisive for our room layout.
In general, our kitchen is set up in an L-shape. If you are sitting in the camper, there is a shelf with three drawers on the left side. We cut the shelf out of Yasemin's old Ikea table. The drawers fit perfectly in size into the planned kitchen, which is why we decided to reuse this part of the table.
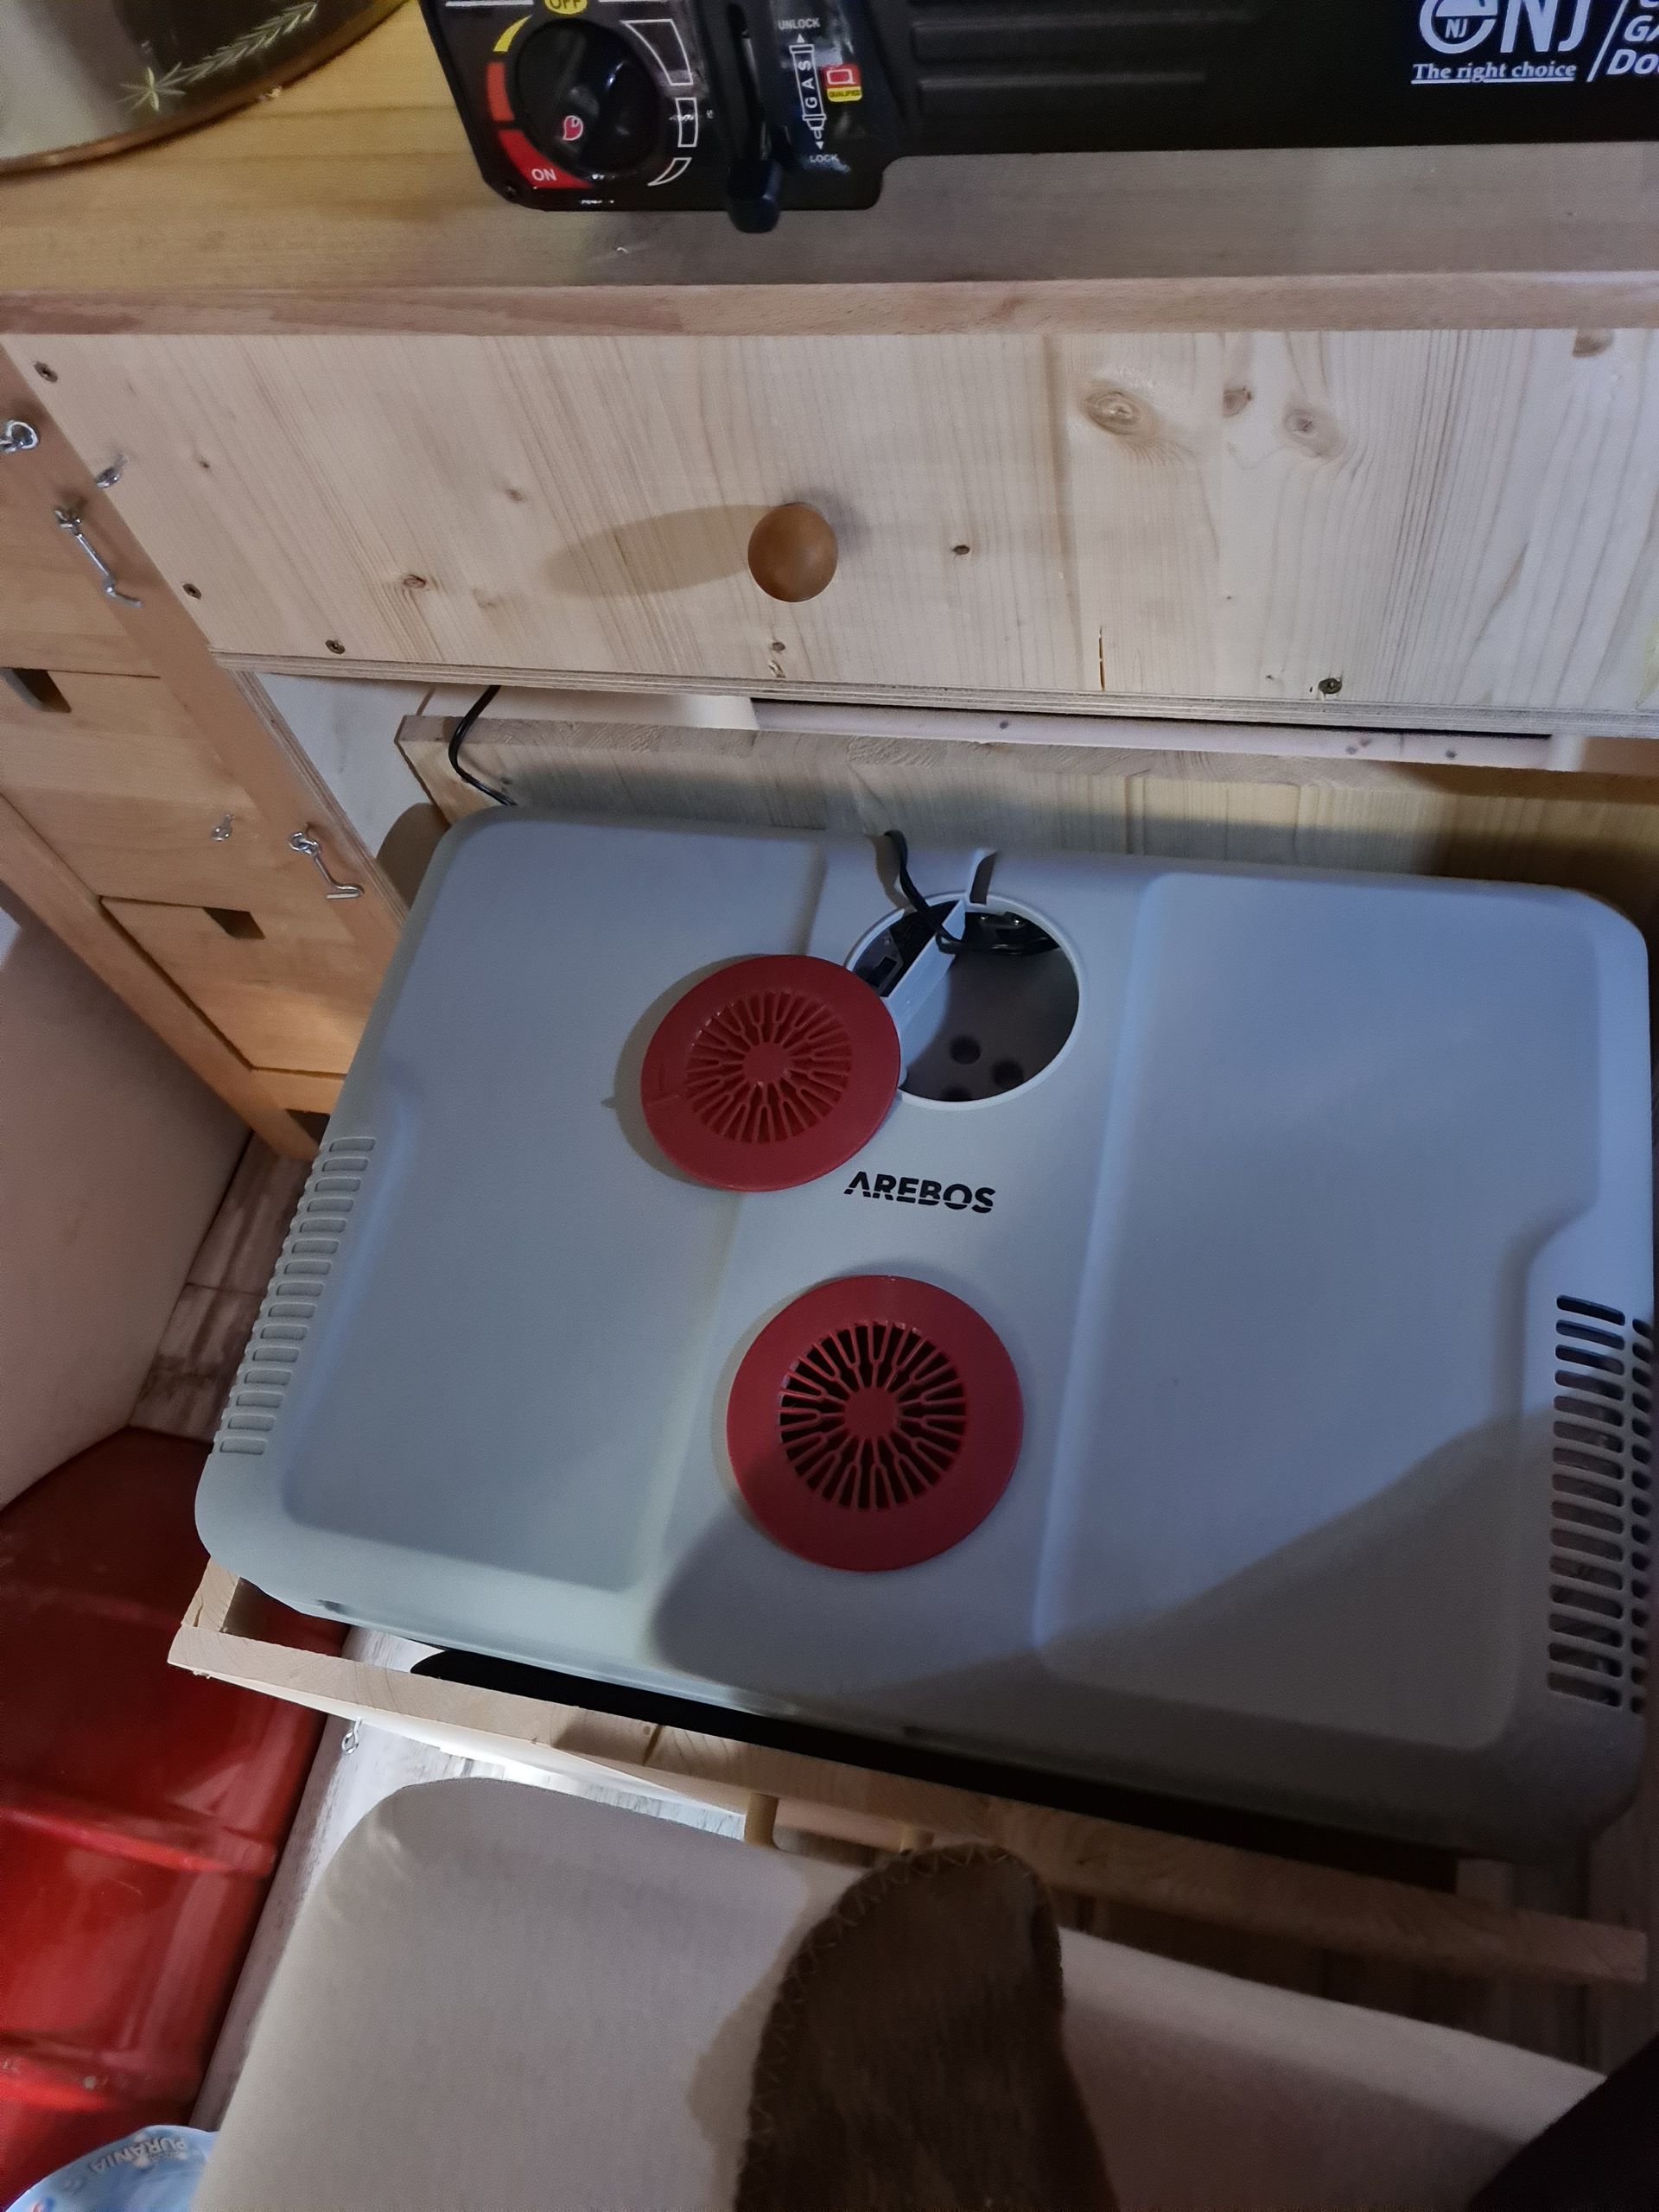
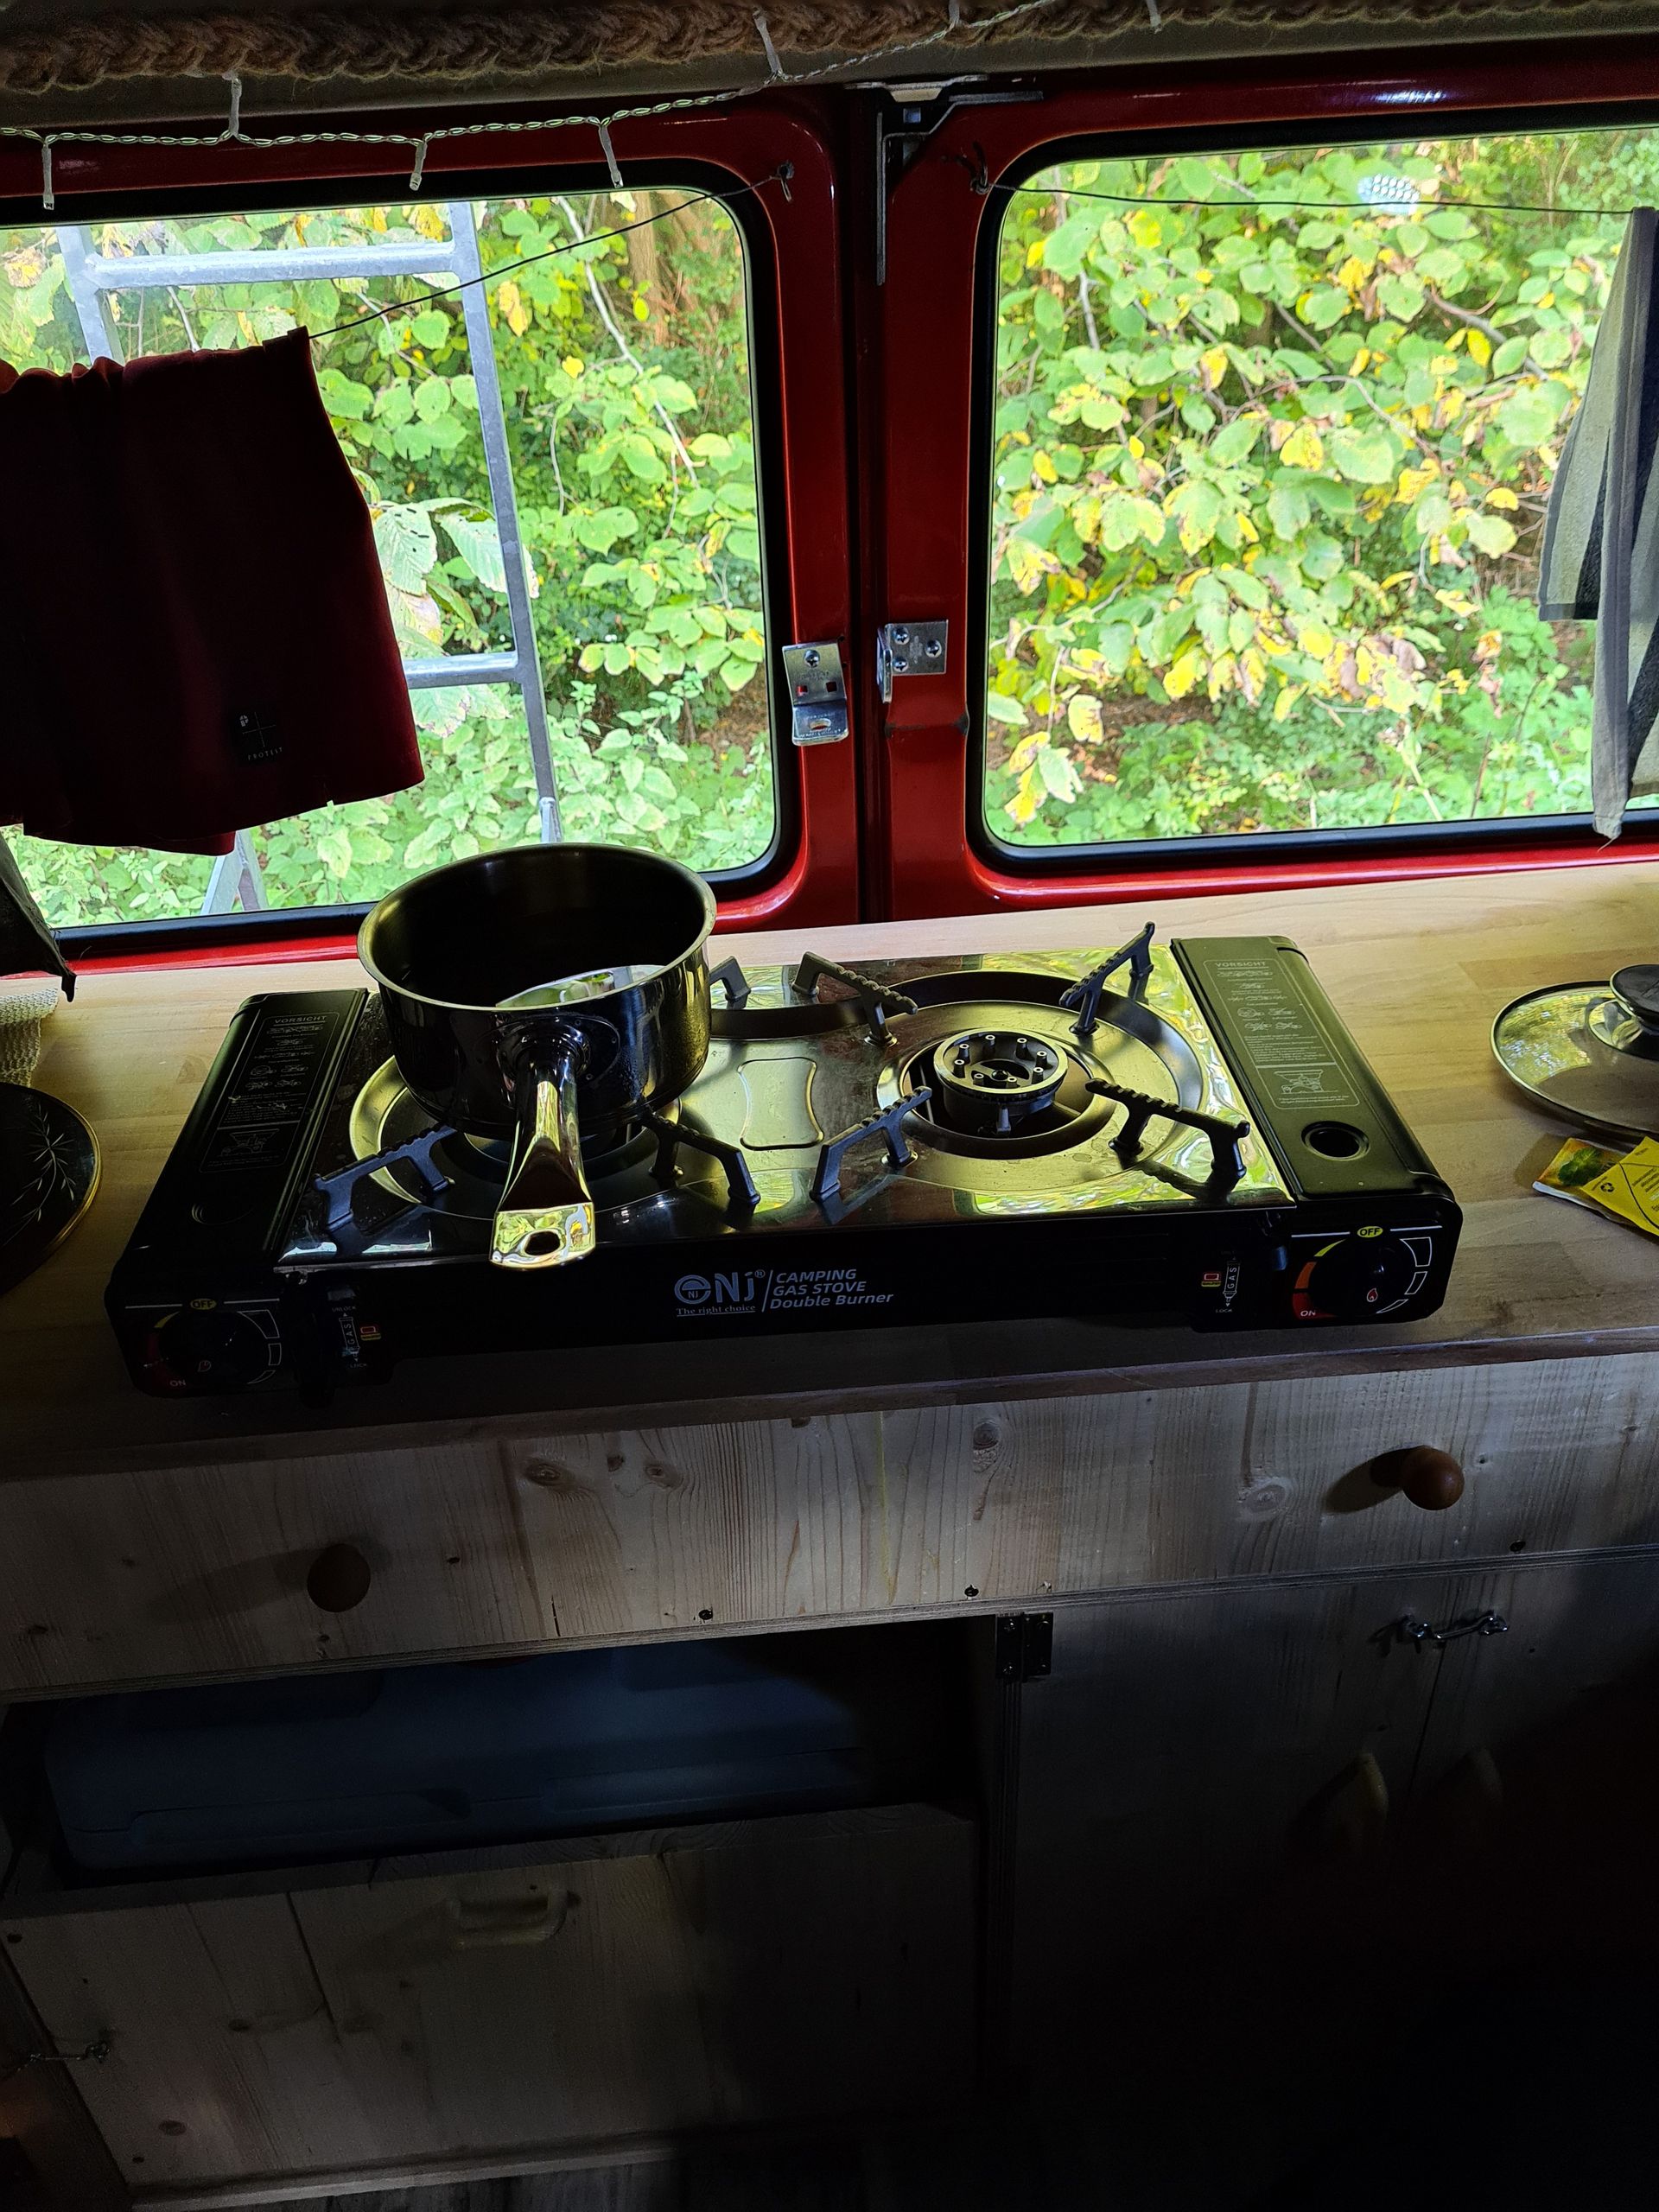
Next to the shelf is our cooler box (compressor refrigerator 45l) on the floor of the kitchen counter. The box can be pulled out on a rail. Above the cooler box, there is a drawer that spans the entire width of the kitchen. In the drawer, we store our two-burner camping stove and things like spices and tea.
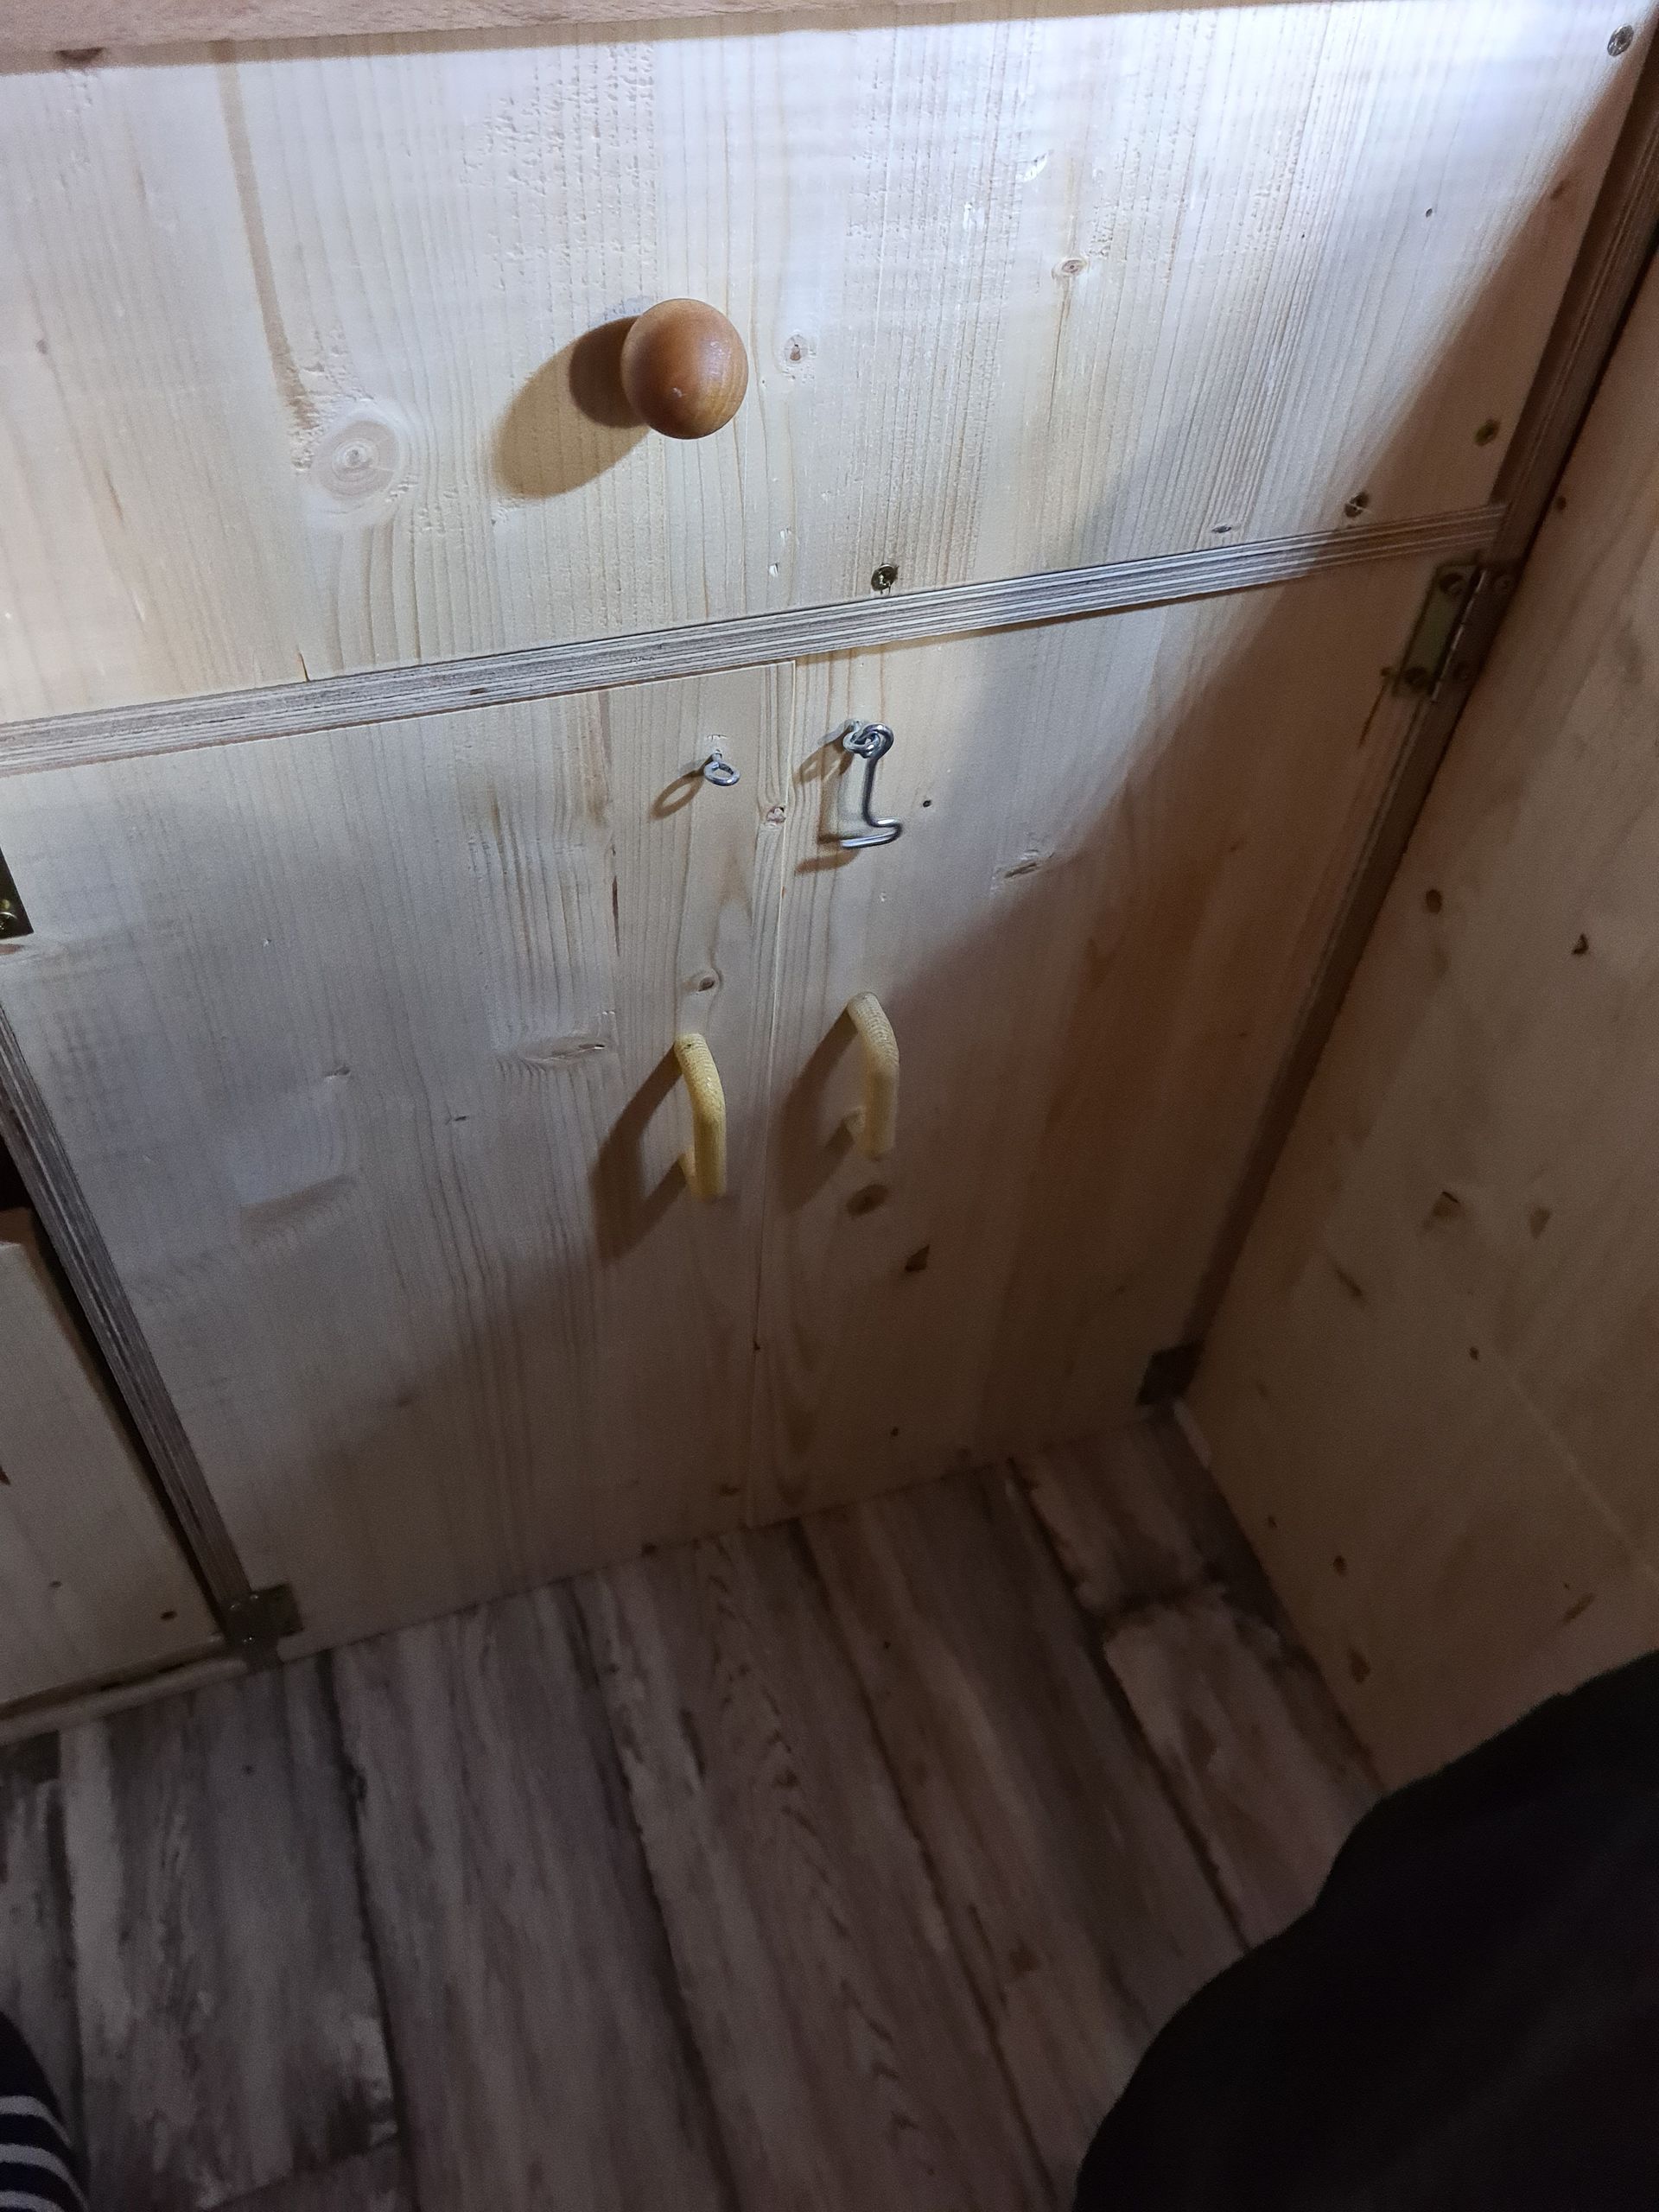
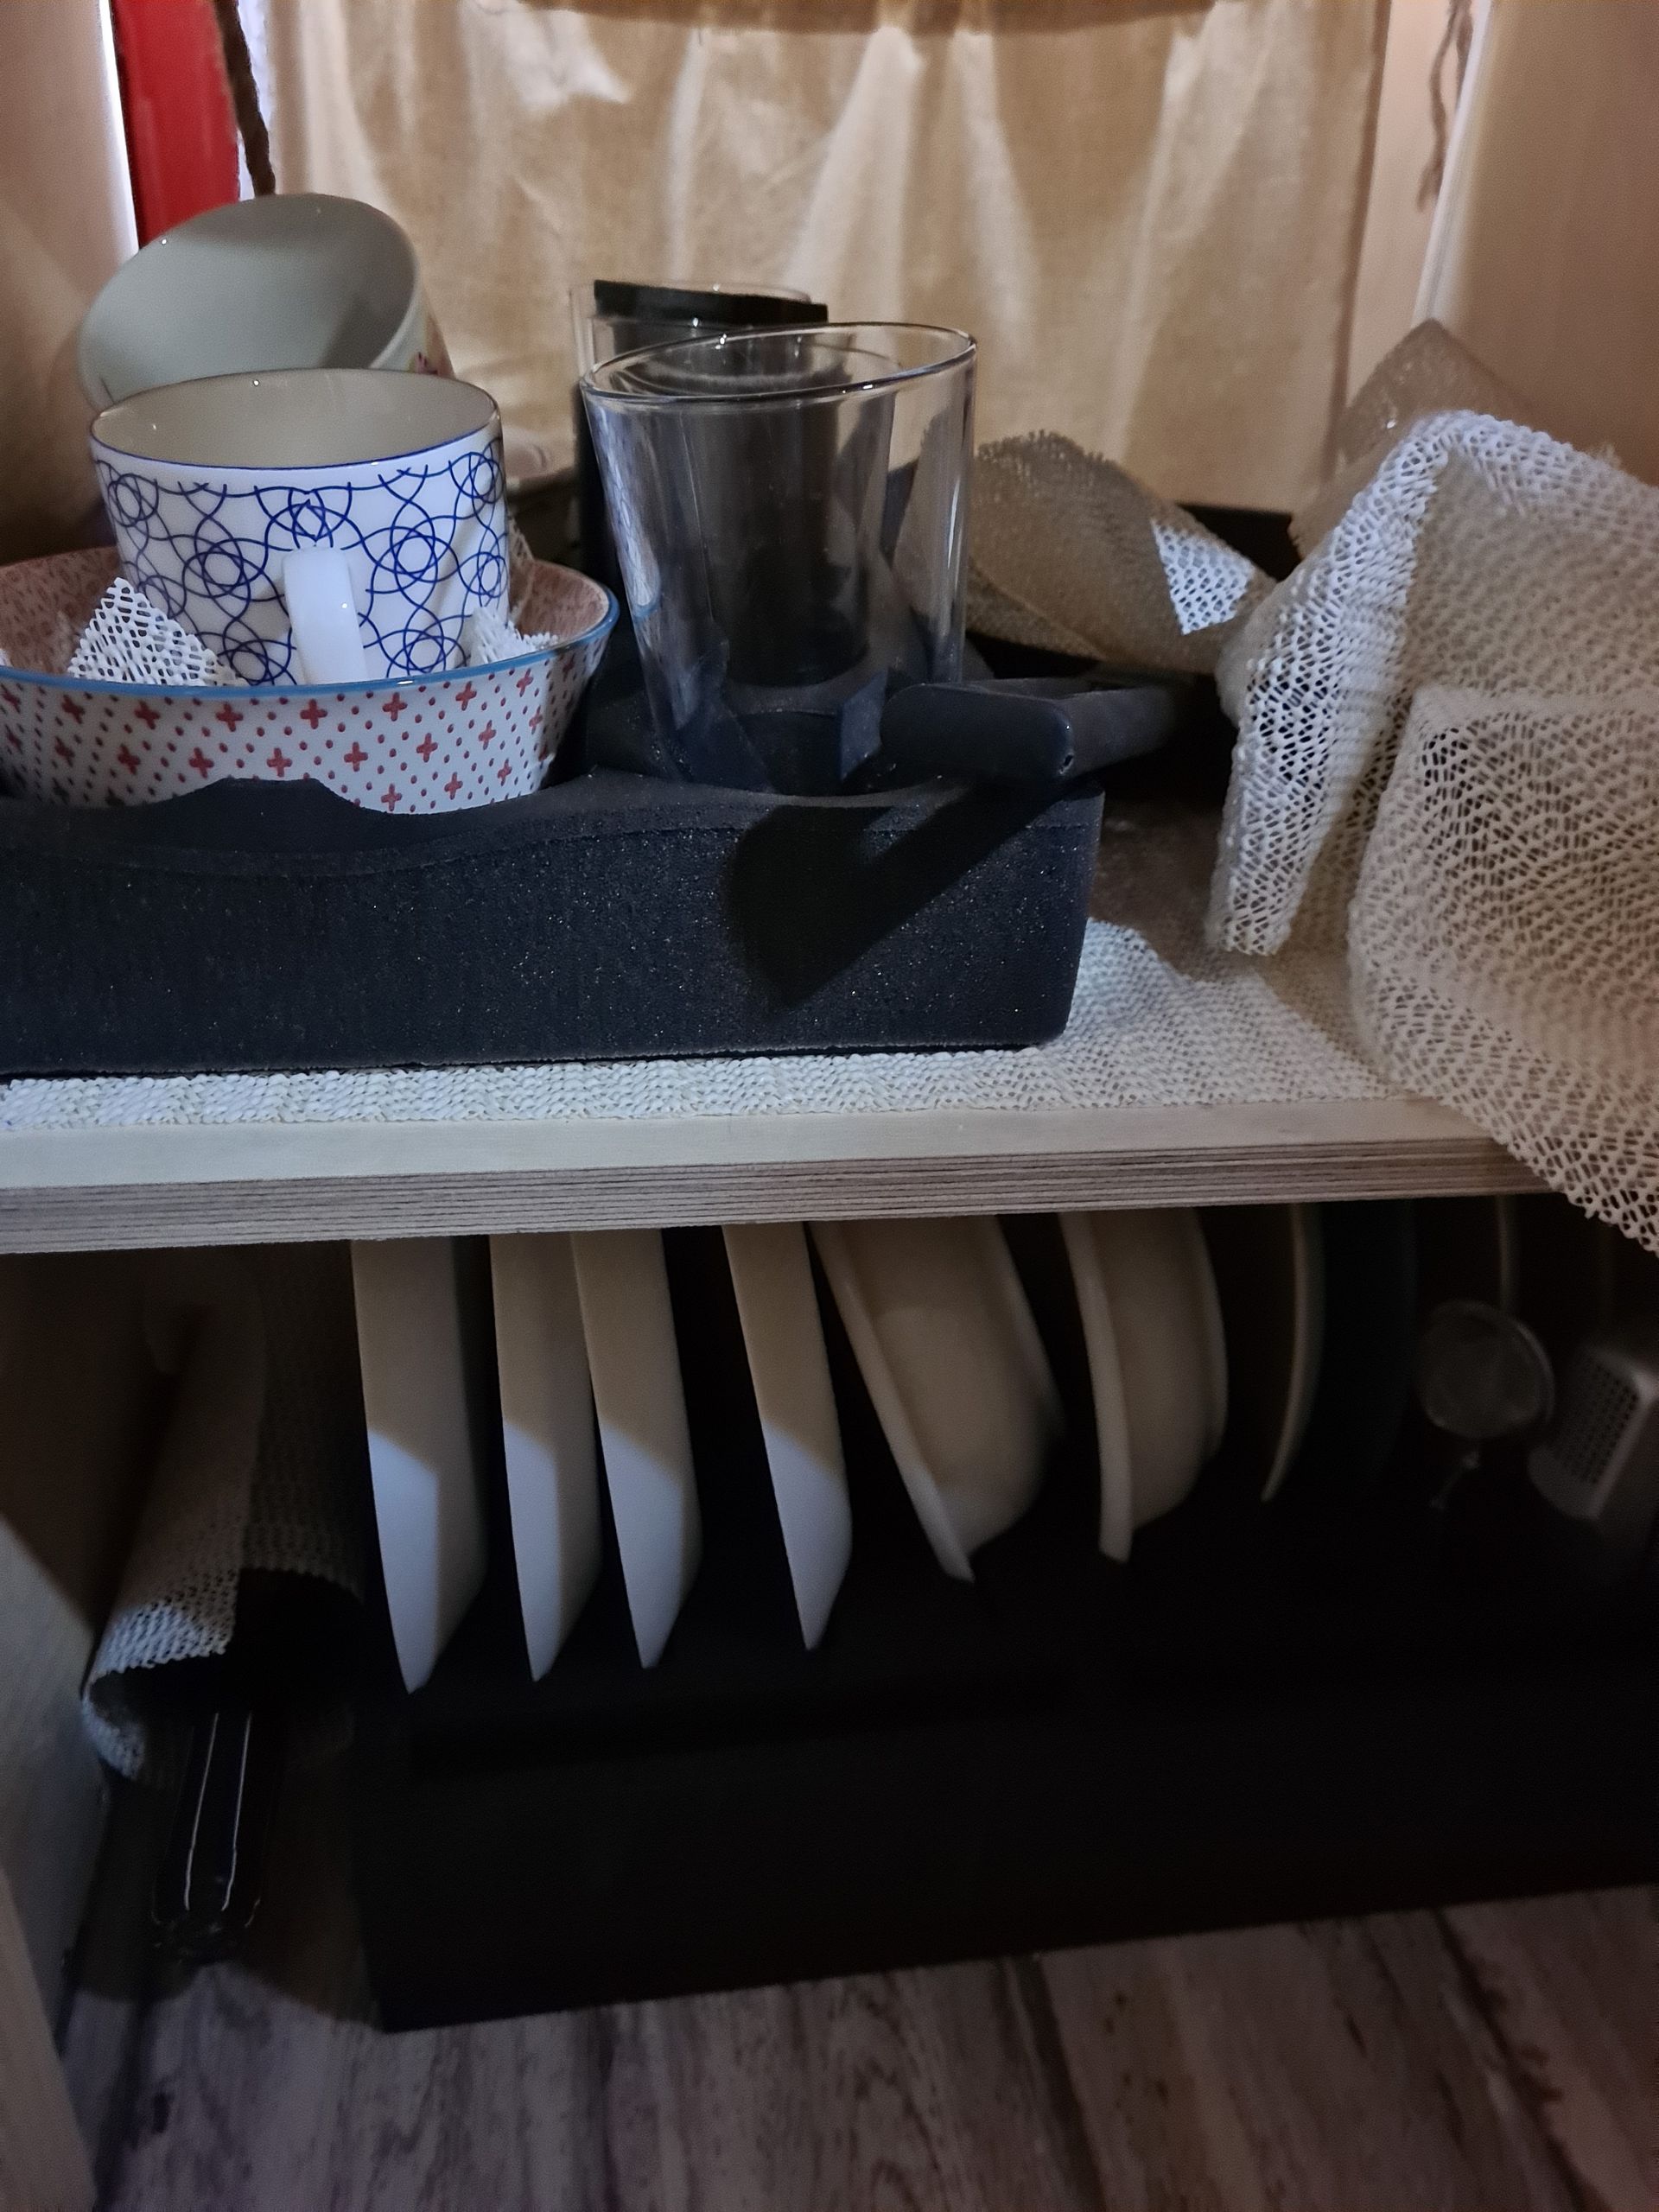
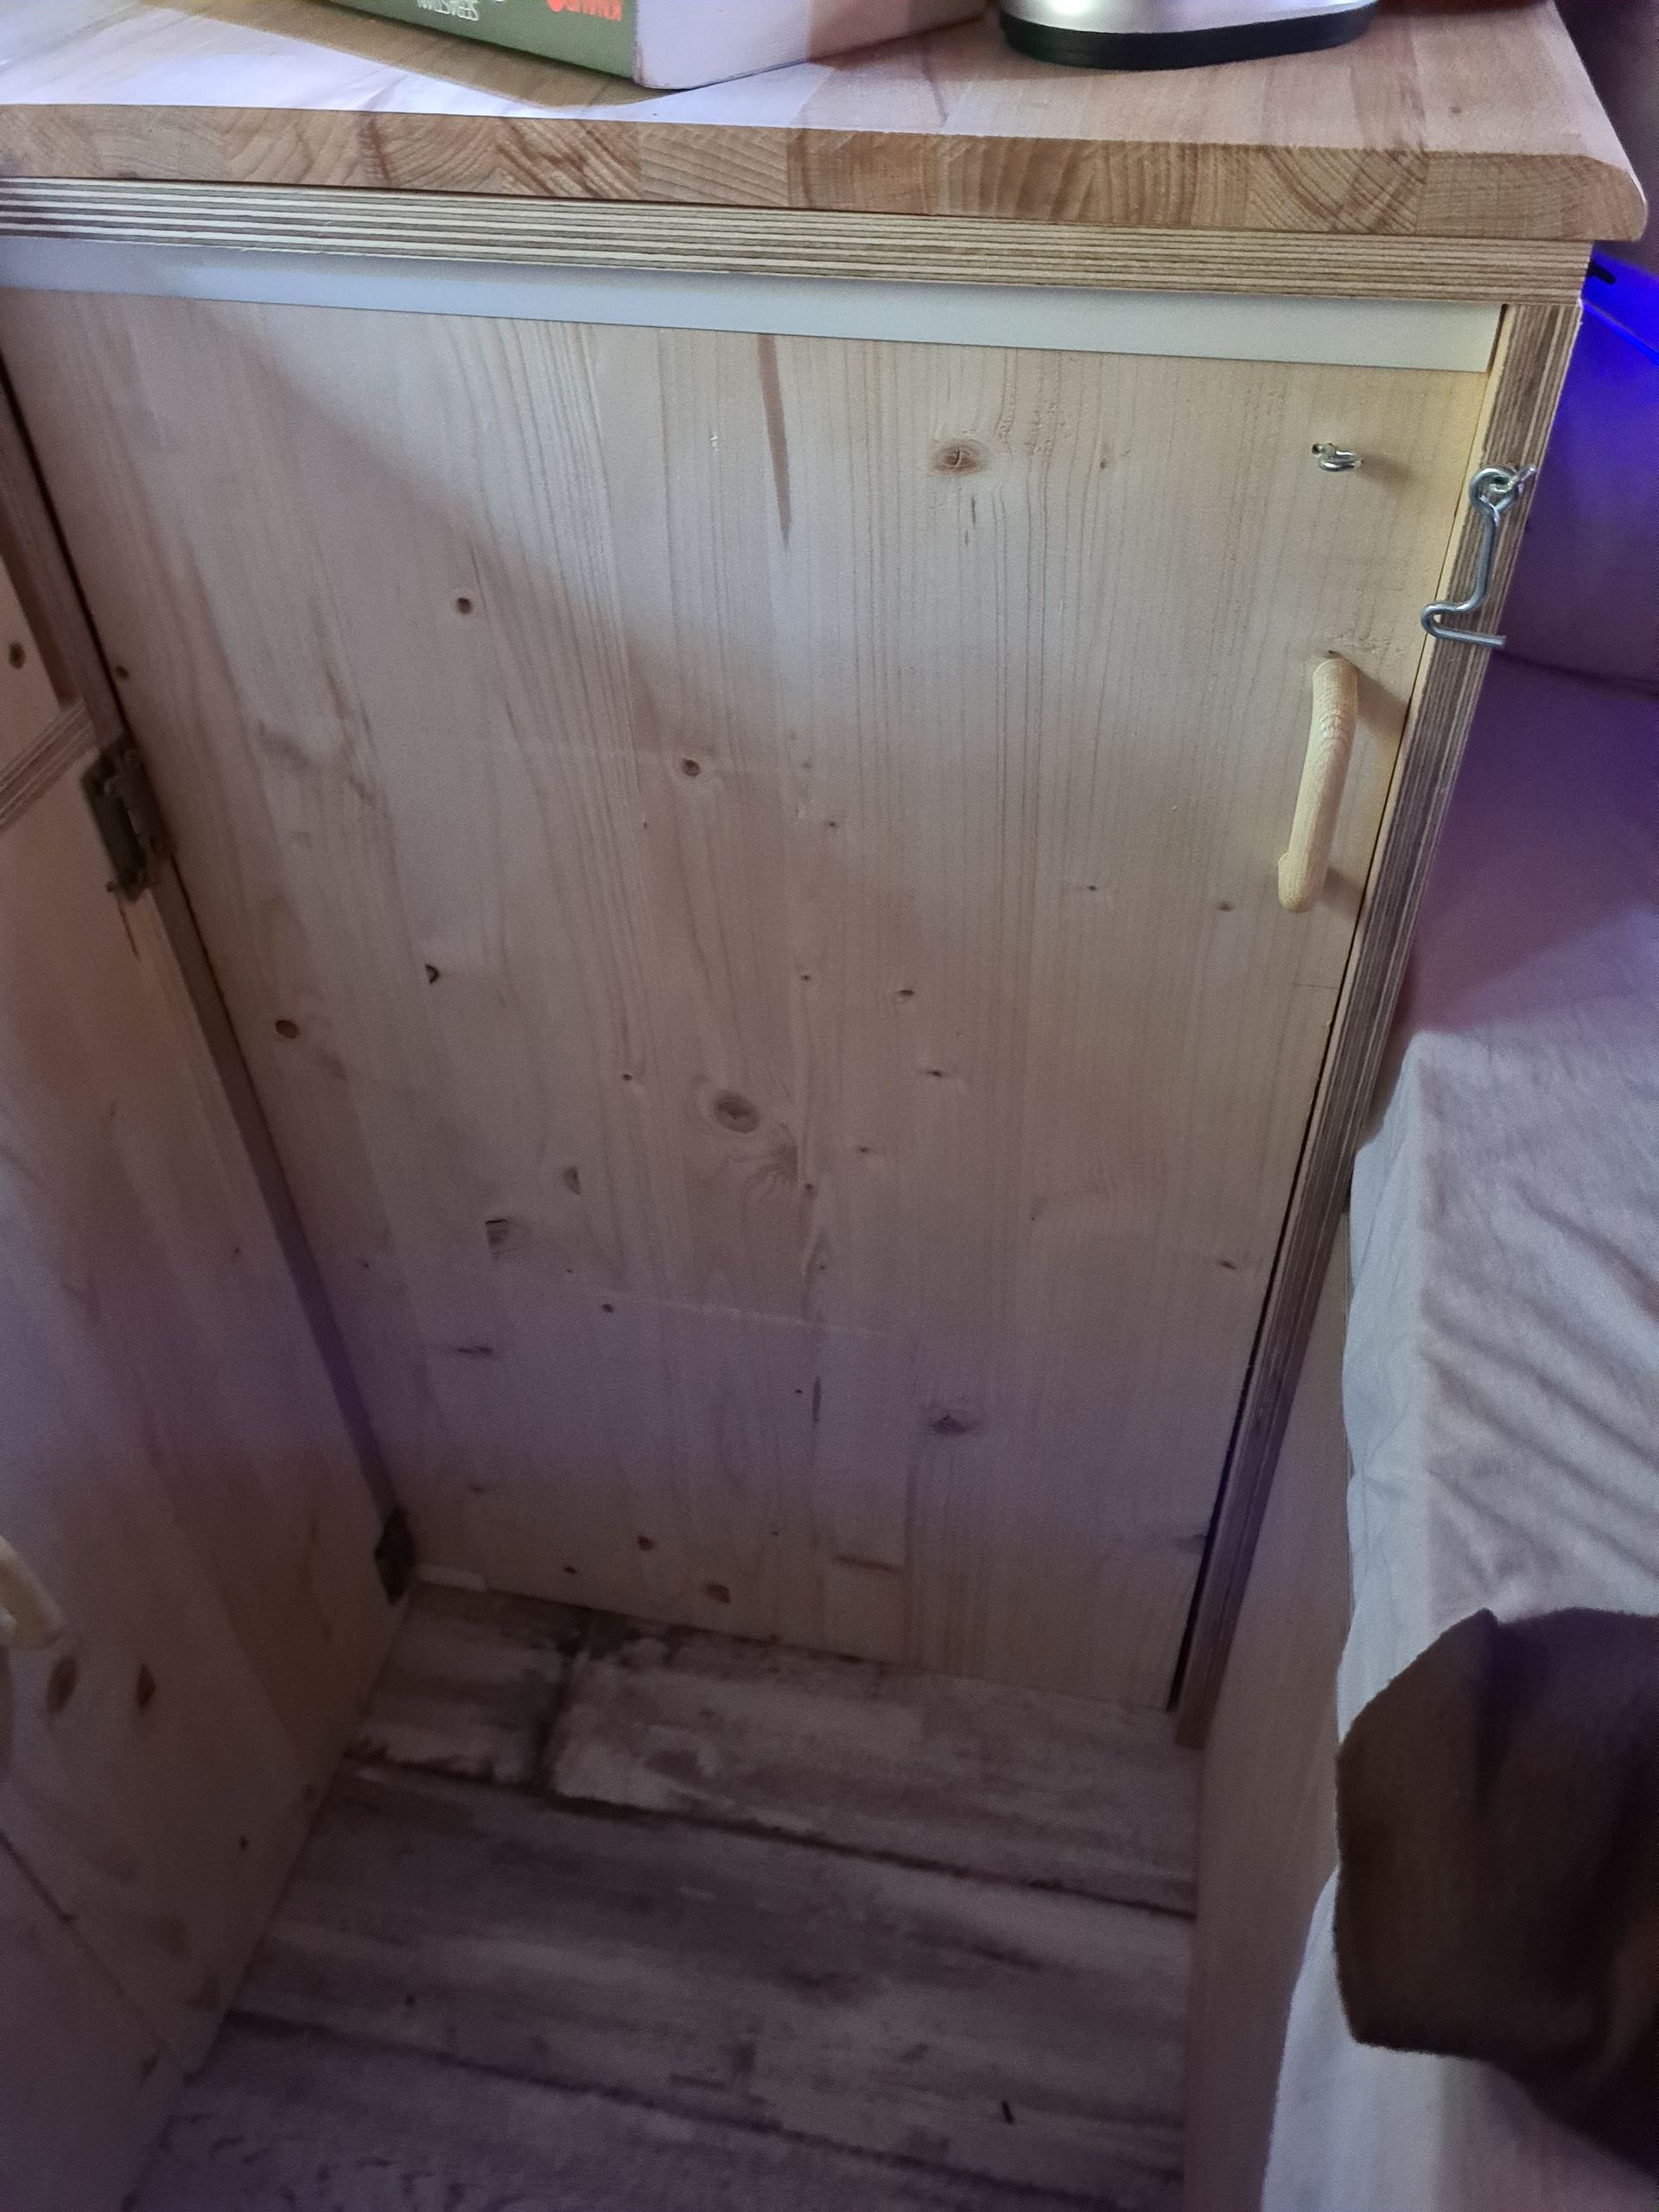
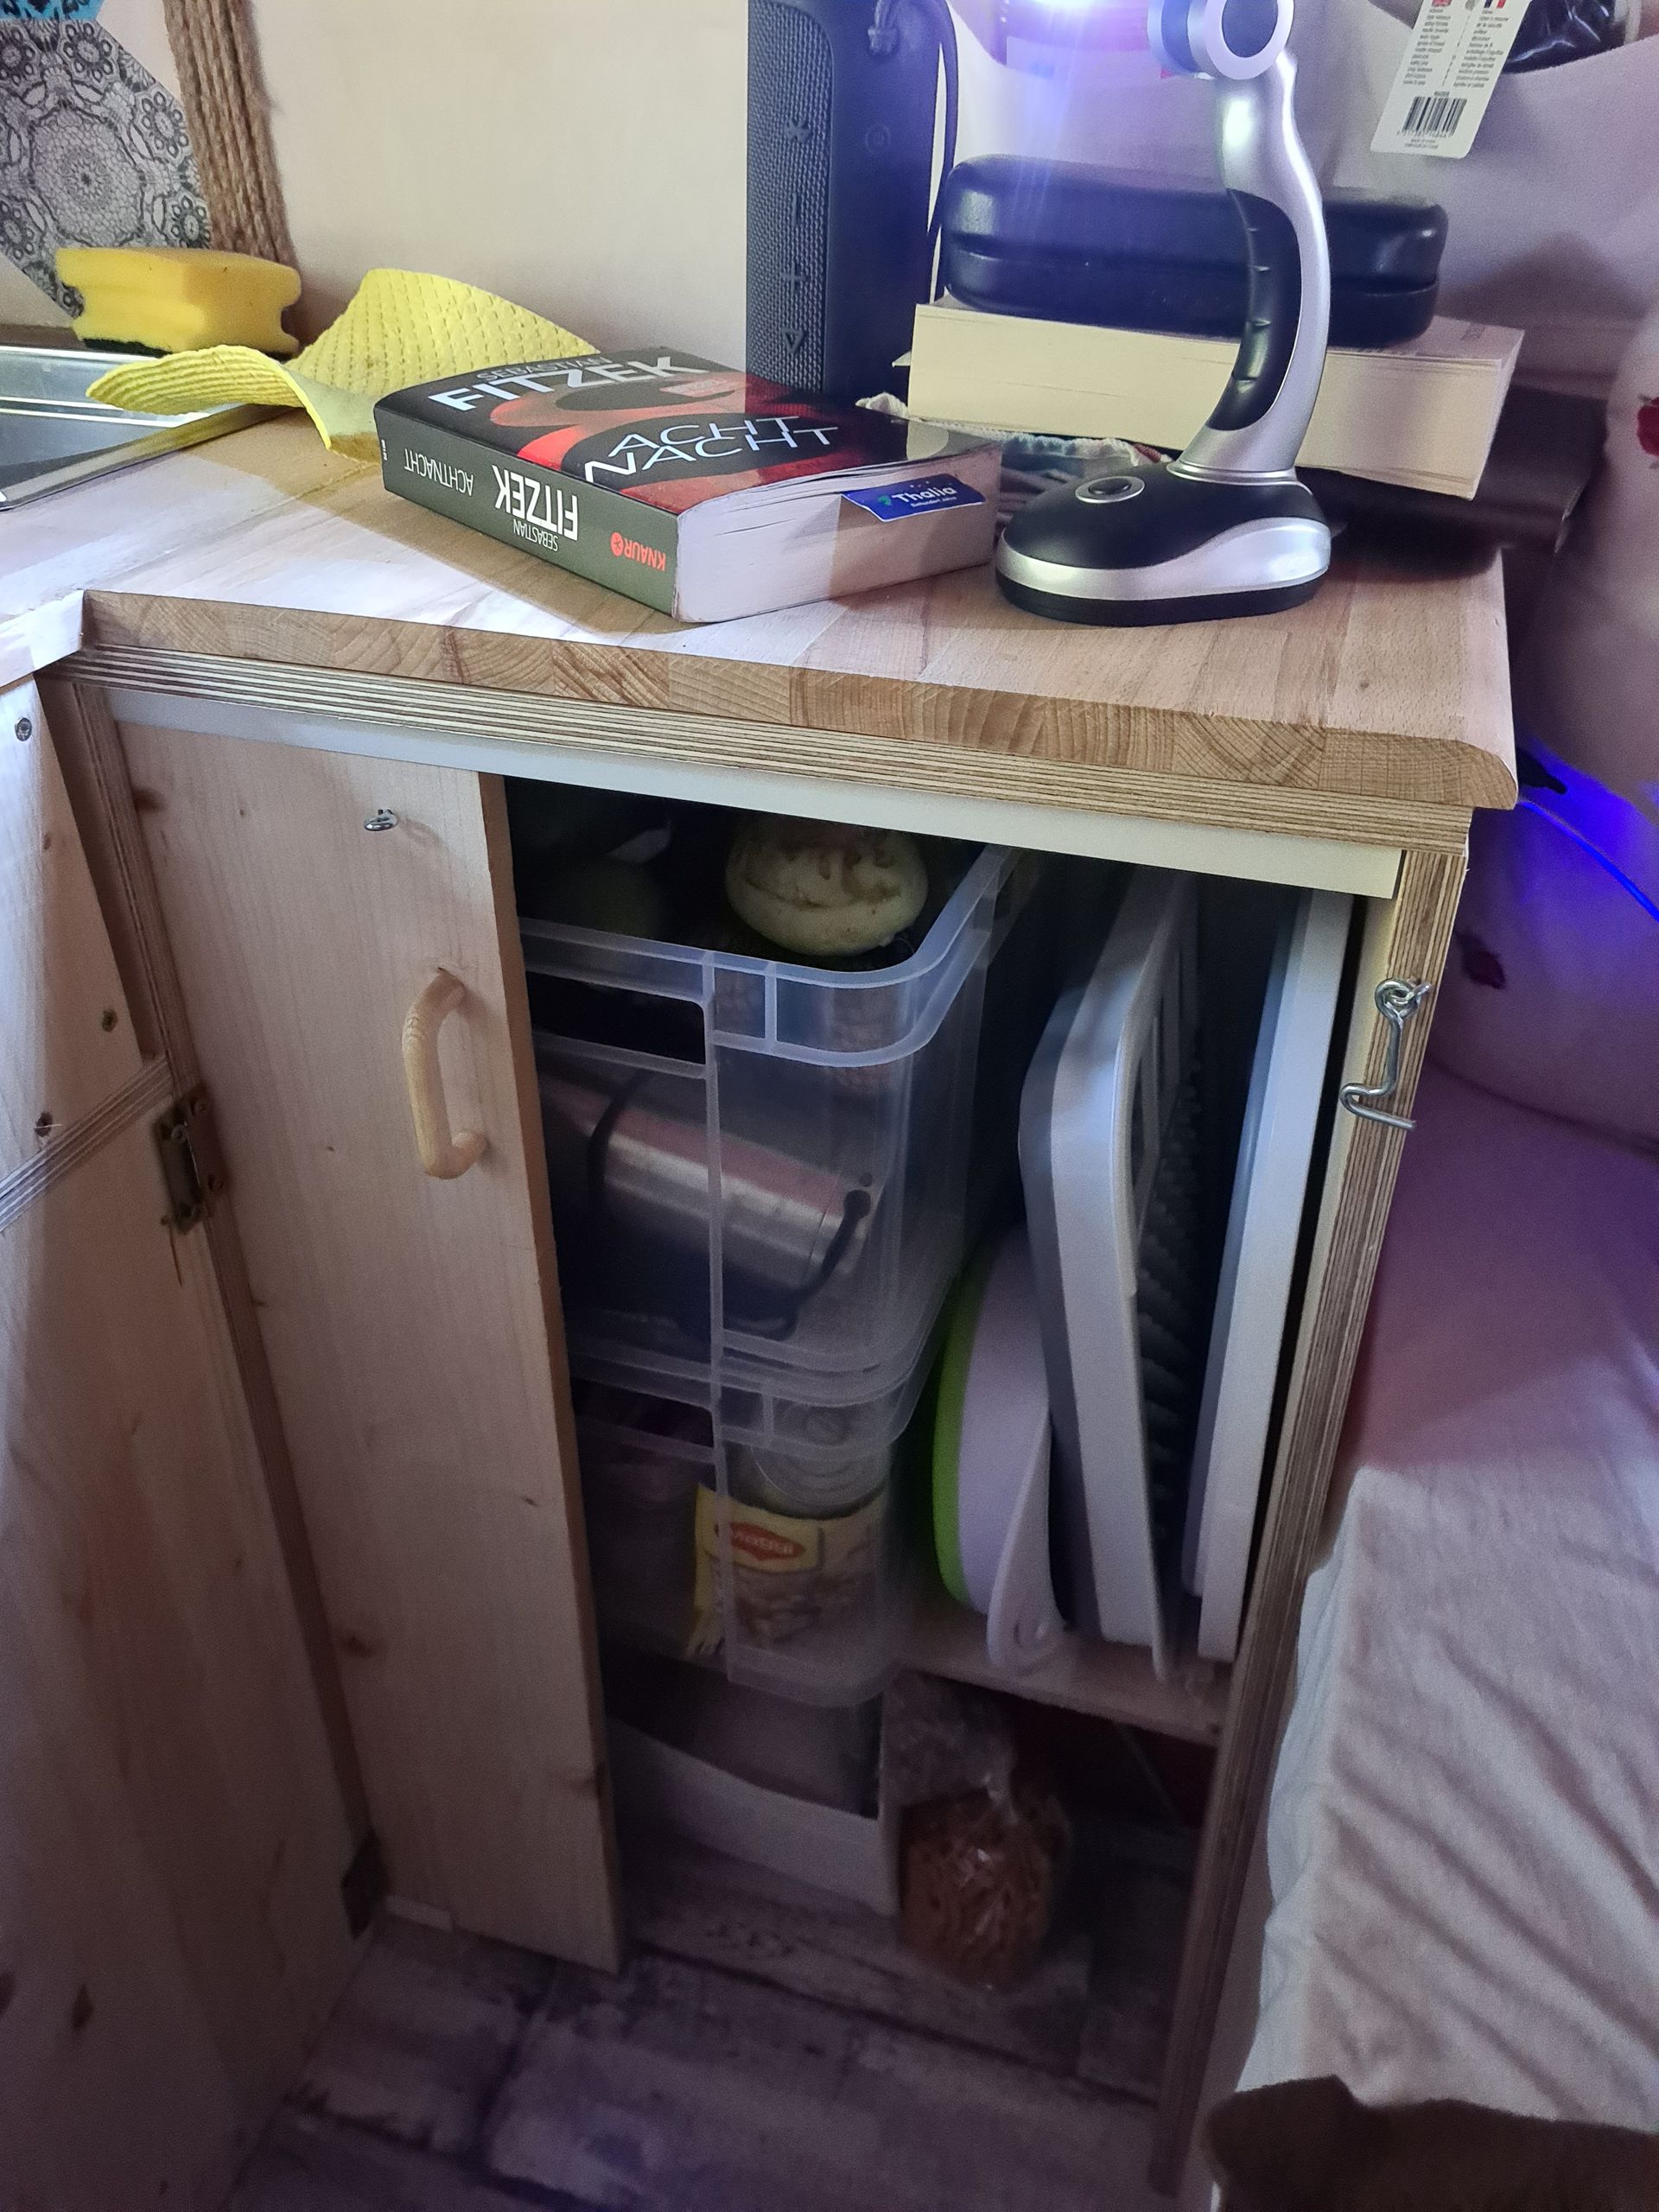
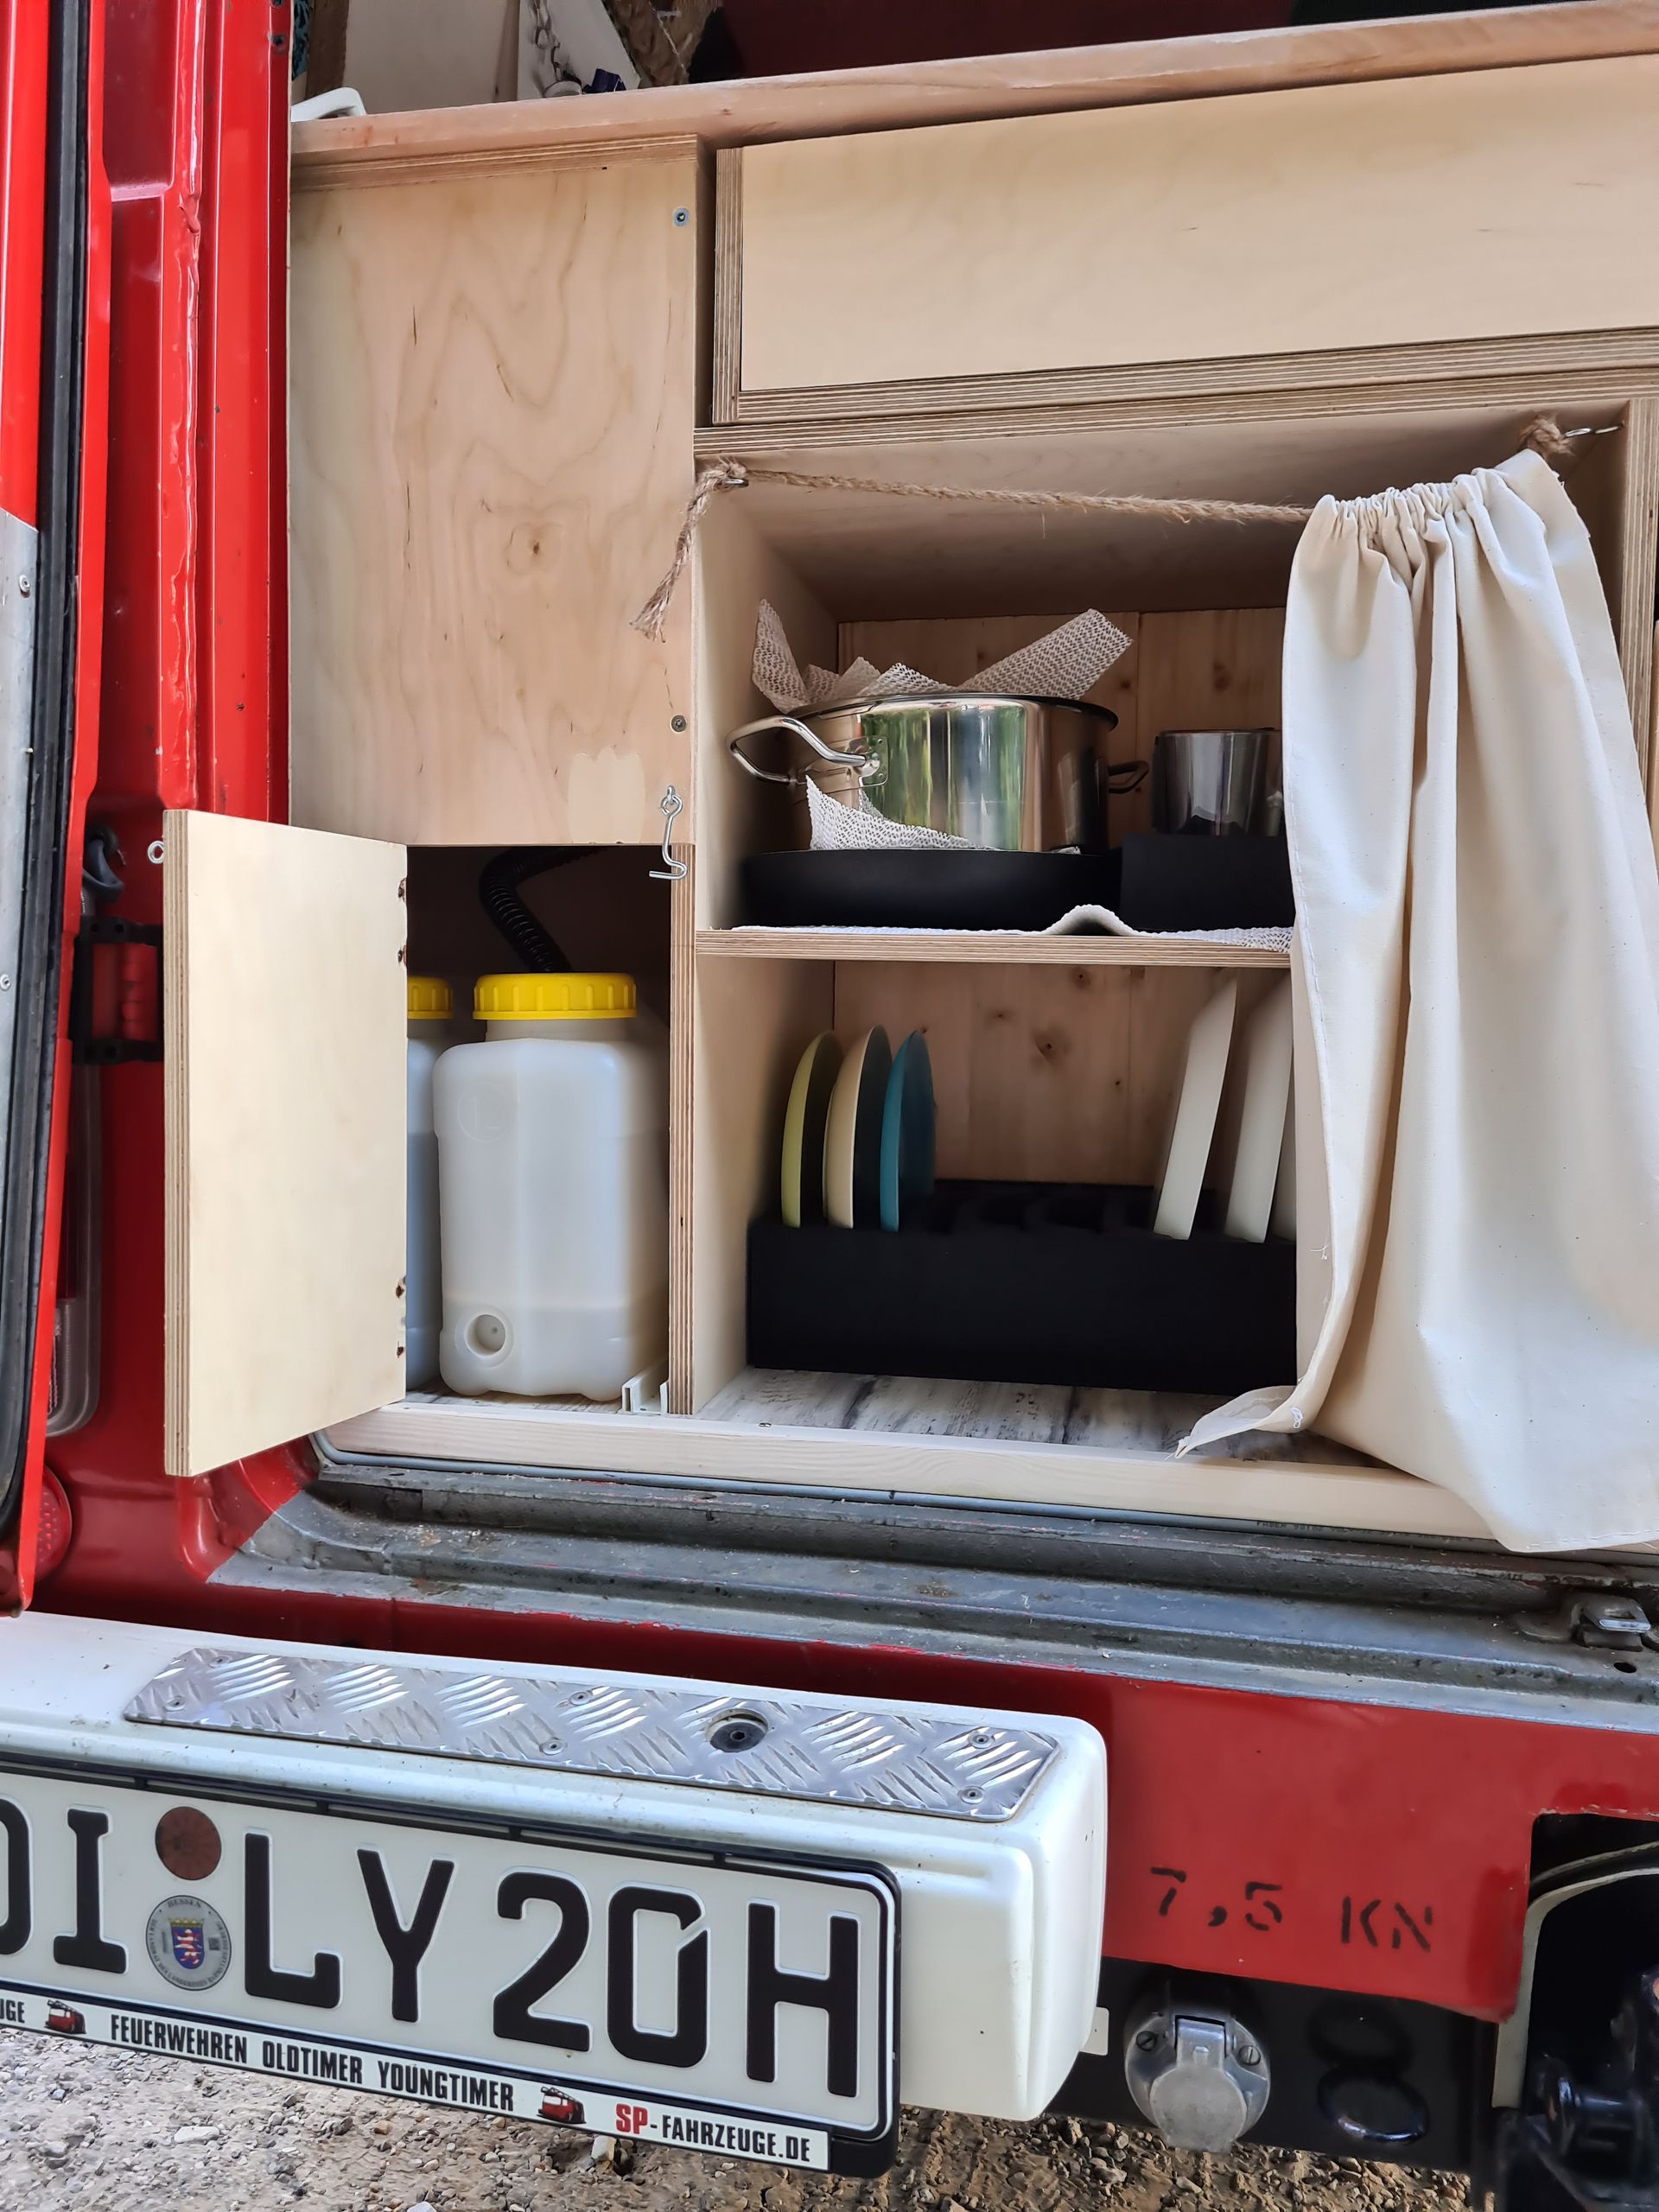
To the right of the cooler box is a small cupboard with swinging doors. Here, we keep all the dishes, as well as pots and a pan.
In the right corner of the counter is our sink. We supply ourselves with water using two 12l canisters. A small 12V submersible pump automatically transports the fresh water to the faucet. The storage space under the sink can be accessed via a sliding door.
The water canisters can be removed for filling and emptying through a hatch in the rear door.
The countertop of the kitchen counter is a 17mm thick laminated wood board made of beech. The cabinet doors and drawers are made of 17mm thick spruce. The basic structure of the kitchen, like the bed, is made of 15mm thick plywood.
We took the handles of the doors from my old wardrobe, as well as the sliding door rails.
Three sockets were installed in the kitchen. One for the refrigerator, one for the submersible pump, and a universal power strip with 12V connection and USB charging ports for various appliances.
To fix the interior design, we screwed the constructions at various positions to the floor using brackets. Only our table is movable.
So that's it for the interior design. As with the basic structure and the electrical system, if you have any further questions, just write to me.
In the end, the interior design took a lot of time. But every second was worth it. I discovered a radical perfectionist in myself in this field, which didn't always make it easy for Yasemin. Precision work is not easy-peasy.
A special thanks to Sarah and Torsten who supported us in the execution.
In the next article, I would like to briefly show you what thoughts we put into the decoration and what our future expansion plans look like.
Until then. Take care!
Aw ye aw tɔgɔ sɛbɛn Kibaruyaw la
Jaabi