The conversion Part 2: laying cables and covering the interior
Diterbitkan: 20.09.2020


Berlangganan Newsletter
Hello from Denmark. Originally, I wanted to summarize the conversion process in a rough manner. However, since a lot of work was done in parallel, especially during the interior installation, I will go into more detail in certain areas to keep an overview.
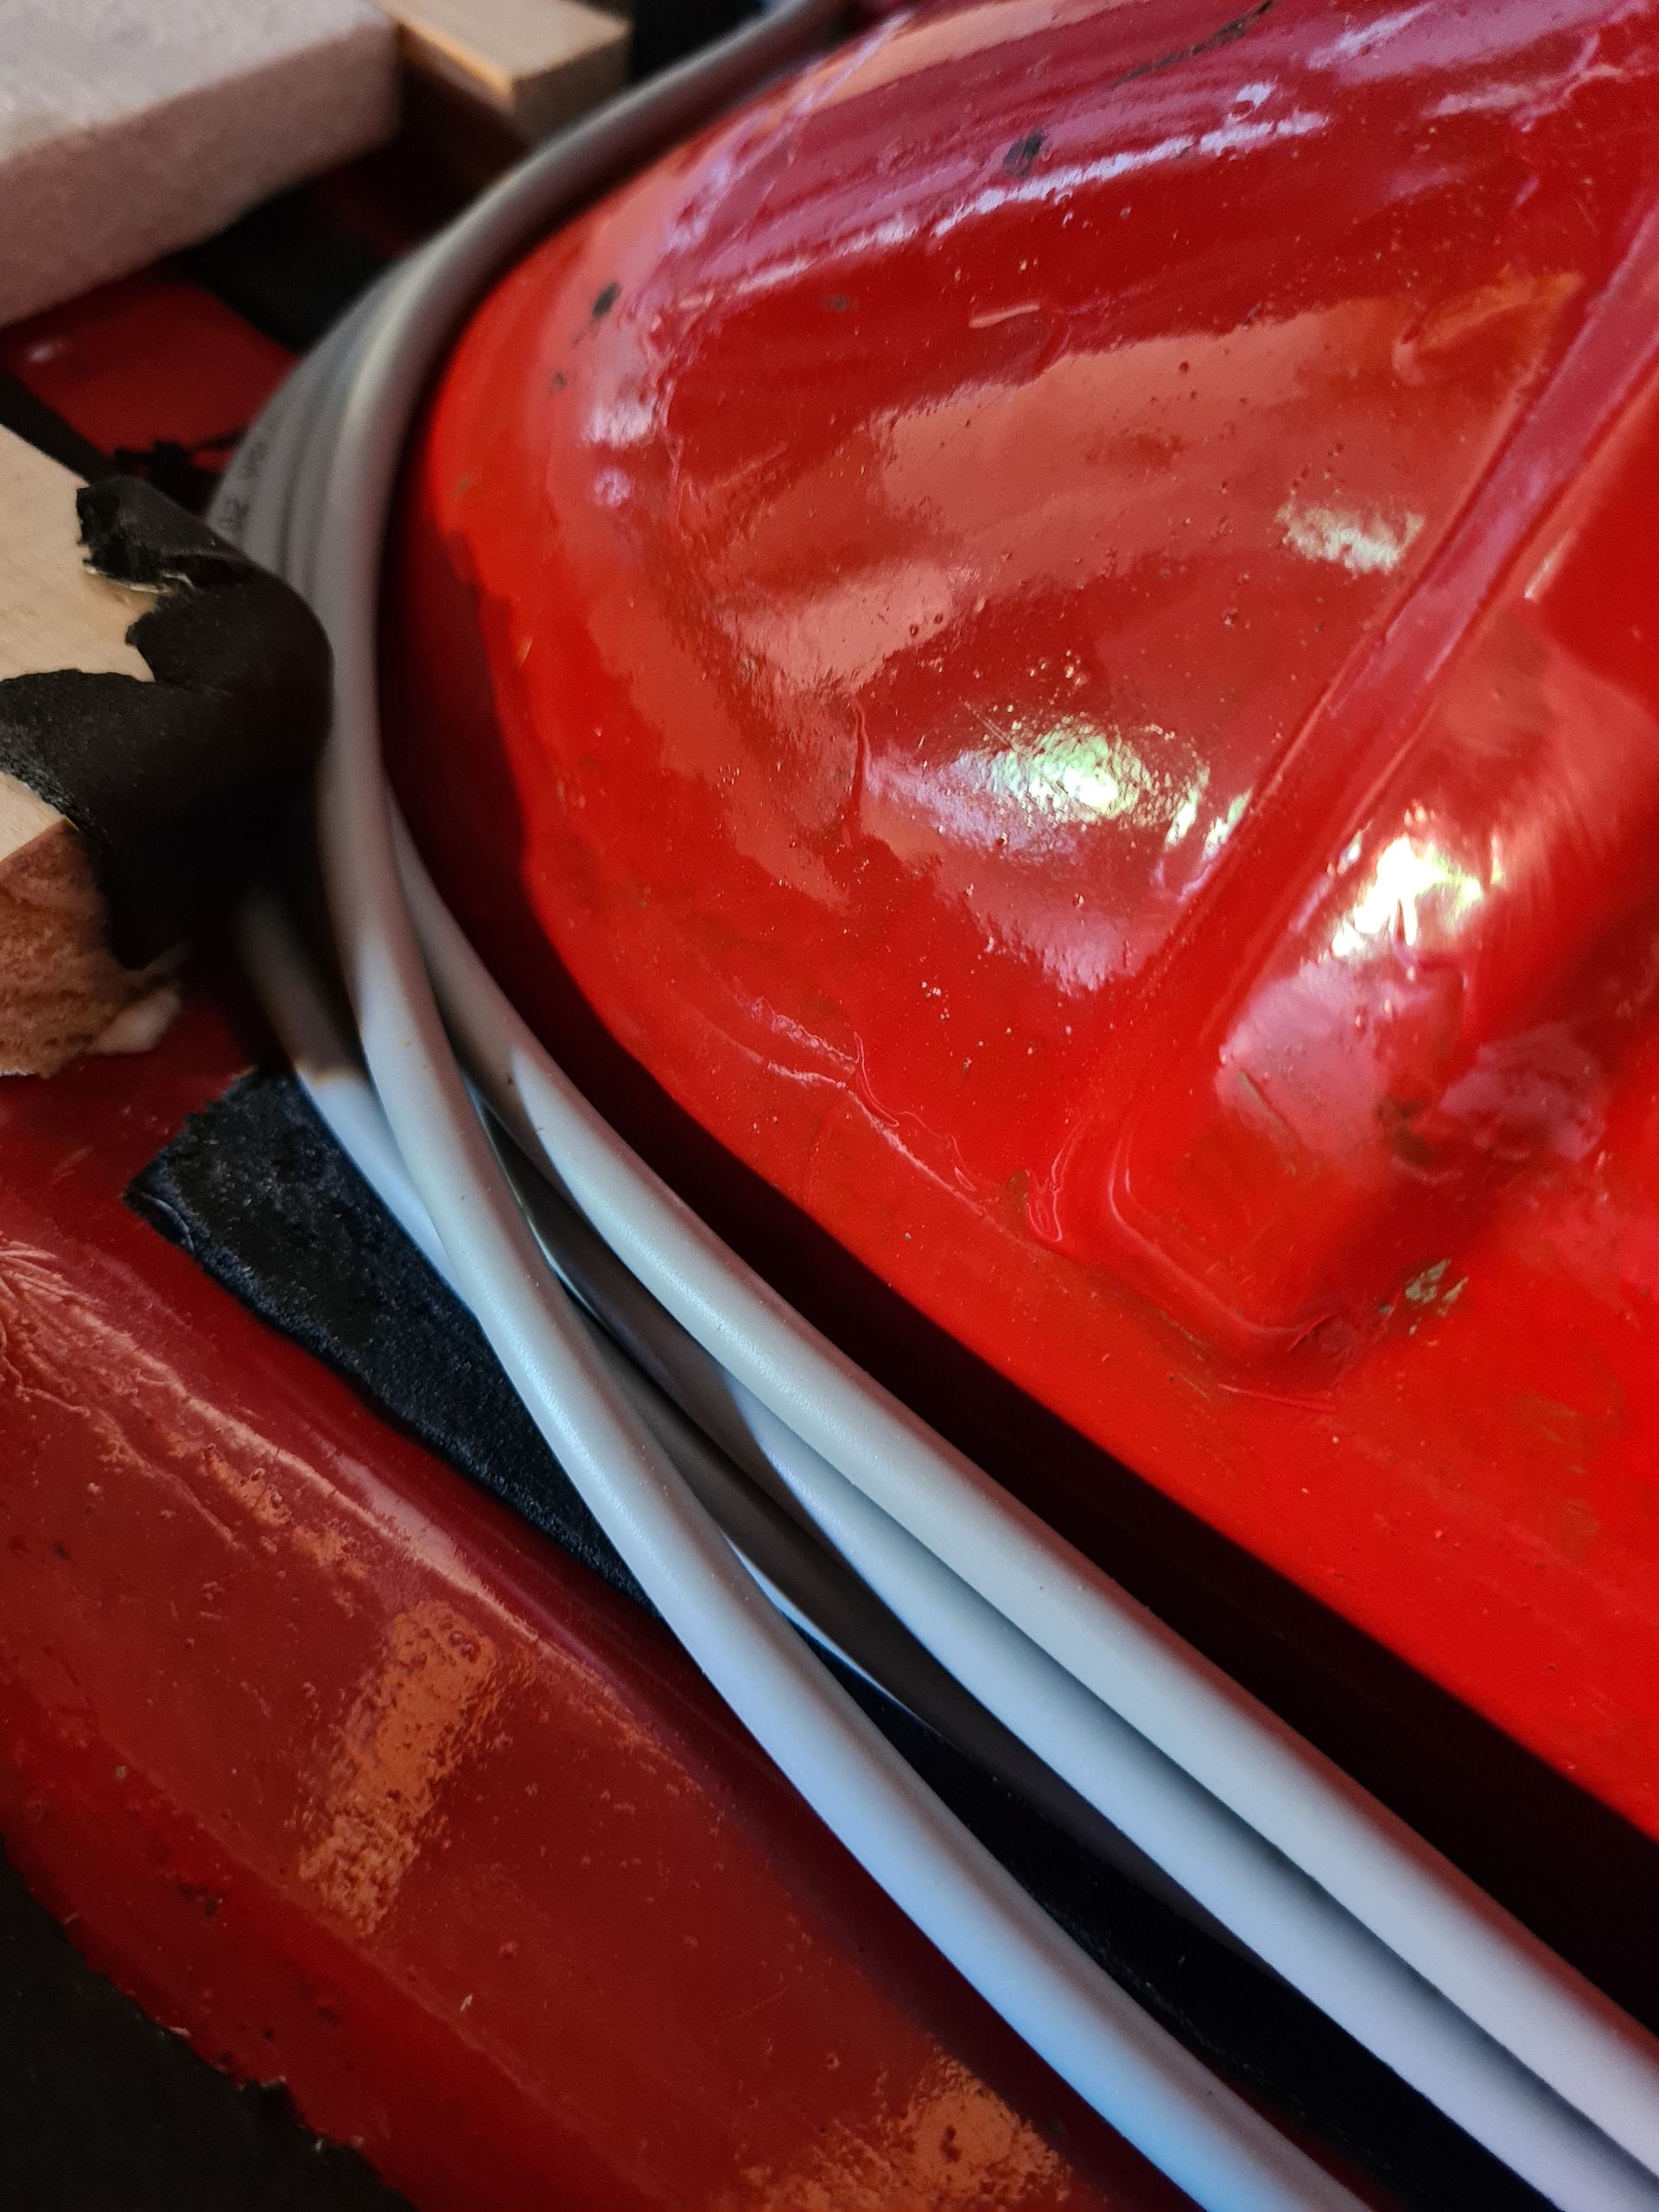
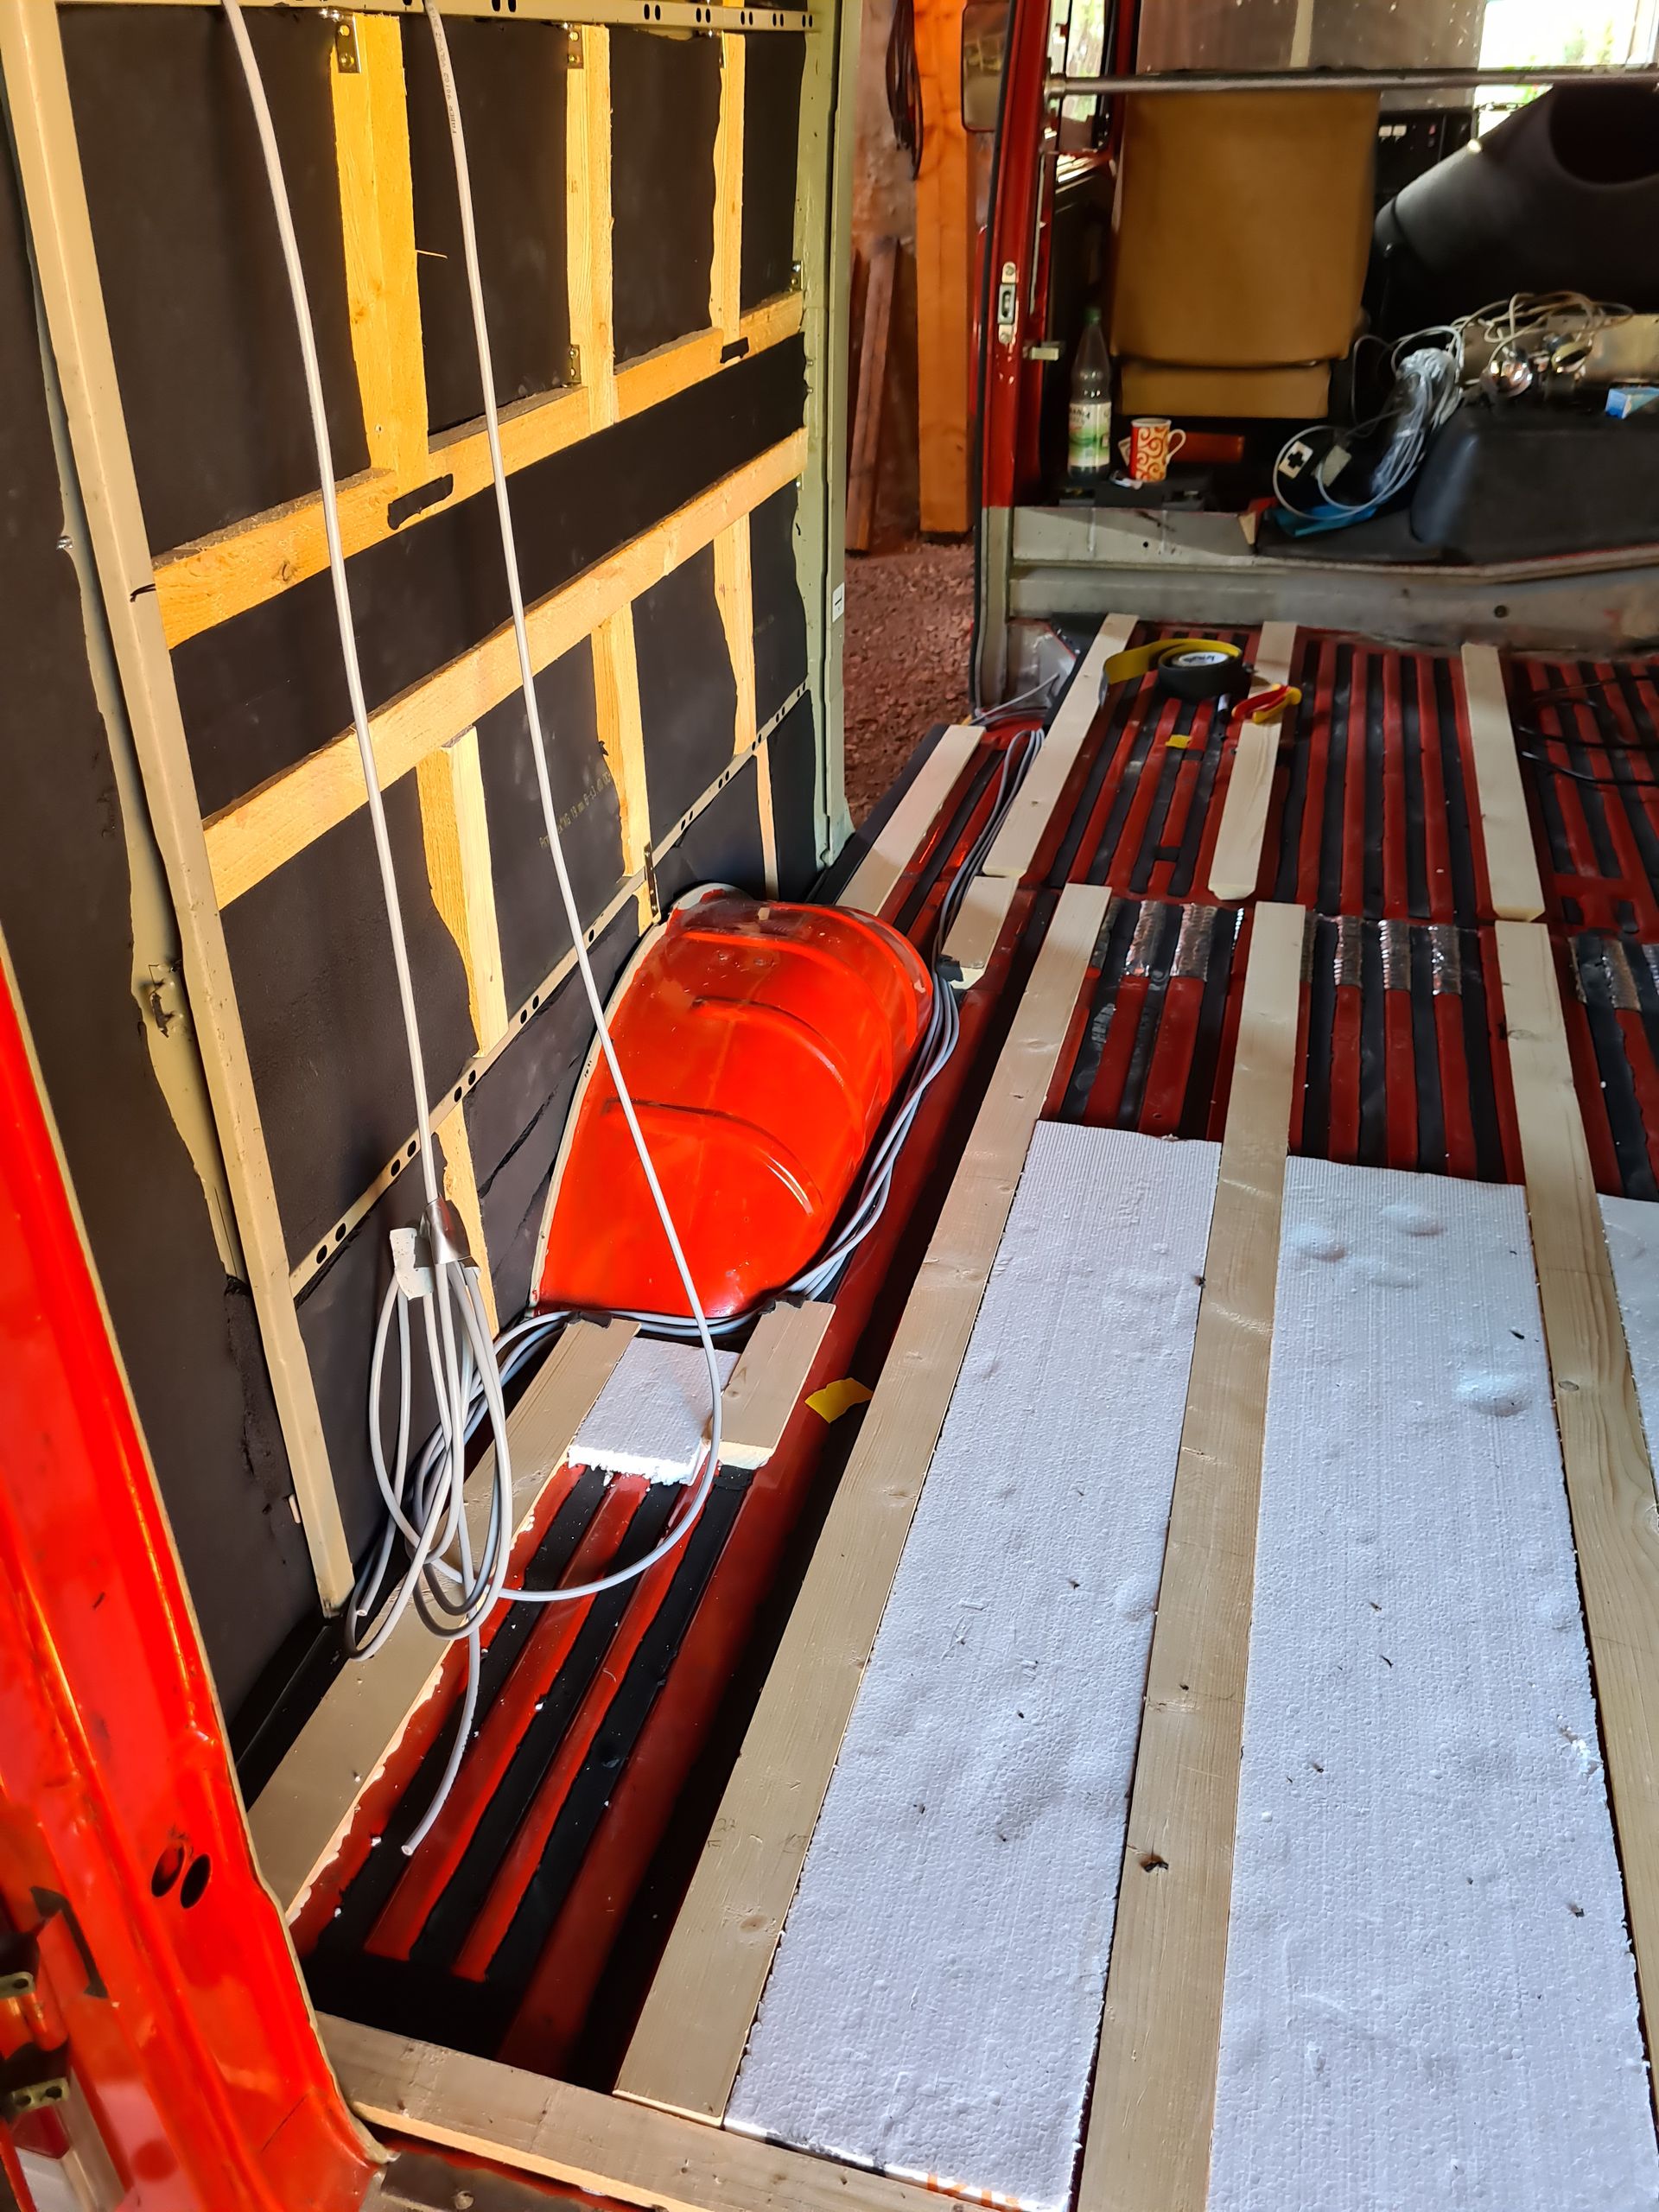
After we had screwed and glued the insulation and basic construction, we laid cables from the front part of the bus to the rear part. The cables run along the floor on the driver's side and end at the left rear door, where the kitchenette with sockets, refrigerator, and submersible pump will be located. Another cable was laid to the front into the driver's cabin. We simply wanted to keep the option open to charge phones, etc. within reach while driving.
The cables were laid under the EPS panels to protect them from sharp wooden or metal edges.
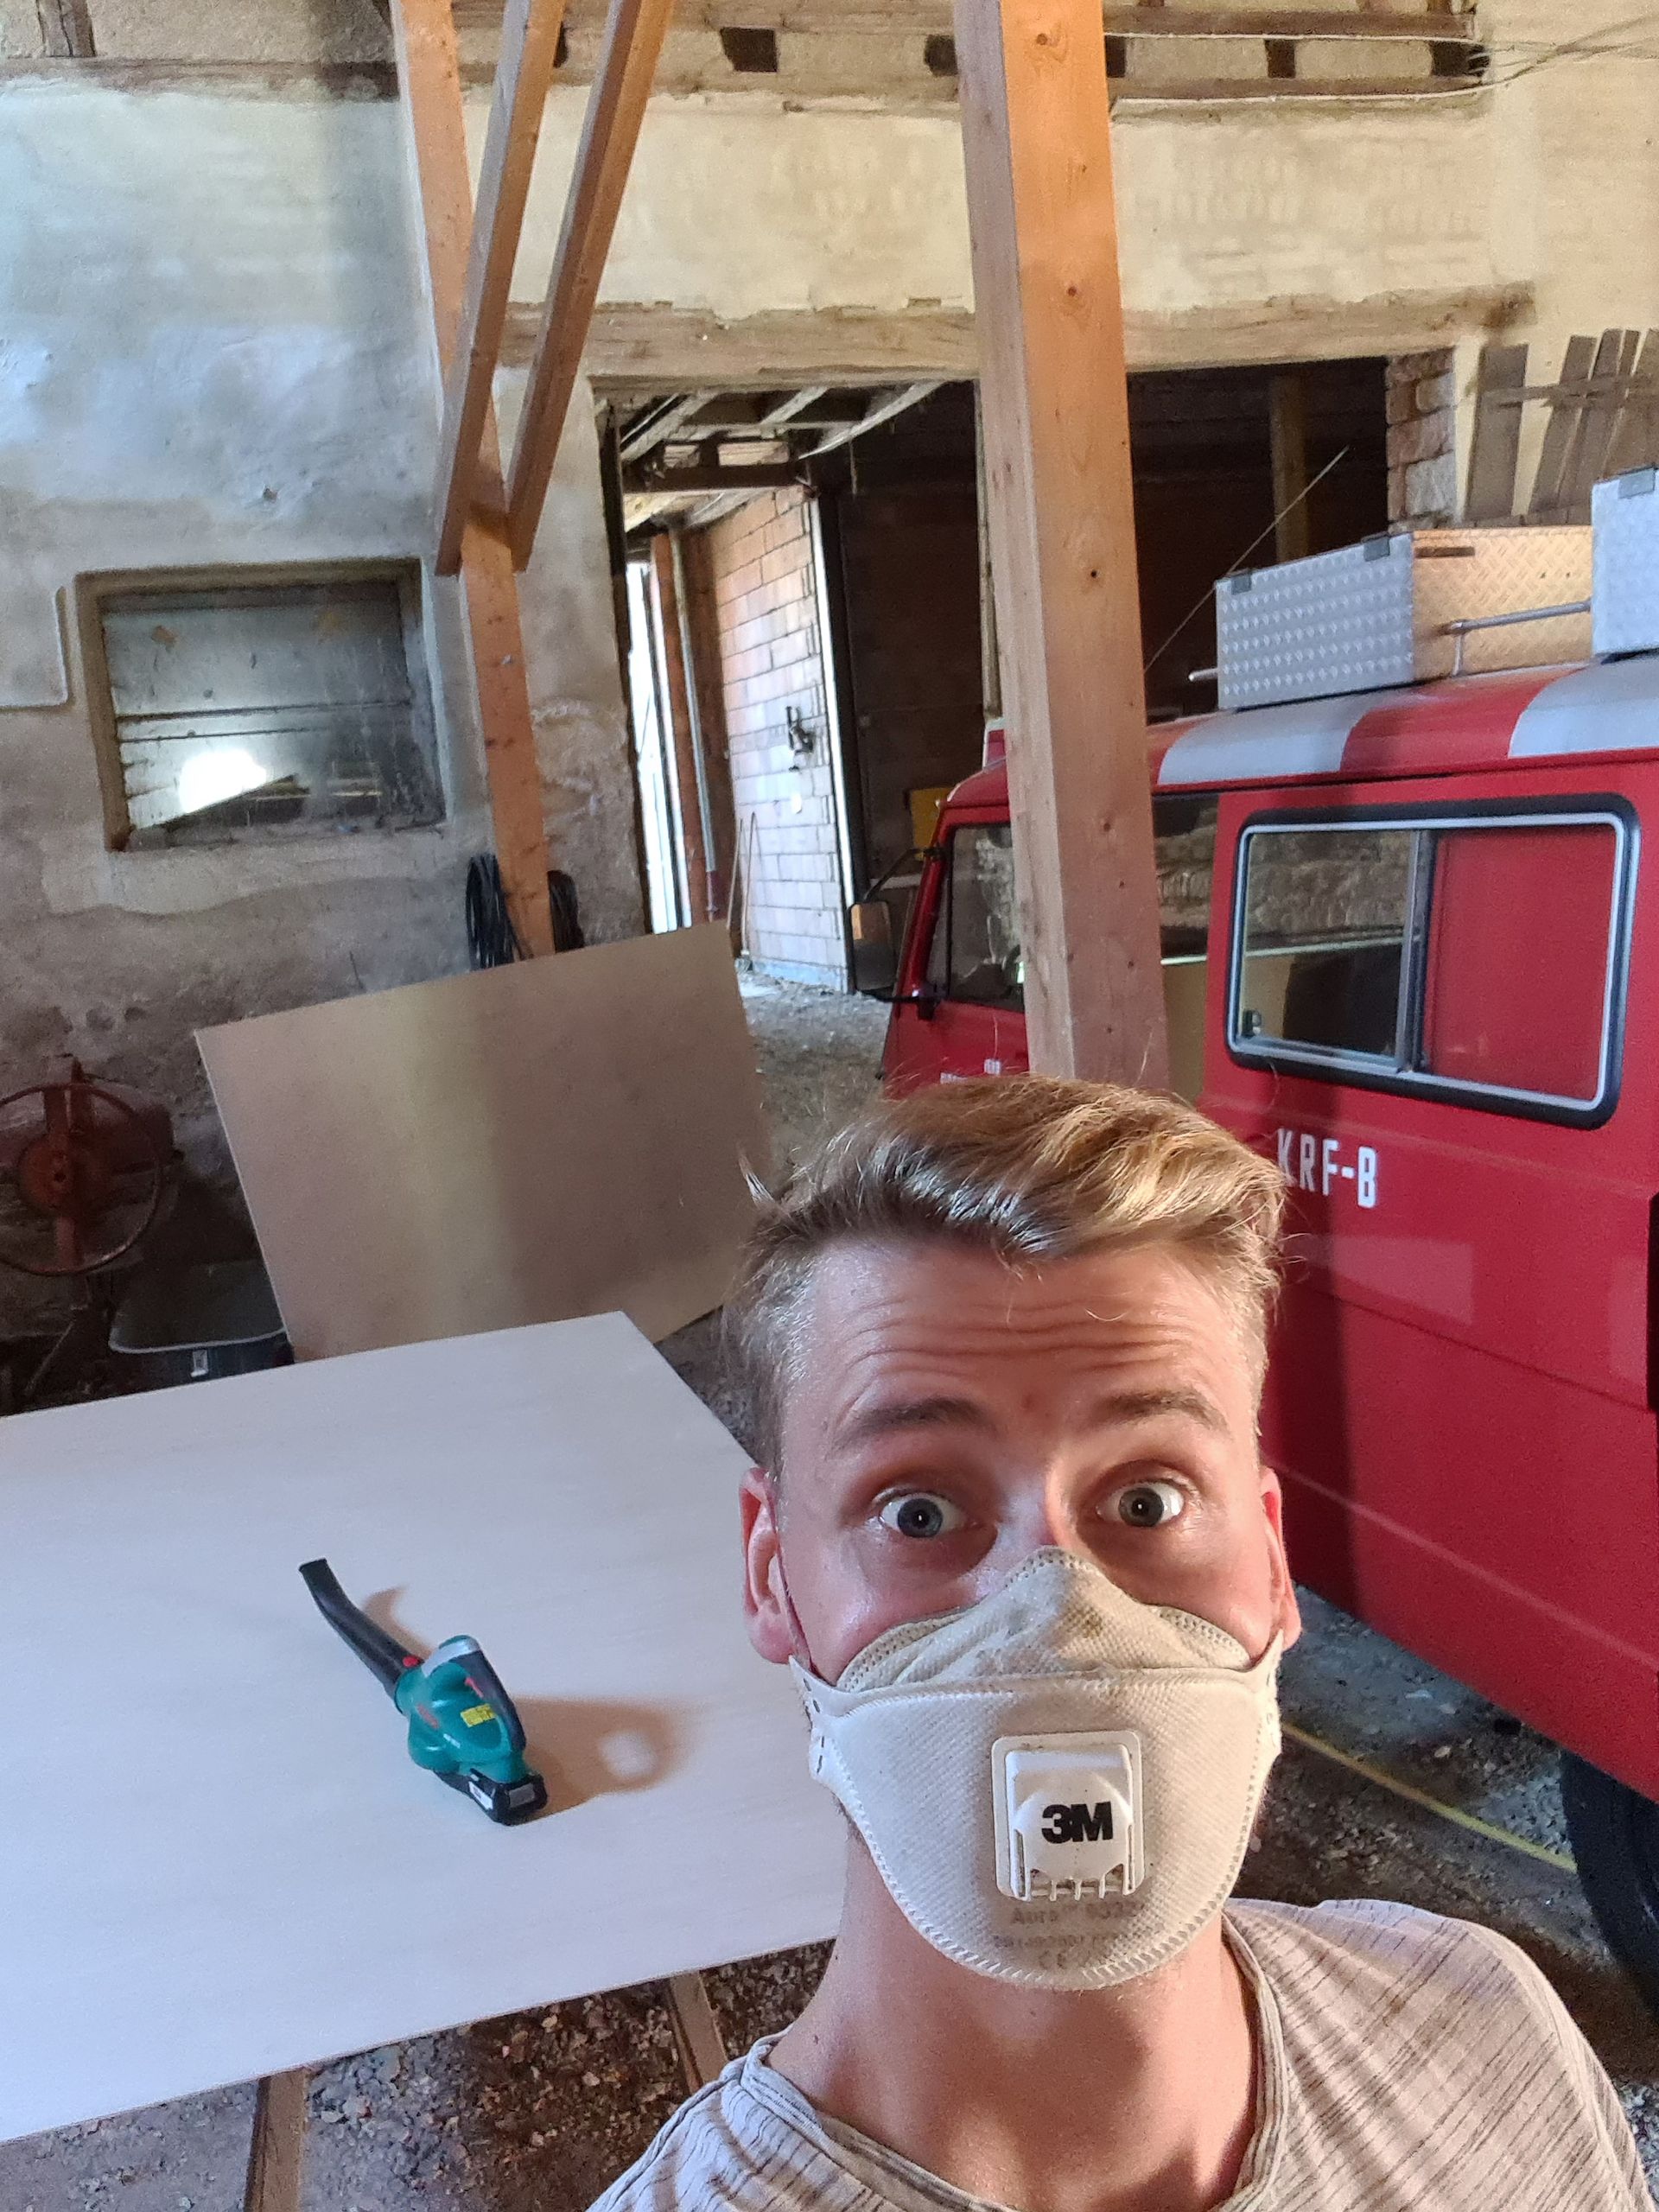
Following the cable mess, on an intensive Saturday, we finished the floor, walls, and ceiling. We used plywood panels of different thicknesses as construction material. The floor and walls were lined with 9mm panels, while the ceiling was lined with 6mm panels. To give it a nice look, I stained the panels in a red and a white tone beforehand.
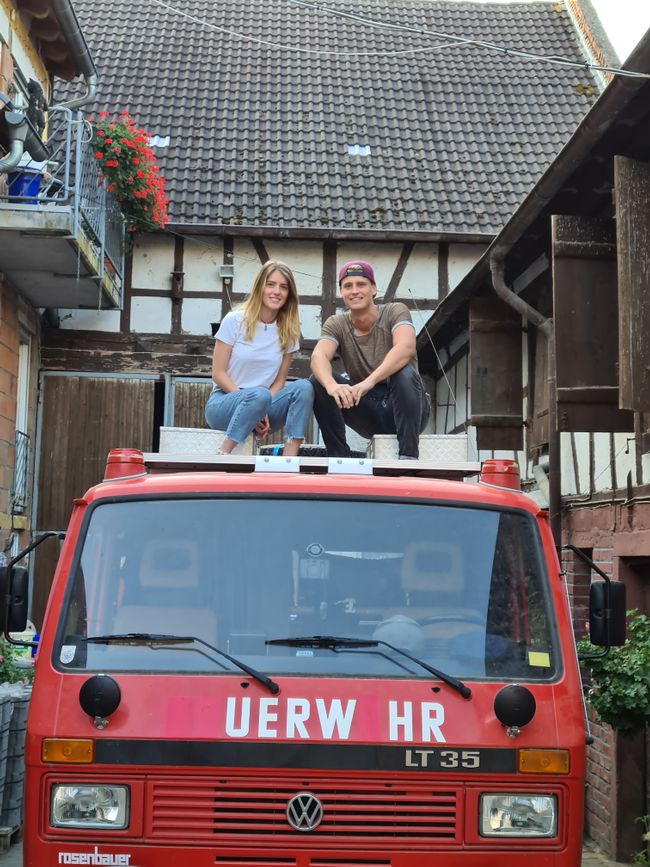
At this point, I would also like to thank Mareike, Tim, Moksha, and Joshua for their dedicated support.
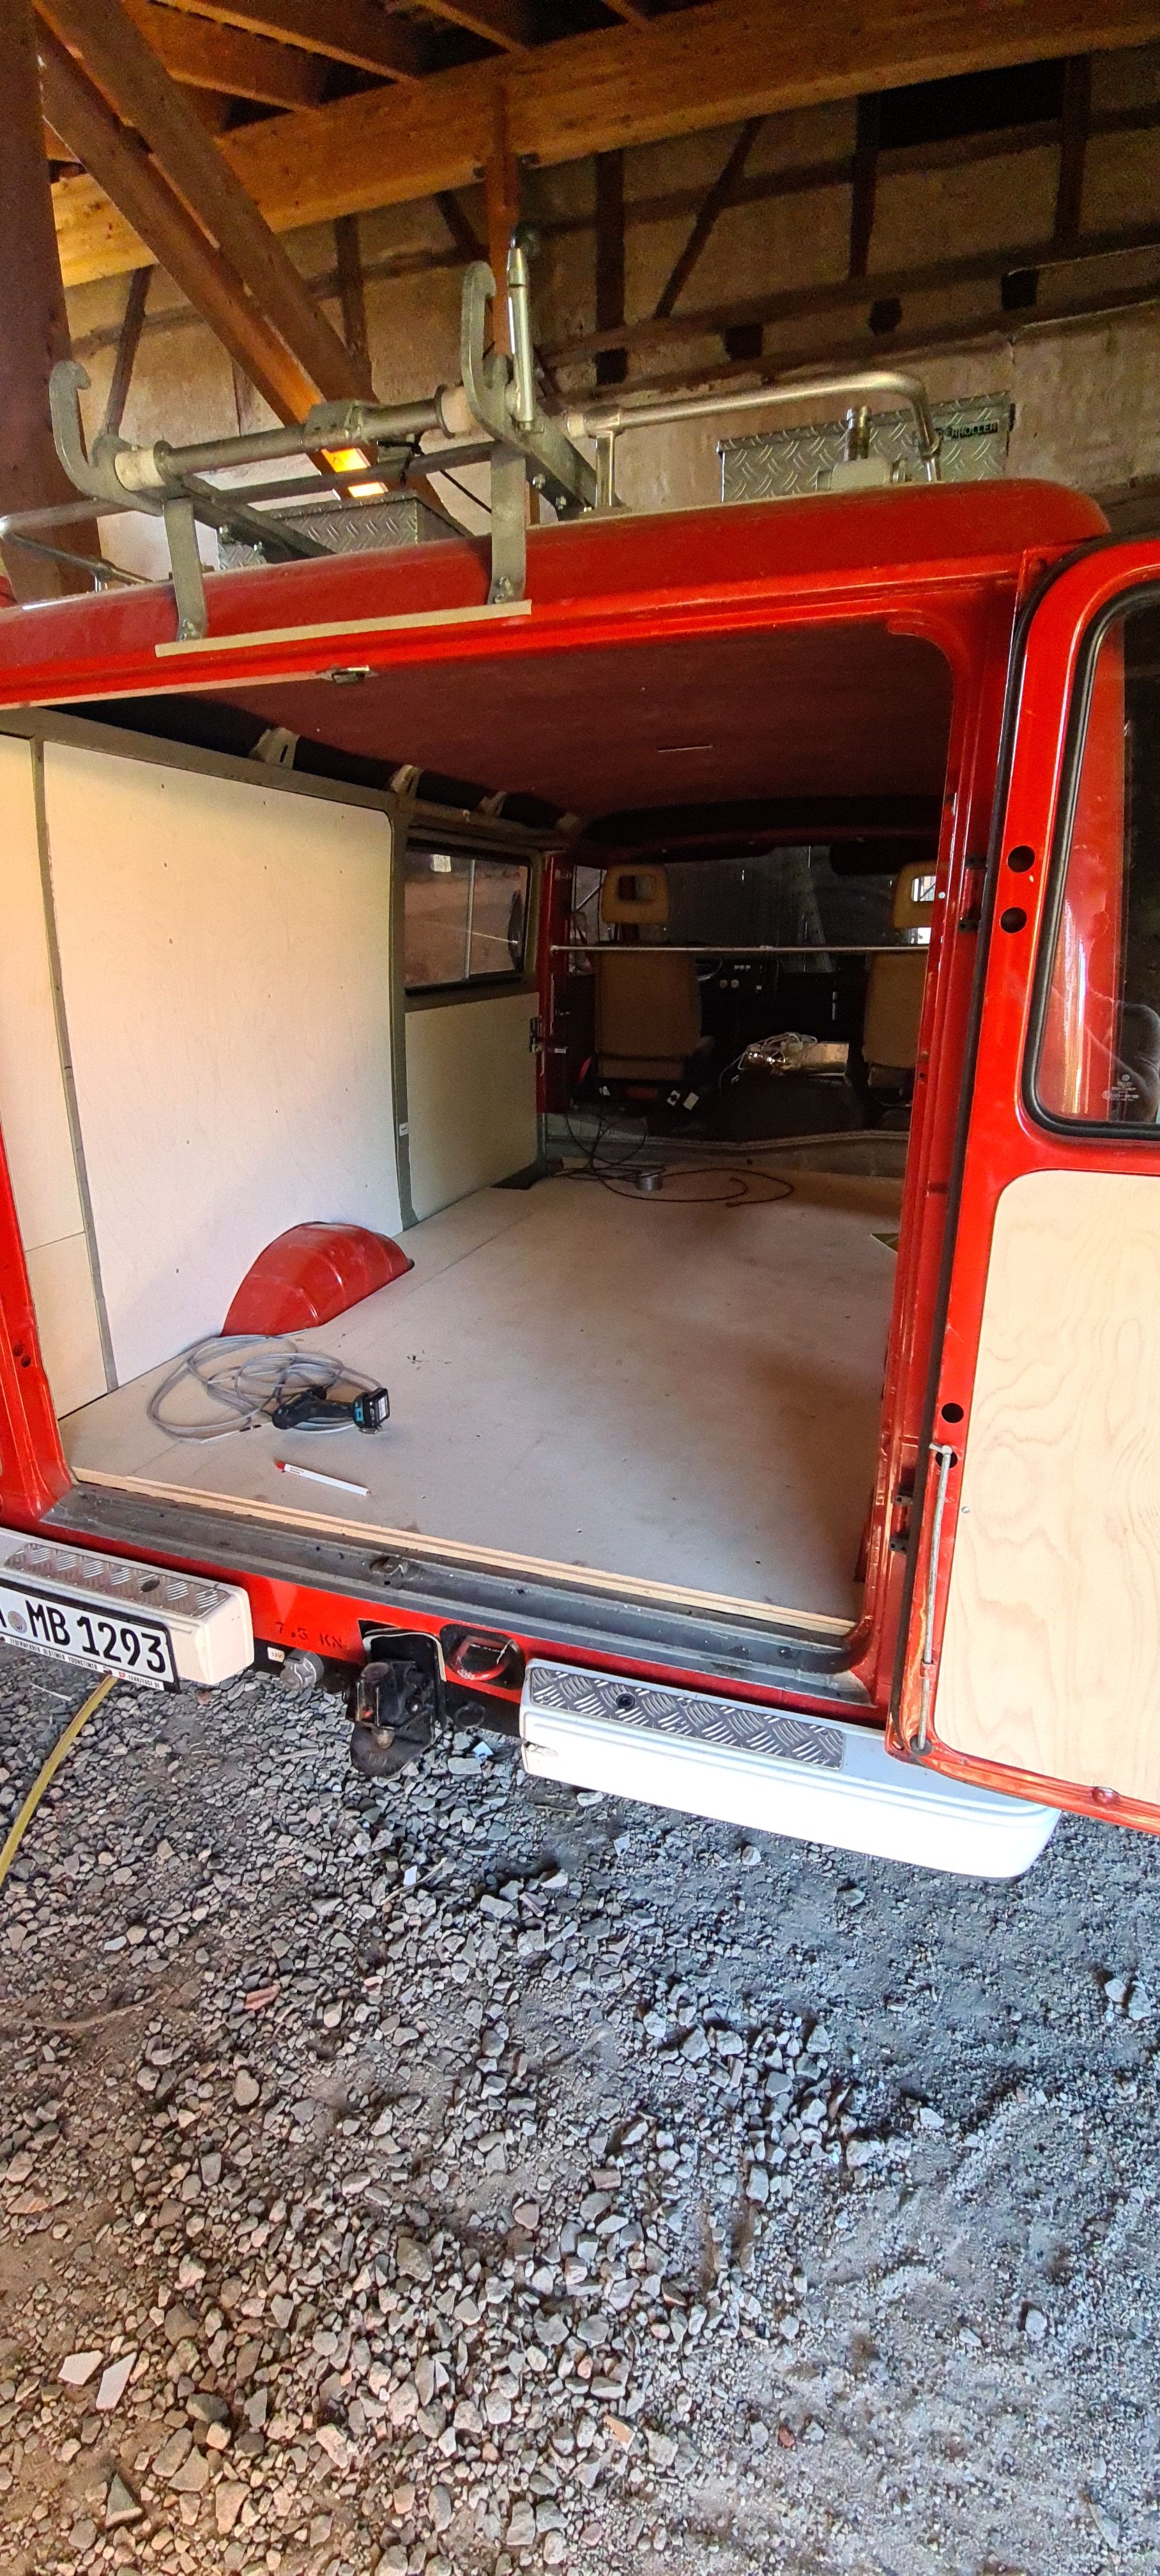
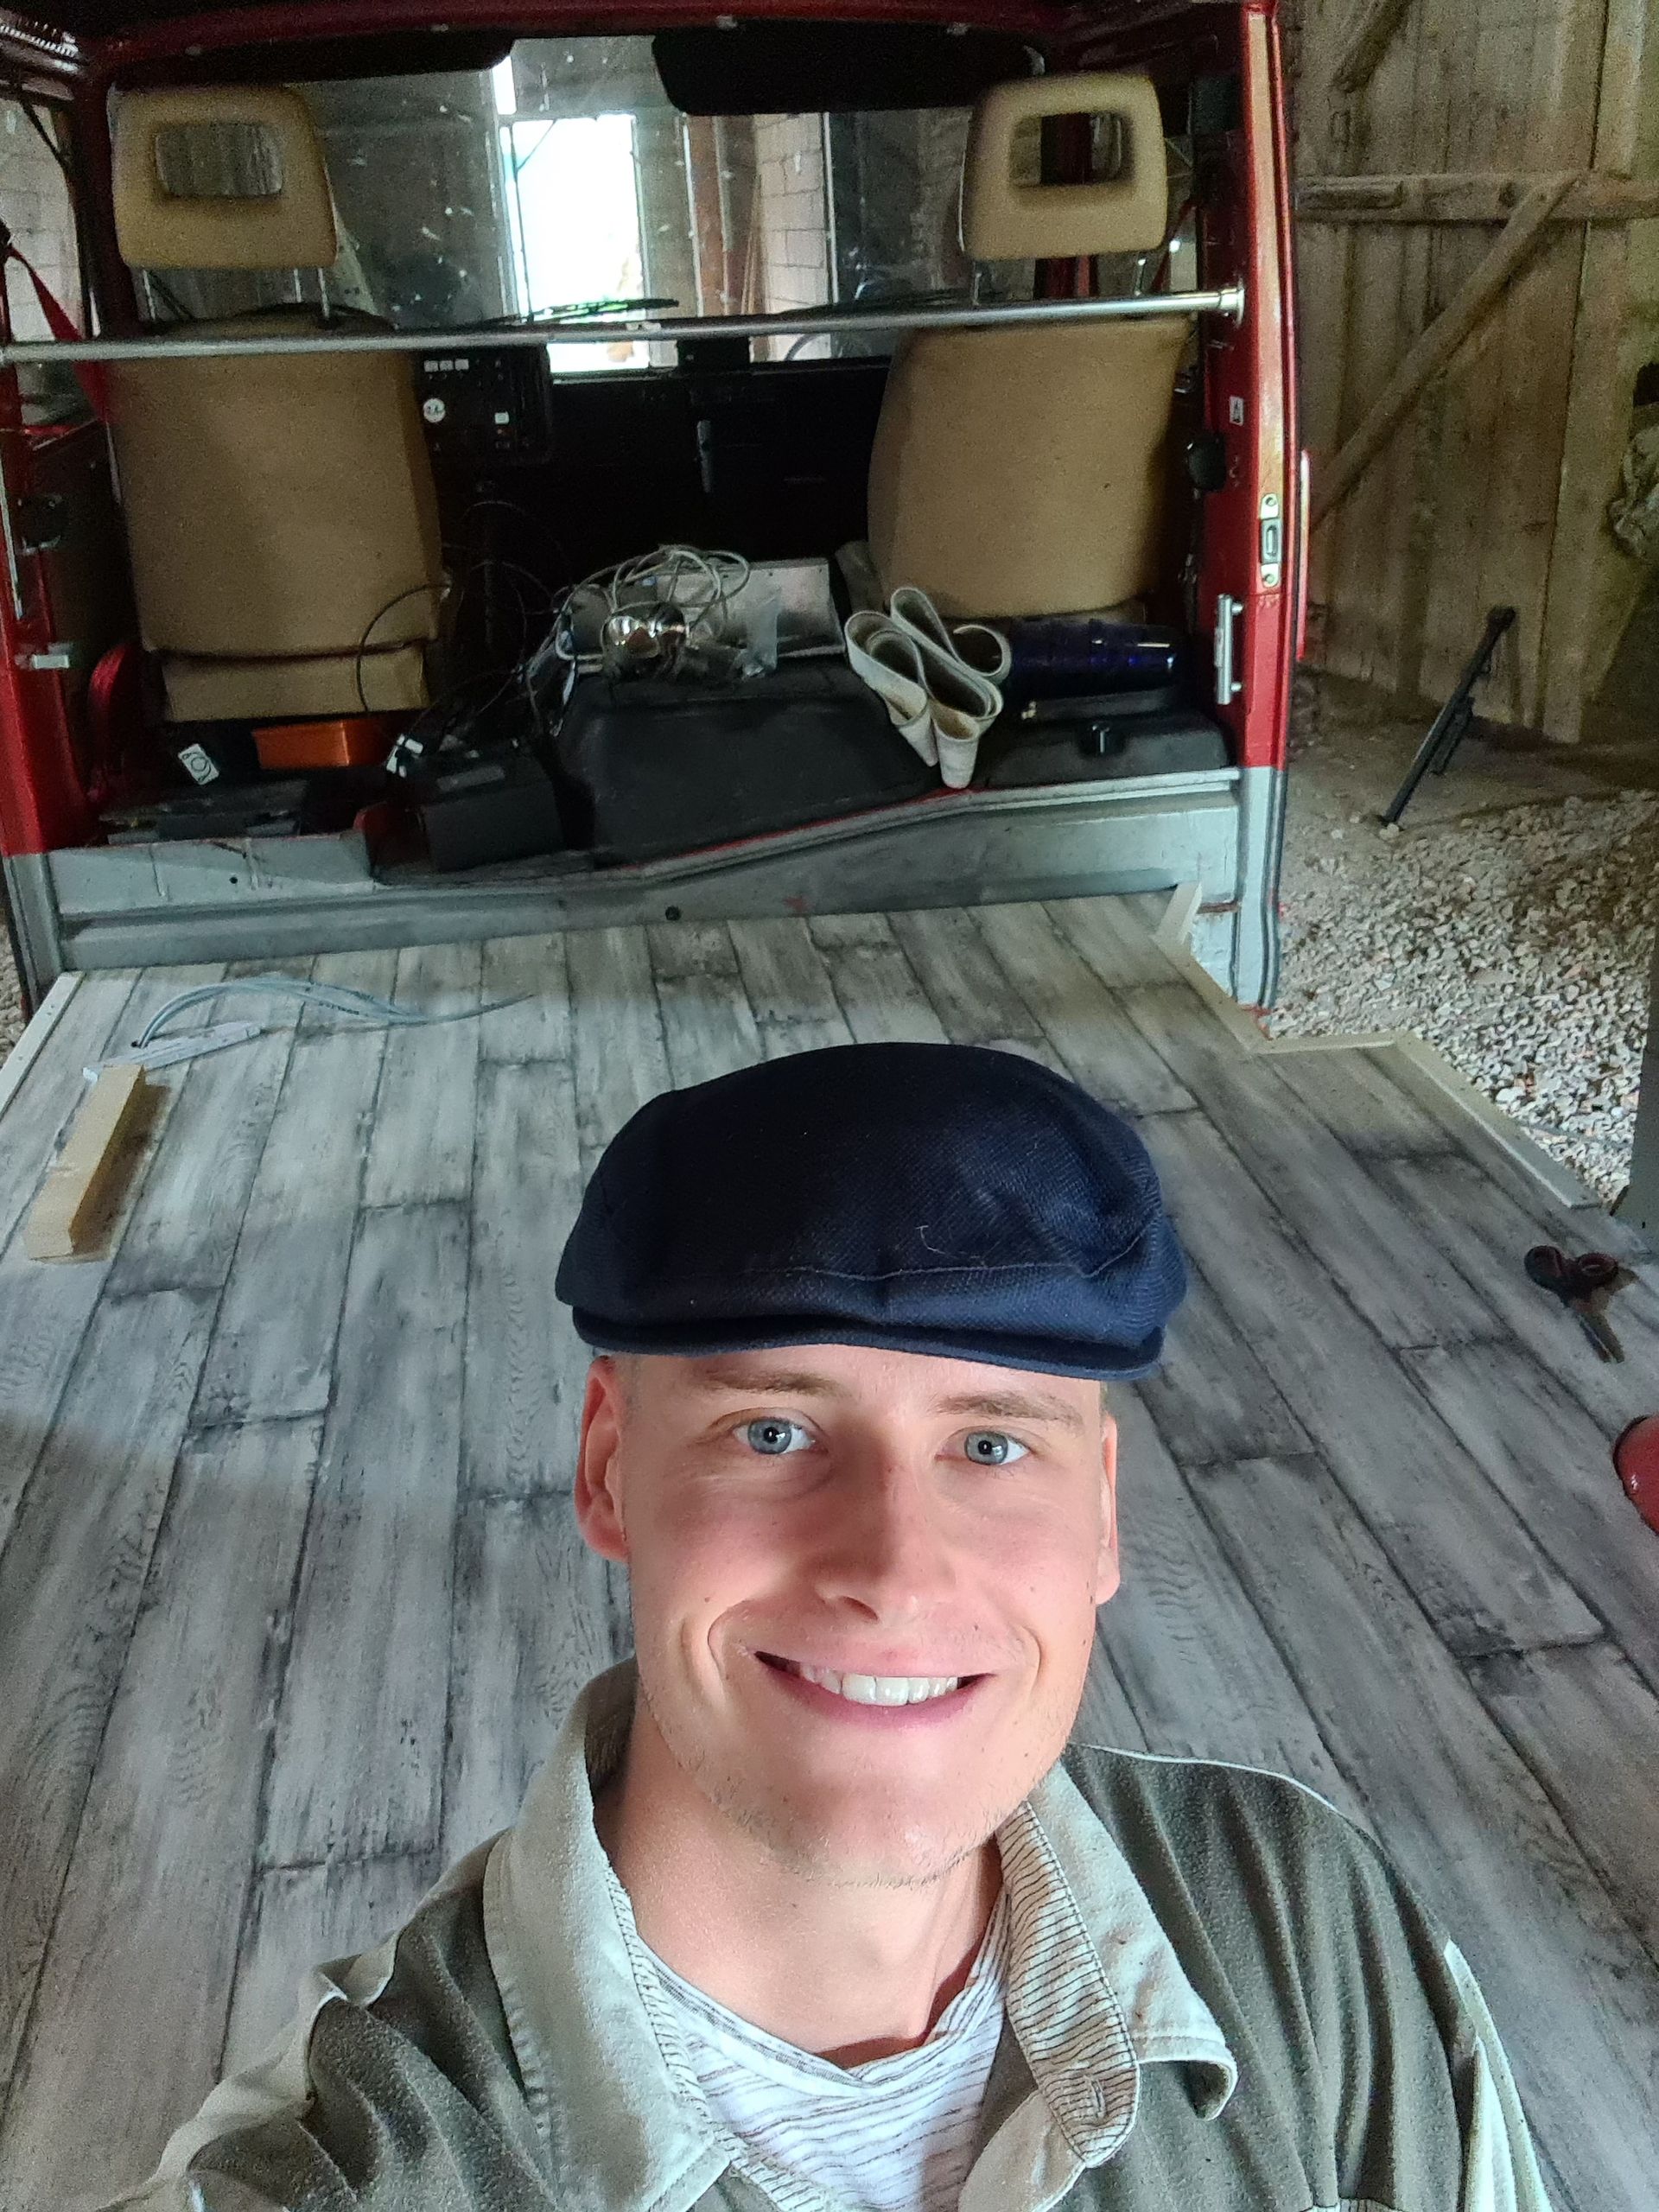
After we had screwed all sides with the substructure and decorated the side and rear doors with the plywood panels, we unrolled a white vintage-style PVC floor and finished all open edges with wooden strips.
The work was a lot of fun, and it already showed how important precise work is. Especially with our bus, it is noticeable that no side is the same as the other.
However, the subsequent construction of the furniture turned out to be a bigger challenge. And at some points, it temporarily drove us to despair. But more on that later.
Berlangganan Newsletter
Menjawab